The RC Geek Blog
By: Chris Wolfe
Blue Angels FTW!
One of my favorite jets from last year was the E-flite F-18 Hornet. The way that airplane flies I just fell in love with (that's not to mention the gorgeously scale landing gear ;) ). At the time, I even considered repainting it into a Blue Angel color scheme, so you can imagine my excitement when I found out about the E-flite F-18 Blue Angels!
Please note that I did a full review of the original E-flite F-18 Hornet offering last year. We will cover some of the same items here that we did in the previous review, but this being a Blue Angels, I did some small modifications here that are worth talking through. Those include some paint work on the exhaust nozzles along with the removal of any weapons on the airframe. It's a Blue Angel which means, she should be as slick as possible!
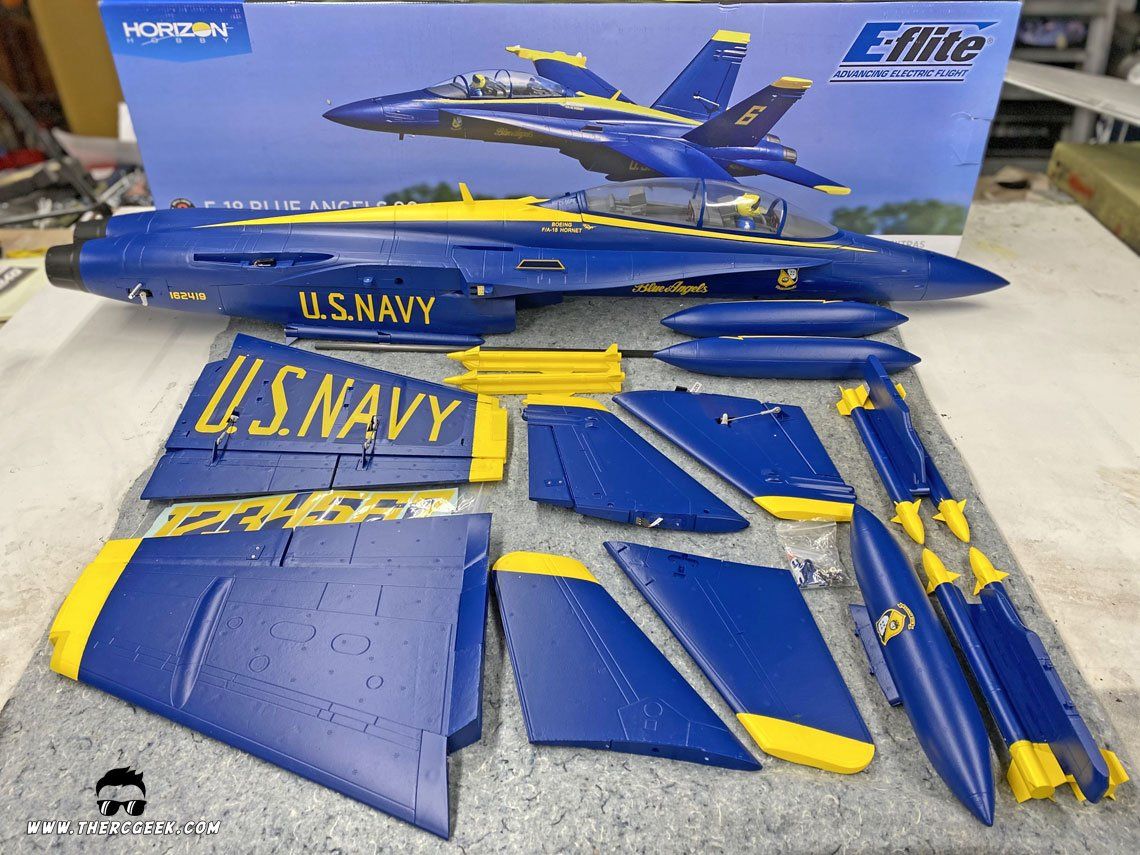
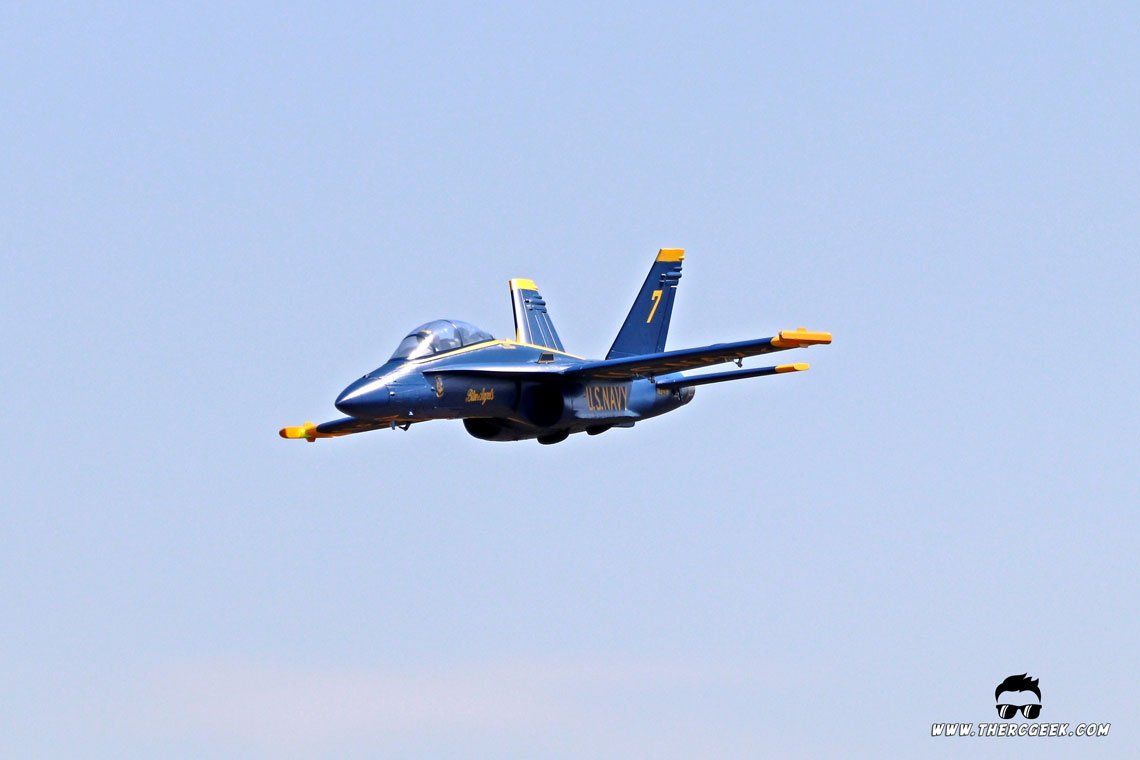
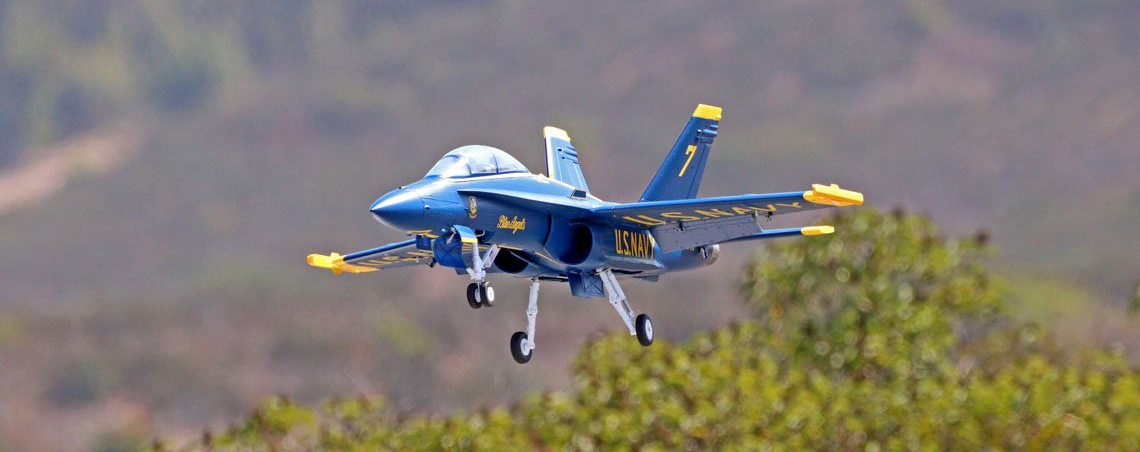
This incarnation of the E-flite F-18 features the same components and assembly as its previous counterpart. It's a very easy assembly starting with the installation of the vertical tails followed by the horizontal tails and finished up with the installation of the wings. The kit features a selection of tail numbers (I chose #7 of course!) and so I cut a couple blue pieces from the spares to cover up any screw holes along the airframe. All together, the airplane looks fantastic and I love the Blue Angels colors personally. Oh, and I would be remiss not to mention my favorite feature of the scale landing gear, they're sick!

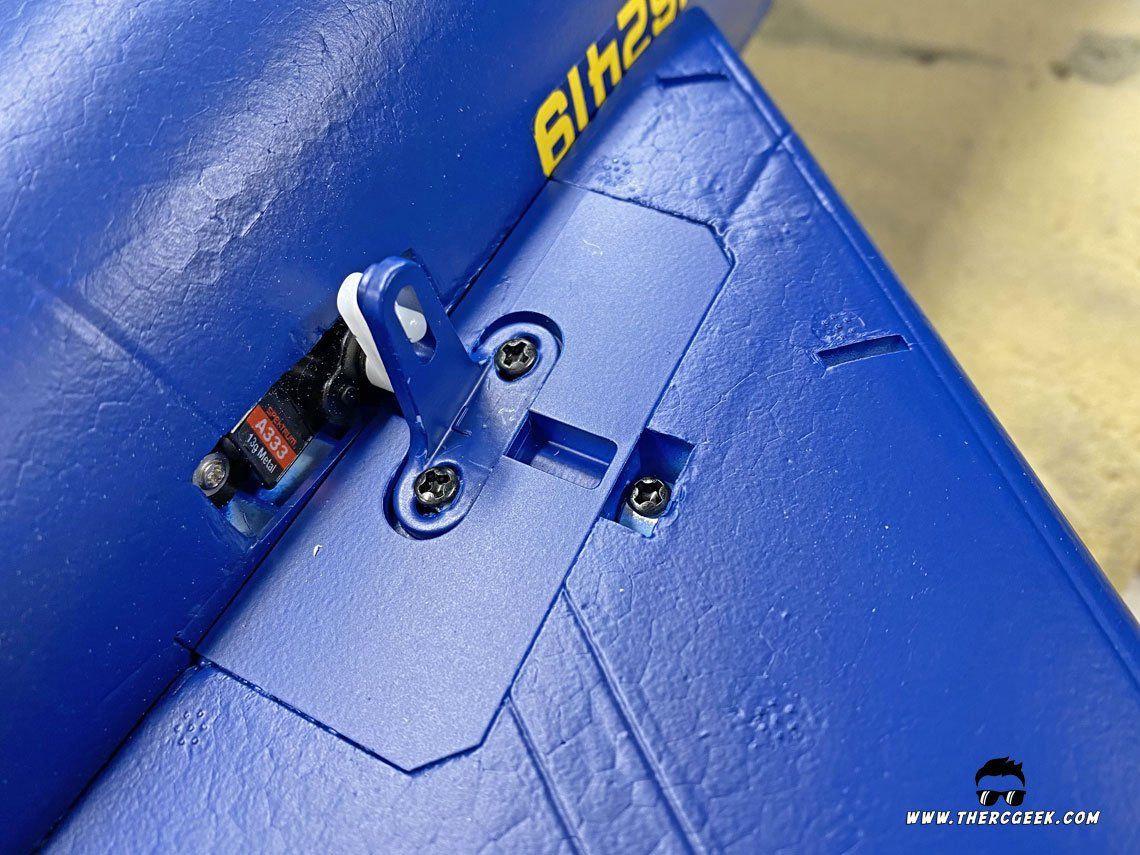
One thing to note regarding the horizontal tail installation, the control horn in the stabilizer engages a nub on the servo arm which is what actuates the tails. It's important to ensure that the tails are pushed on fully so that the control horn fully engages the nub on the servo arm. I've not had any issues to date with the servo arms on the two F-18s I've flown to date.
MISSILE REMOVAL
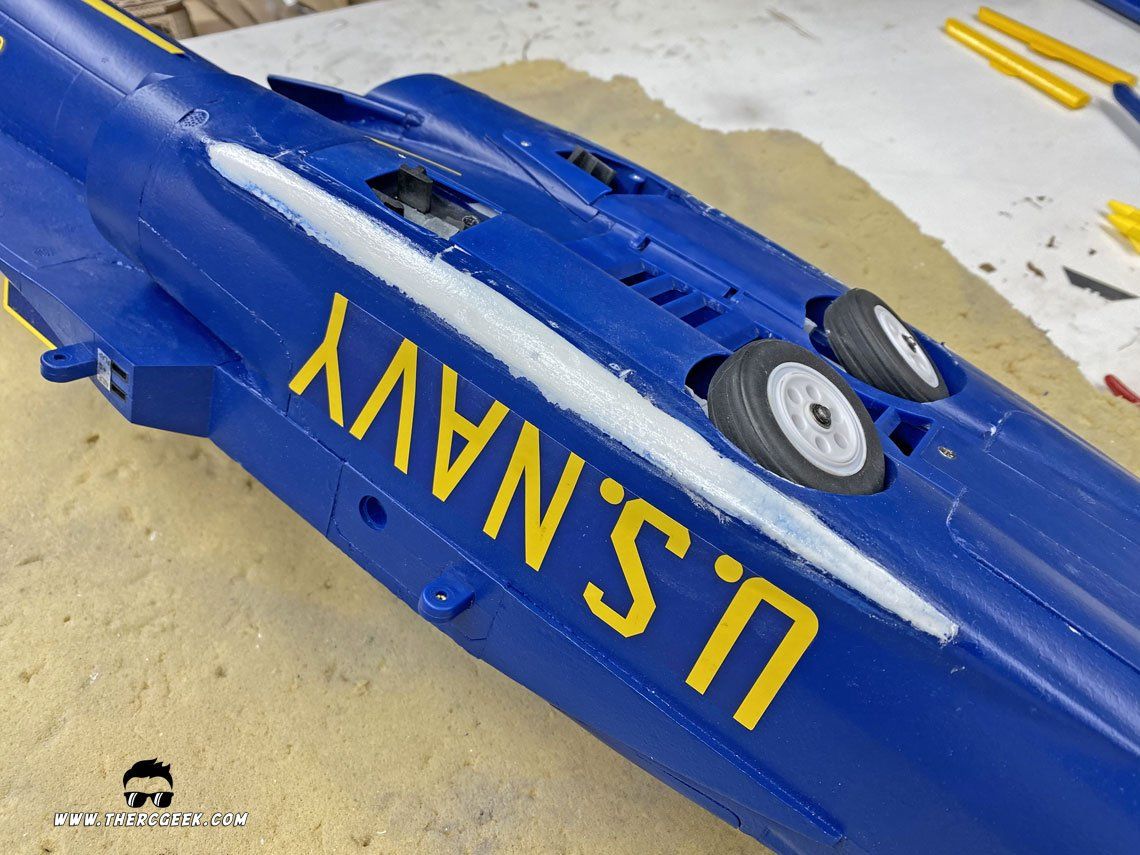
The model comes with pre-installed missiles on the body and the wingtip rails. So, in the process of assembly, I removed them and touches up the paint.
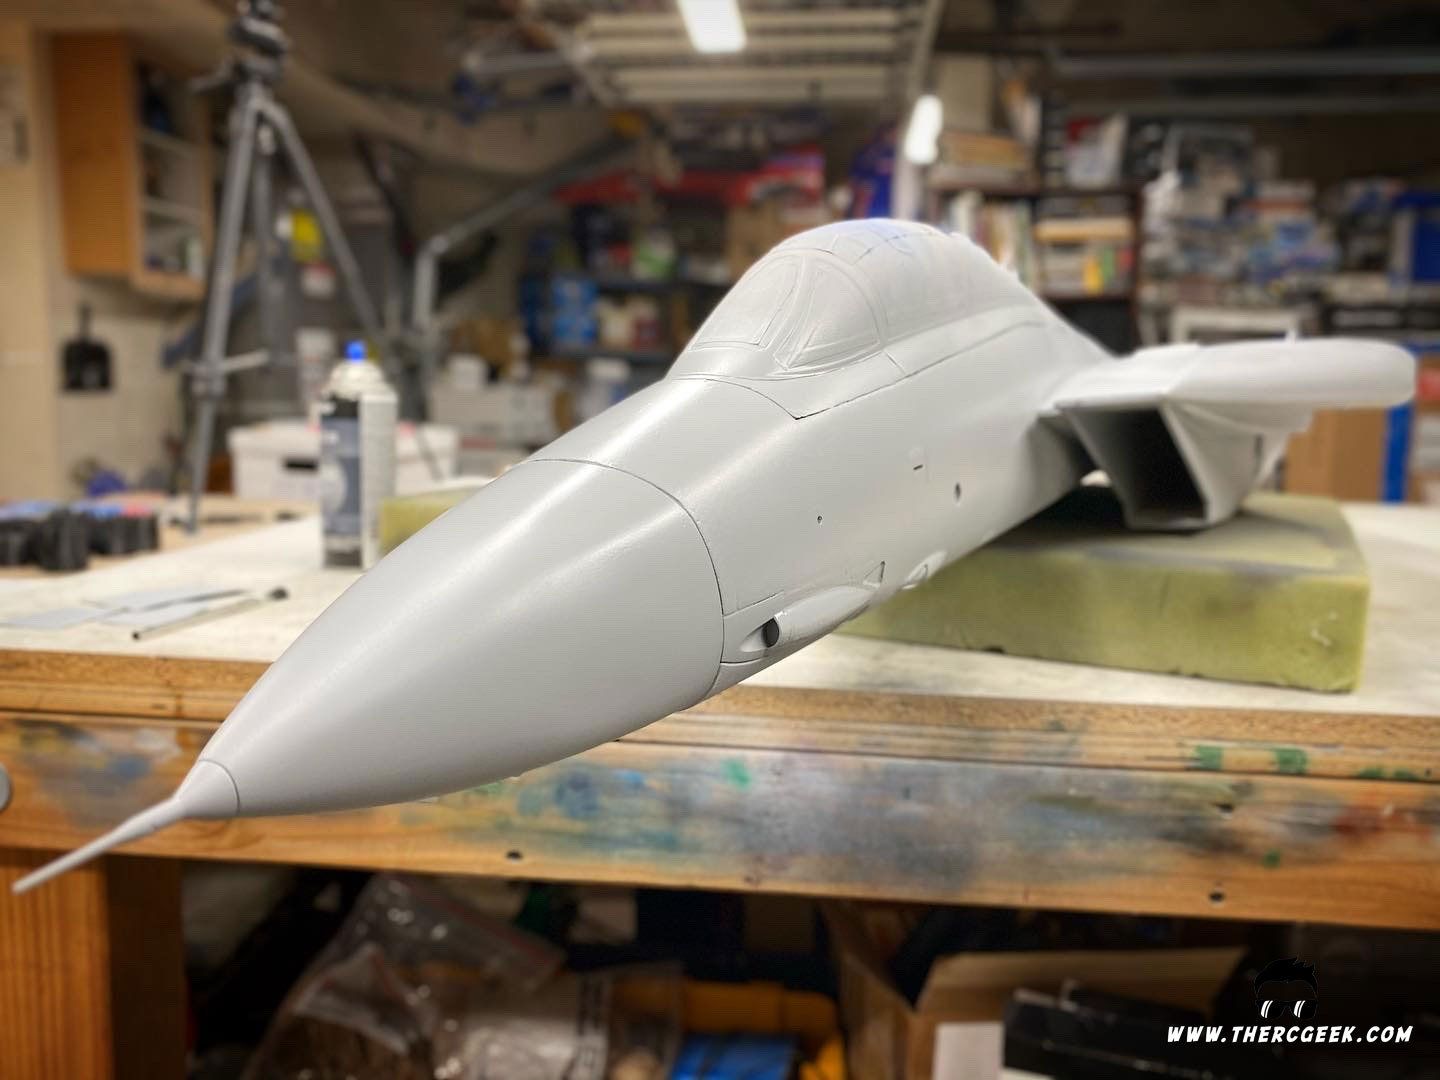
The body missiles were first cut off of the body using a sharp Xacto knife. The area was lightly sanded square and then the area was filled in with Sherwinn Williams Shrink Free Spackle. Once dry, the spackle was sanded square with a sanding block and the area was coated with a couple light coats of Minwax Polycrilic to seal it. To finish it up, the area was masked off and painted with Testors Model Masters Blue Angel Blue spray paint. It's not quite an exact match, but it was close enough.


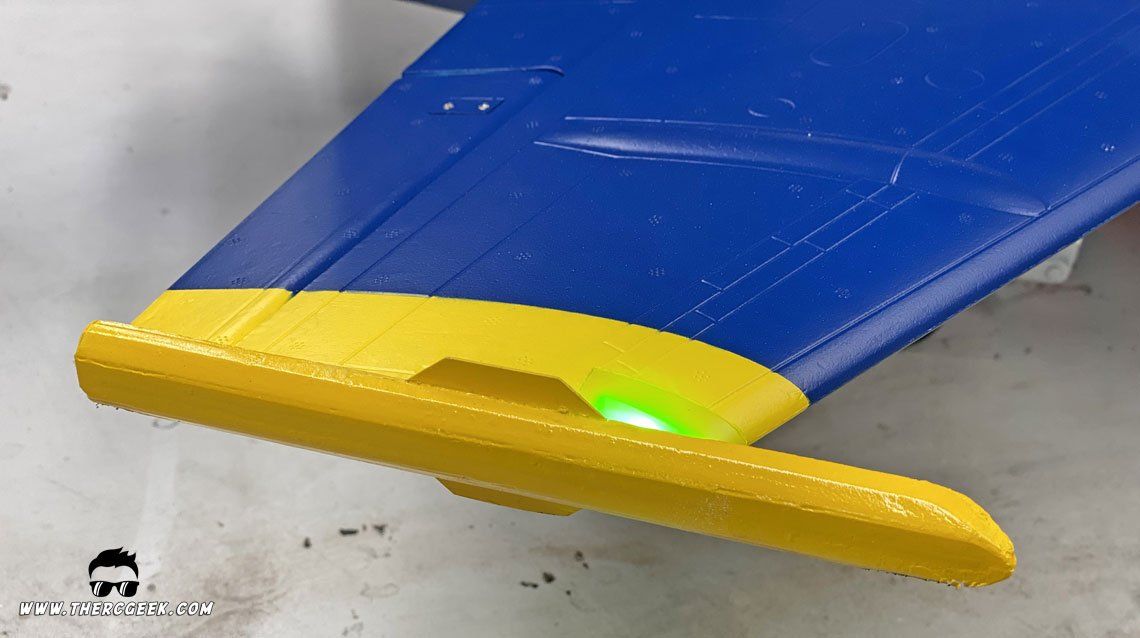
The wing tip rail missiles were removed in a similar fashion, except in this case, a dremel was used to cut a slot into the wing tip rail for a carbon rod to be embedded into it. The carbon rod was glued in with CA, and then the same fill, sand, seal and paint process was applied as mentioned above. In the process, the plastic mounting tabs were cut free and swapped left to right. The rails as is don't align properly onto the wing tips, so swapping them pushes the missile rails forward giving the proper look at the wing tip.


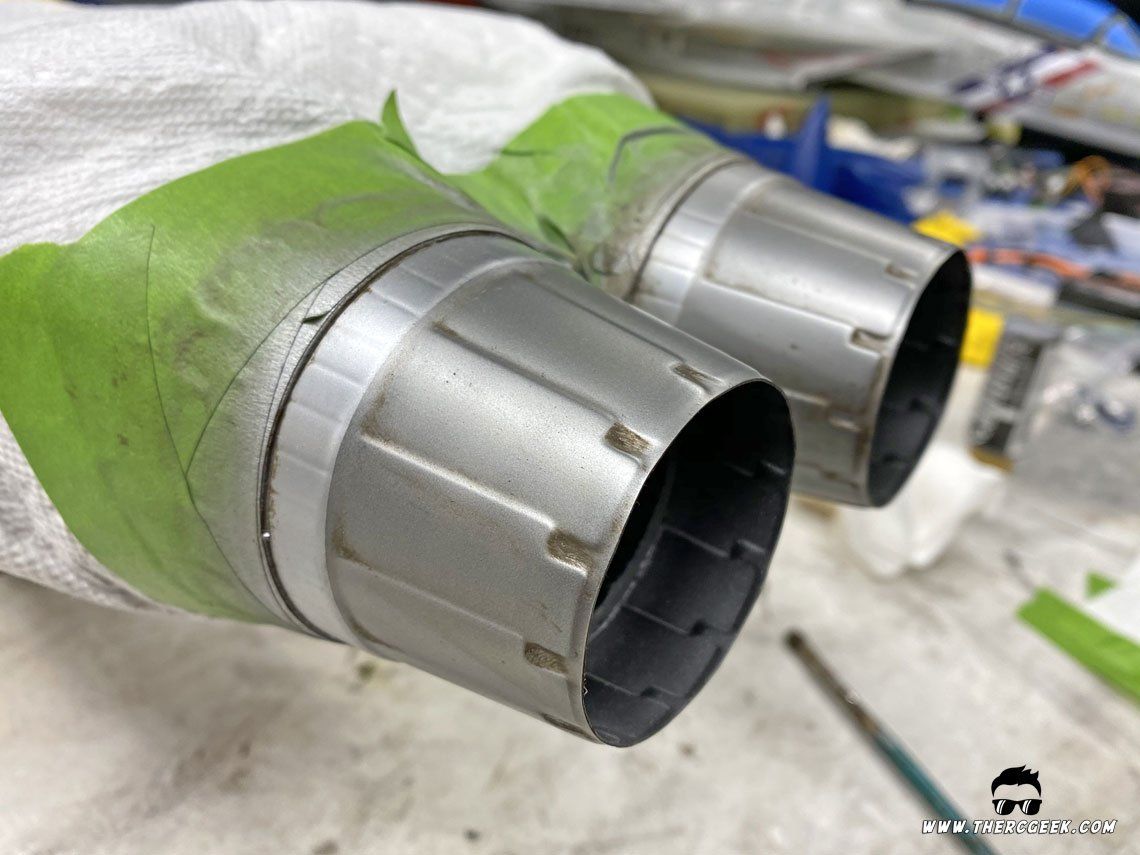
EXHAUST NOZZLE PAINT
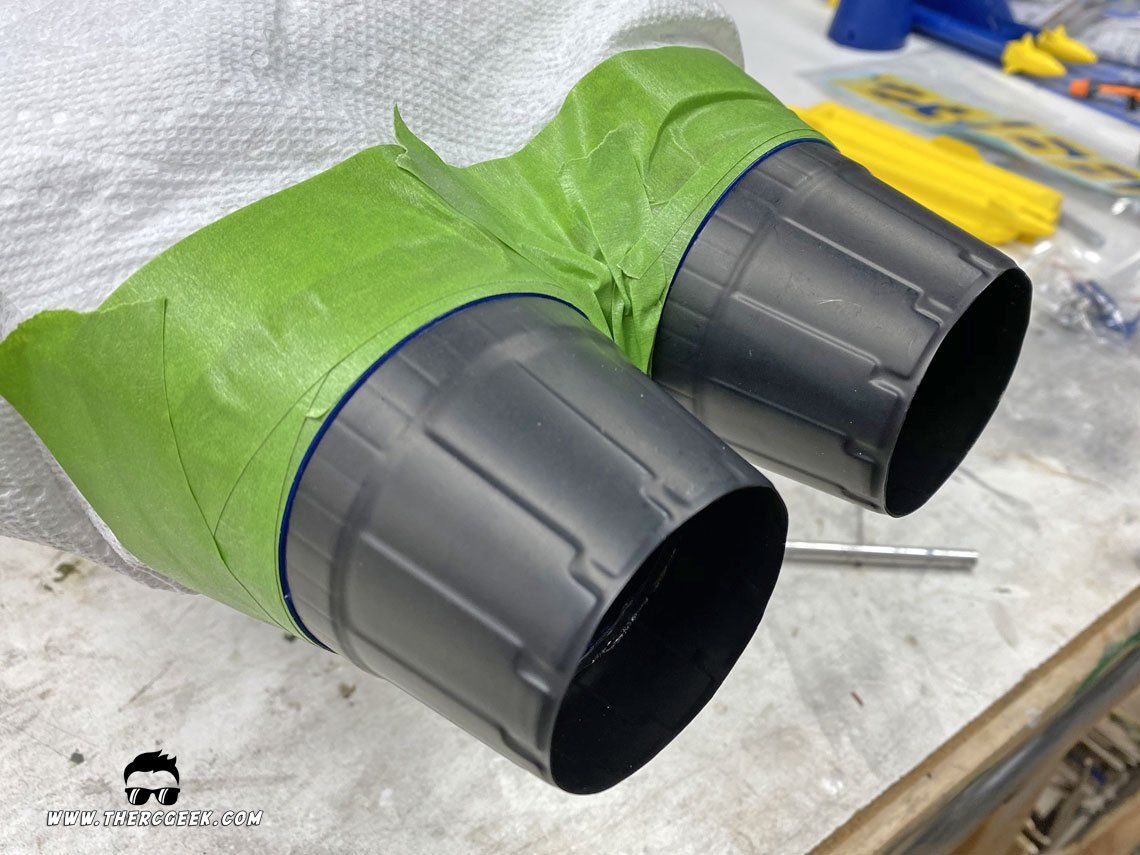
To finish it all off, the plastic exhaust nozzles were masked with Frog Tape and painted with some ALCLAD II Aluminum and Dark Aluminum paints. Some grime was added using a Raw Umber FolkArt acrylic paint wash. This gave a much more scale and Blue Angels characteristic look to the airframe.


AIRCRAFT SETUP & CG
For the aircraft setup, this is the bind and fly version of which means that it includes SAFE select. I have a previous discussion on setting that up here should you want to know more about that. The thing to keep in mind is that there are two bind procedures. In my case here, I didn't want SAFE on, so I simply bound it normally for SAFE off.
In setting up the model, I simply used my previously setup Dx file which made things quite easy. I'm flying with a high rate elevator and a mid/low rate aileron and I love the responsiveness there. The airplane does rotate easiest with partial flaps, so I recommend that only after you've gotten the airplane trim and the mix worked out in flight first.
- Elevator - 22mm with 8% expo
- Aileron - 10mm with 5% Expo
- Rudder - 10mm with 20% expo to desensitize the steering
- Flaps - 30mm half and 45mm full with a 1mm and 3mm up elevator mix respectively
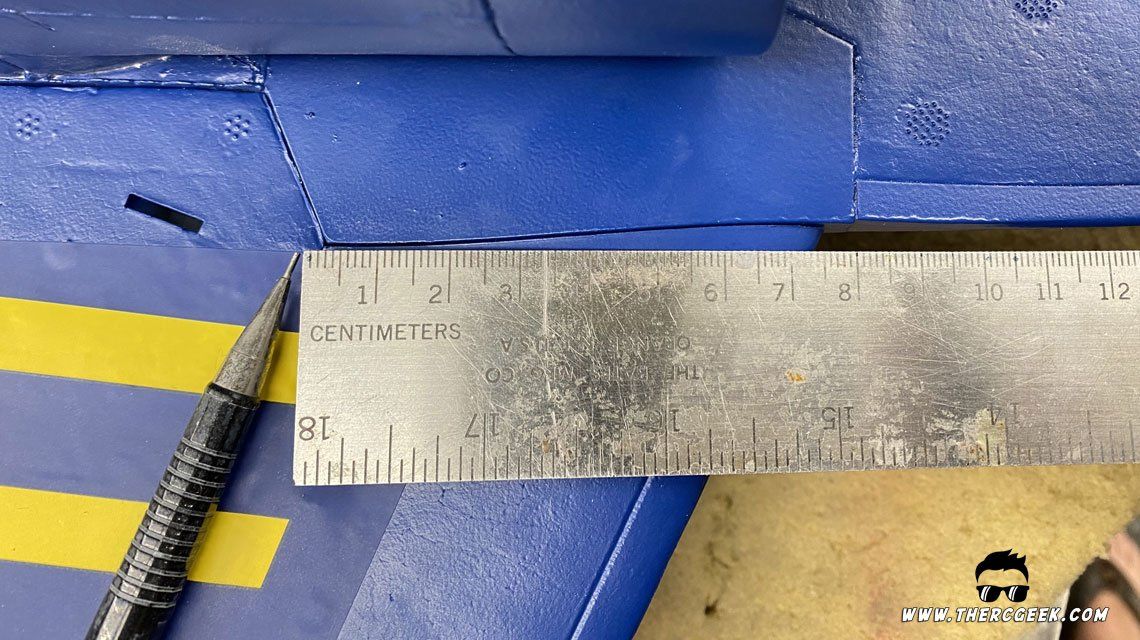
In terms of the CG, I'm flying the airplane closer to the aft CG recommendation in the manual. This equates to 75mm as measured from the wing leading edge root aft right at the leading edge extension. This coincides with the corner of the angle cut of the wing as it interfaces with the fuselage. If you pick up the airplane with your finger tips at that location and look for the airplane to be level, that should get you the right CG. The airplane flies great there and lands nicely.
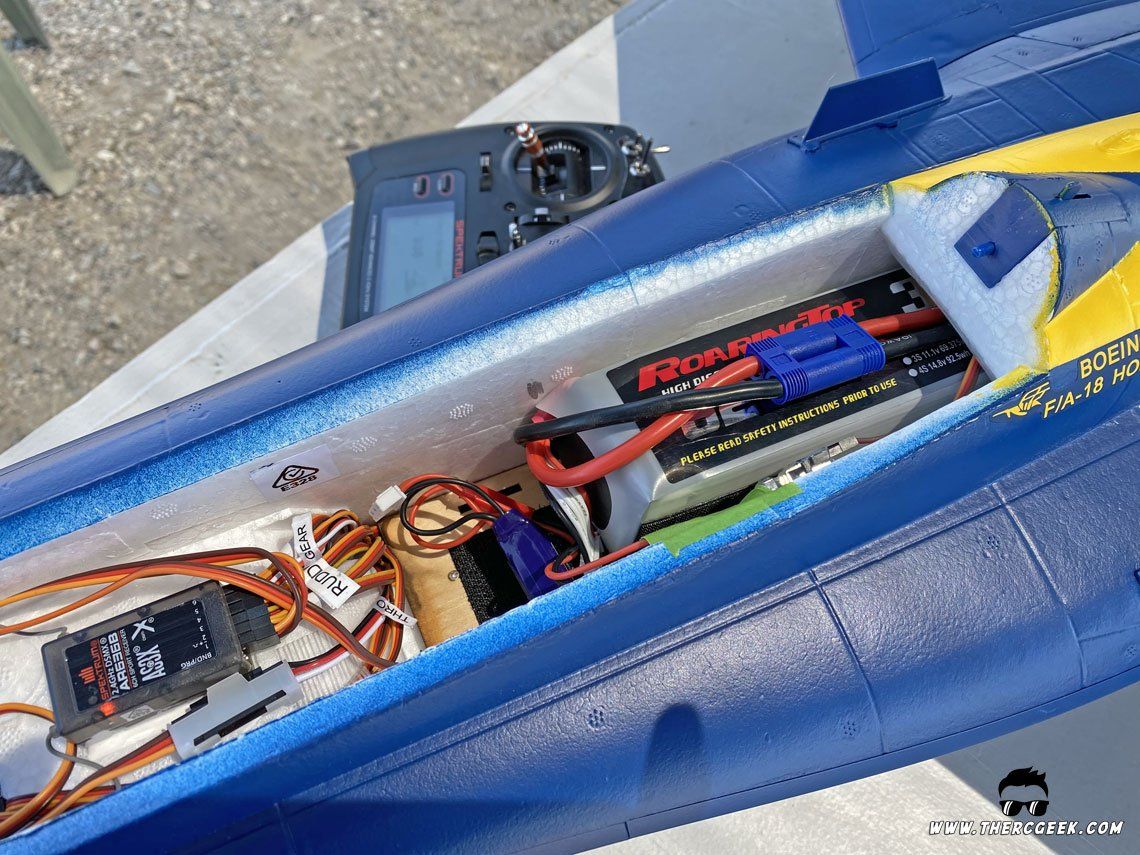
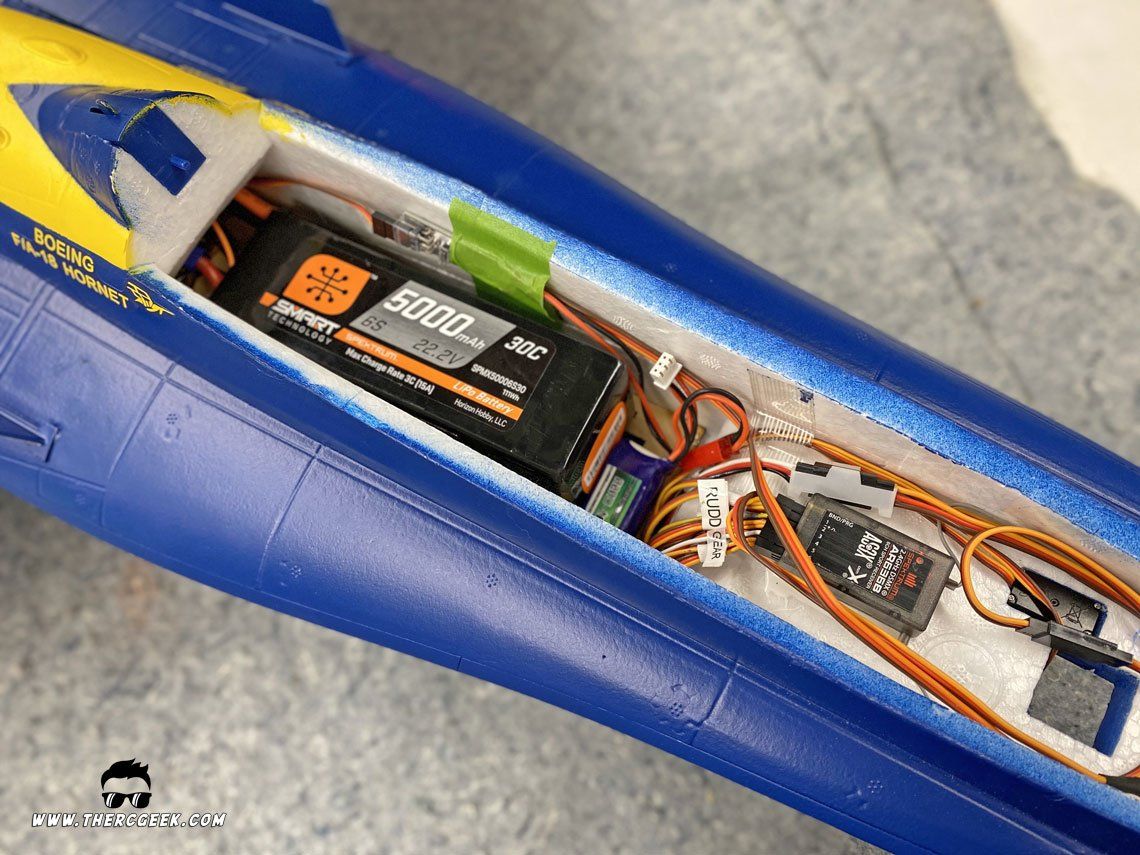
E-flite recommends the Spektrum 35c 6s 5000 mah SMART pack which works great, but expect about a 3 minute timer there. So, in addition, I'm using a Roaring Top 6s 6250 mah pack which fit perfectly into the battery area without any modification and a closer to 3.5 minutes which gives plenty of reserve flying the airplane hard (in air time is about 4 minutes).
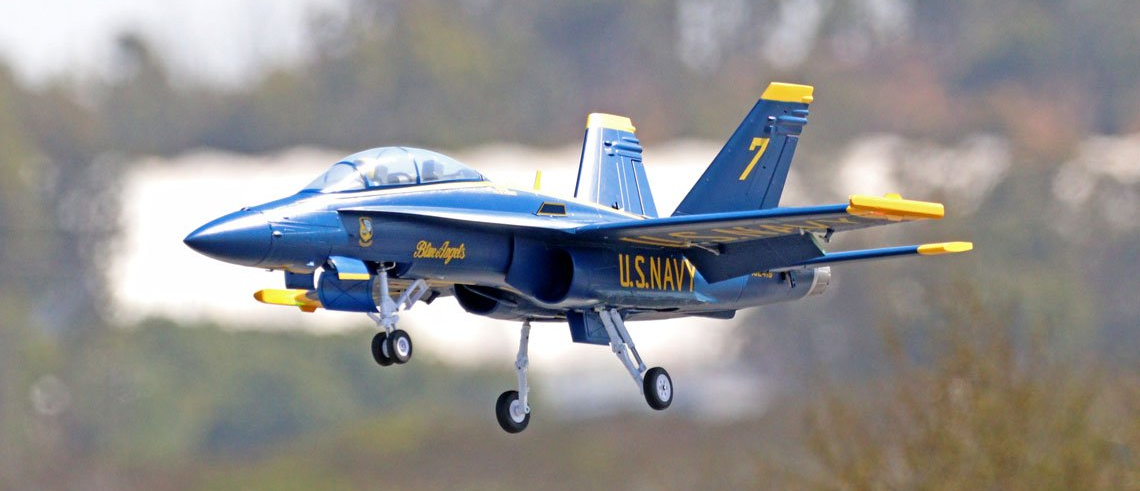
FLYING THE E-FLITE F-18 BLUE ANGELS
As I mentioned at the beginning of this article, the E-flite F-18 was one of my favorites from last year. Well, with this release, it's quickly become my favorite for this year as well! The aircraft looks and performance are just so scale in appearance and the way that the airplane feels to fly, I just really enjoy flying it greatly. Especially now with the Blue Angels paint scheme, it's fun to shoot dirty rolls on takeoff, point rolls, and other prototypical Blue Angel airshow maneuvers and the model displays them wonderfully. The airplane will even knife edge quite well! The only maneuver I haven't tried yet though is the dirty loop…all in due time. ;)


This has been touched on a little previously, but it should be noted that F-18s as a whole have a fairly unique ground handling during takeoff. Large rudder inputs will result in the airplane rocking left to right on its gear, so be aware of that and tune your rates and expo accordingly. Also, the airplane lands really nicely with flaps. I found that keeping some power all the way to the ground really helps the airplane land and settle nicely. Cutting the throttle in the flare would otherwise tend to cause the airplane to drop in harder.
Though the Blue Angels model does come with external stores, I didn't fly this one with it…and as you noticed, I removed them all together in true Blue Angels fashion. That said, here's a full stores video from my previous review. The airplane does look good with the stores on, but they do increase the drag which means less top speed and shorter flight times. Also, flying with full stores required about 12 clicks of additional up elevator trim in flight.
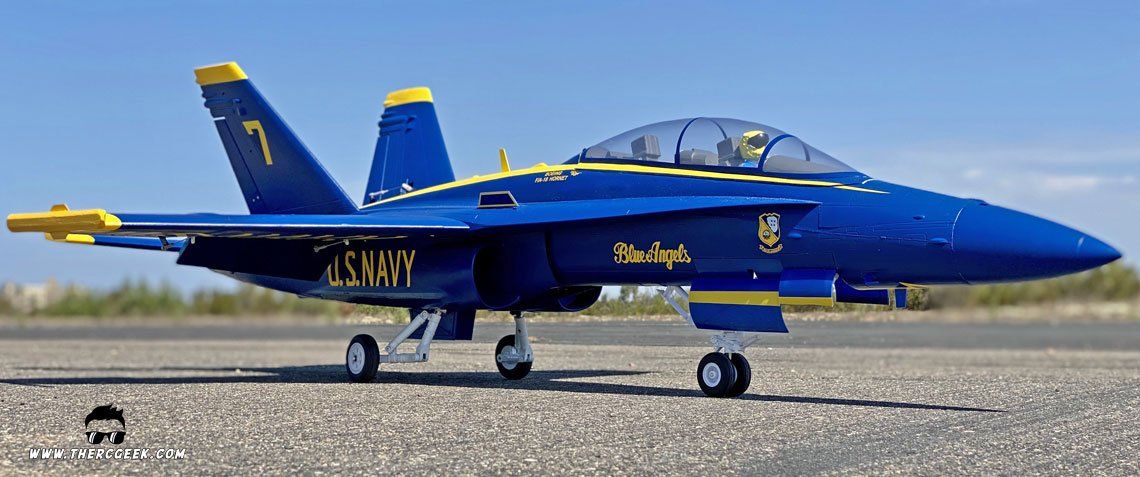
FINAL THOUGHTS
The E-flite F-18 Blue Angels is a really good looking and great flying EDF…and let's not forget those landing gear are sick! There are a couple things to keep in mind on this airplane when it comes to takeoff, but as long as you are aware, then you can be prepared and you're rewarded with a great flyer. Now that I have a #7 Blue Angels in the hangar, I can now pretend that I'm on that Blue Angels media ride that I'll never get! ;) Until next time, I'll see you at the field!
The RC Geek Blog is your place to learn about all aspects of the RC hobby. Learn to build, design, drive or fly that RC project you’ve always wanted to build, but have been intimidated to try. This blog is here to help you on your journey and provide tips and tricks as you go! My hope is to inspire builders both experienced and new! So, welcome, please look around, it’s an exciting beginning! I’m currently documenting my latest competition scale RC jet build, a Mark Frankel F4D Skyray, along with some other fun tips and videos. If you can’t find what you’re looking for on this front page, click on any of the categories to the right and it will show just posts related to those categories. Please feel free to add comments and/or contact me directly if you have questions, I’m here to help! And don’t forget to check out my YouTube Channel, I post new videos every week!
Subscribe To Our Blog Now