The RC Geek Blog
By: Chris Wolfe
North American’s Pilot Maker, E-Flite Edition!
The AT-6 Texan is such a classic looking airplane and it’s one that I’ve always had a soft spot for. You regularly see them at airshows and the airplane sound is unmistakable as it maneuvers since the propeller quite literally beats the air into submission as it flies. So, I was excited to see the E-flite AT-6 Texan come online as it looked to be one of the nicest and scale looking Texans out there in recent memory. So, I was excited for the chance the review the airplane! In short, this is a great flying airplane that I’ve really fallen in love with I have to say.
In the process of this review, I liked the airplane so much, I decided to do a quick repaint on the airframe into something a little more colorful. I posted a complete video and article on the repaint that you can find at this location. Otherwise, here's the repaint video tutorial.
AIRCRAFT ASSEMBLY
The E-Flite AT-6 comes in a large long box and I found was nicely pacakaged. The wing is a single piece in there which is really nice and the reason for the long box. It’s almost comedic comparing how short the fuselage is compared to the wingspan. Based on the single piece wing, what you end up with then is an extremely simplified assembly that basically requires attaching the stabilizers with a couple screws and then attaching the wing. That is about the extent of the assembly; I think I had the airplane together in about 10 minutes. I also downloaded the preprogramed file from too which meant that the radio setup was only about 10 minutes too. I did a little tweaking on the radio setup though for triple rates mostly and putting switches where I want, but otherwise, in about 20 minutes, I think I was ready to go. It was extremely quick and simple!
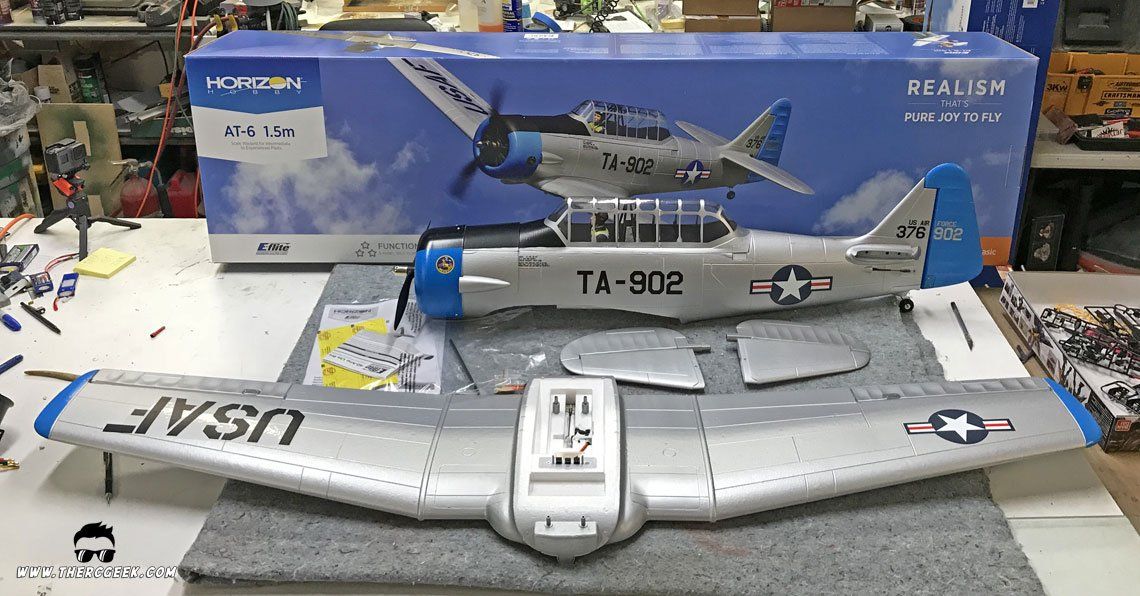
In terms of the assembled airplane, it really looks great! It has that characteristic long AT-6 wing and the shape overall looks quite good. It’s without a doubt the best looking AT-6 in its class out there right now. The gear stance even looks right which is huge for me and they even have the full scale 3 segmented flap setup which is awesome and works excellent in flight. They only missed the shape of the cowl a bit as it’s a little bulbous on the front, but even so, I’ve seen far far worse.

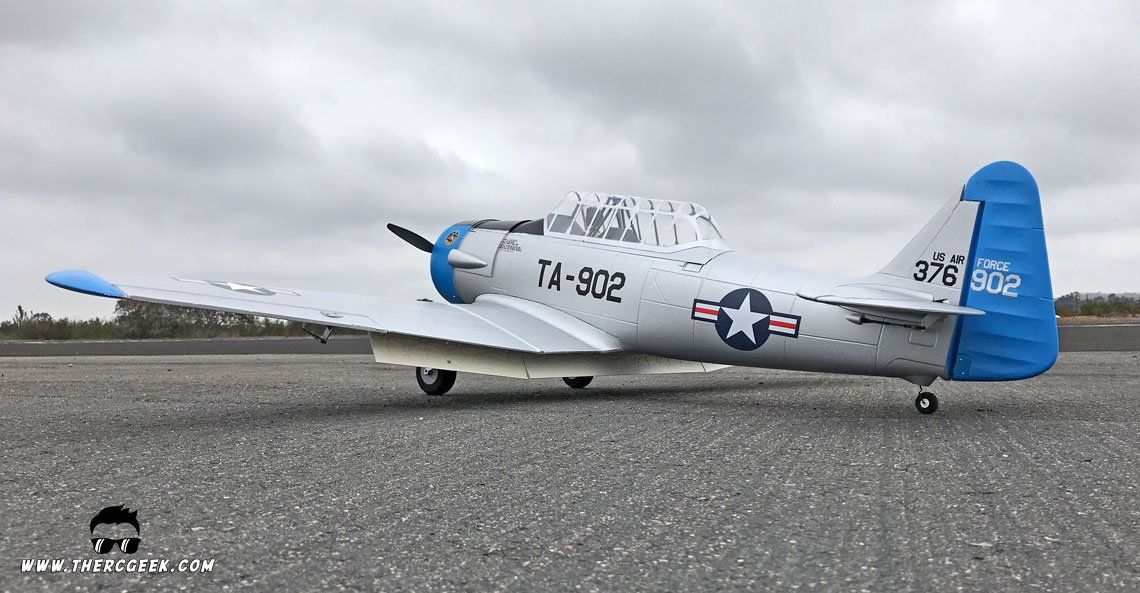
The TA-902 paint scheme is one that I’d not seen before. It’s silver with some splashes of blue which looks good on the model. My only wish would be that the foam were just a little smoother. However, it’s not any different than any of the other e-flite airplanes as the carbon z foam just generally tends to have a little more texture to it. That said, the airplane still looks great and from a few feet away, you don’t see it at all and the paint they use helps smooth it out too.
AIRCRAFT SETUP & CG
The subject model was the bind and fly version of the AT-6 which means it includes SAFE. I don’t plan to get into great detail on that as, last time, I posted a discussion about SAFE Select with some suggestions on how to use it effectively. For the discussion here, the thing to keep in mind is that there are two distinct bind procedures depending on whether one wants SAFE on or off. For me, I want SAFE Select off, so to set that, the airplane is simply bound normally keeping the bind plug in place the whole time. Now, if you want the SAFE Select on, then the bind procedure is started normally. However, prior to selecting bind on the transmitter, the bind plug is removed from the receiver. Once powered on, the airplane gives an indication of the mode it’s in during initialization by cycling the surfaces either once for SAFE Select off, or twice for SAFE Select on.
For the control surface setup, the E-Flite control recommendations are usually quite good. I started with the downloadable file from the Spektrum website for this airplane and then tweaked the settings a bit. I setup triple rates, moved the flap switch around and also gave myself more max flap deflection ( DOWNLOAD MY PROGRAM FILE HERE ). Ultimately, through flying the airplane I found that the max rates felt pretty good for my style of flying. Here’s what I’m using for throws.
Elevator — 5/8″ up and down, 20% expo
Aileron — 1/2″ up and down, 20% Expo
Rudder — 1″ left and right, 25% expo to desensitize the steering
Flaps — 3/8″mid, 1-1/4″ full with about a 4% down elevator mix which is only about 1/16″ in physical elevator
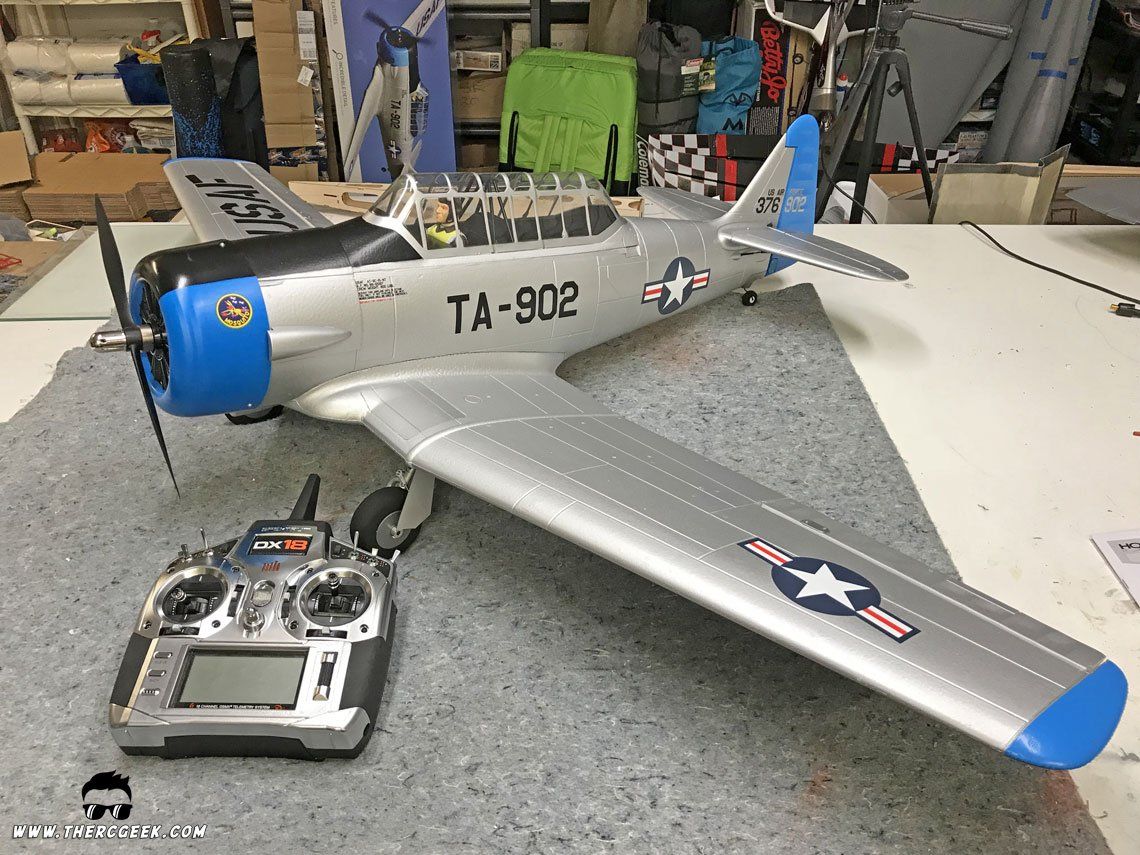
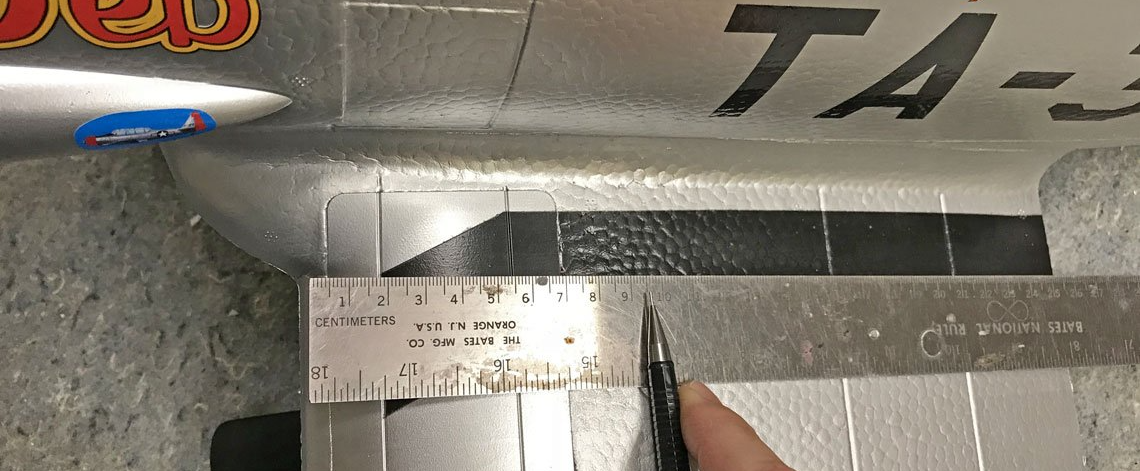
The CG location recommended in the manual is 92-98mm as measured from the wing leading edge root right at that junction of the forward wheel fairing aft. The CG felt great in this range and so that’s where I stayed with it. With the repainted airplane, I have a 35c 2200 mah pack pushed all the way forward in the battery area.
A QUICK AND DIRTY REPAINT
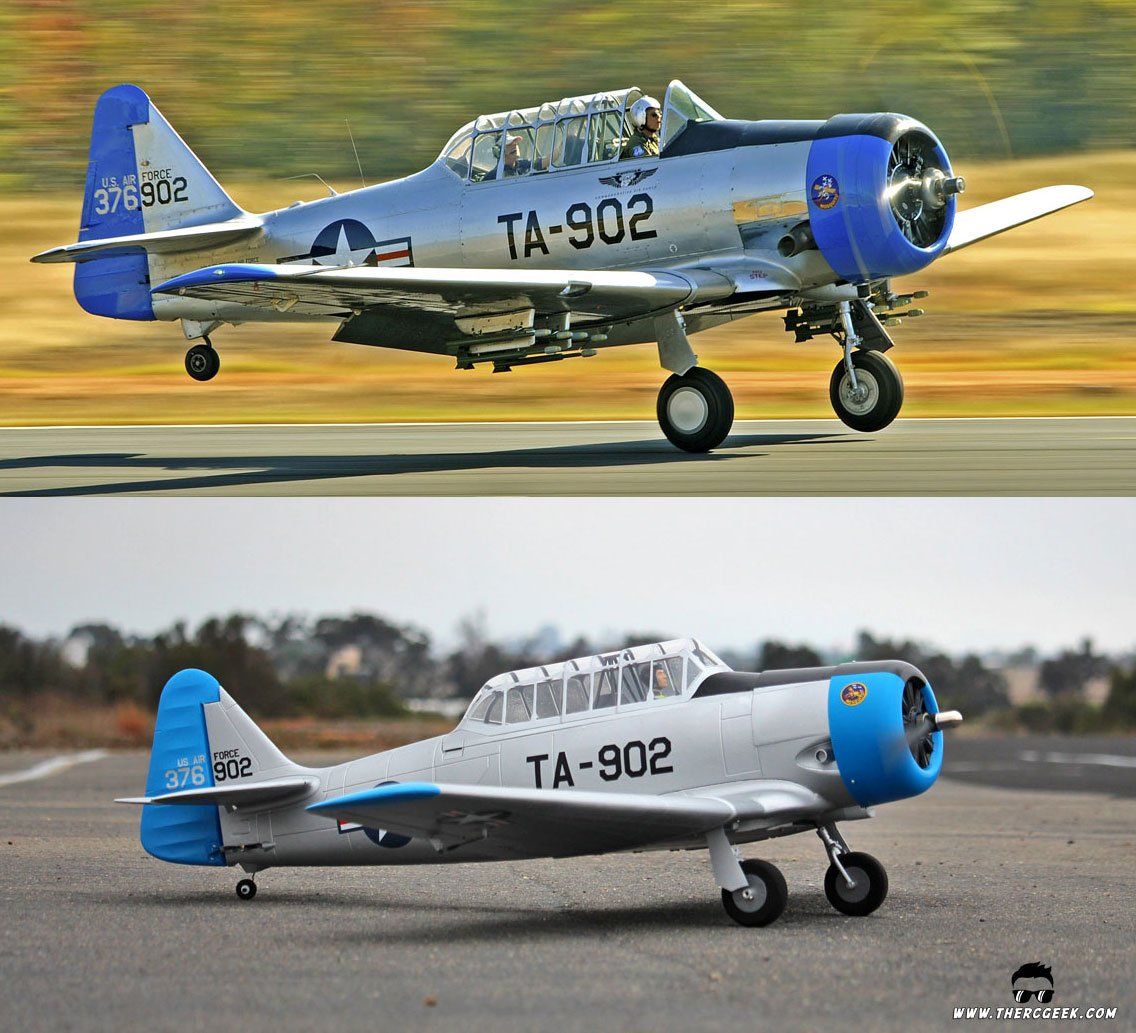
Flying this AT-6, I just fell in love with it. So much so that I wanted to do a quick little repaint just to make the airplane more unique. In researching the Texan a bit, I found this paint scheme for ‘Dazzlin’ Deb’ which is this immaculately polished aluminum T-6 in an Americana trim. Seeing it, I wanted to give the scheme a try. Unfortunately, I forgot to weigh the airplane before the repaint, but the airplane as it sits, it weighs 57 oz without the battery.
I did a separate video and article on the paint job that's posted
here, but in short, all of the paint work was done directly over the existing paint without much in the way of specific paint preparation. I didn’t want to add too much weight and honestly, didn’t want to go to the extent of work that we’ve gone on some other projects we’ve done. So, it was literally a quick and dirty Rust-Oleum spray can paint job. I love the final result!

FLYING THE E-FLITE AT-6 TEXAN
I made reference to this already, I really love flying this little airplane. It looks great in the air and just flies like the nice scale warbird that it is. The power system provides scale like power from a 3cell 2200 mah pack which provides a fun warbird experience. It forces some energy management, but still has good power for going into the vertical. In terms of aerobatics, the airplane will handle anything you want to throw at it and I didn’t notice any bad habits in the air. It’s fun to come in low and slow with the flaps down over the runway. It’s awesome just how slow the airplane will go.


The one thing that I did notice is that it can get a little hoppy on landings if you don’t get the touch down right. I find that it’s best to keep just a touch of power on in the flare all the way down to touch down to help avoid this. It takes some practice but I found cutting the throttle in the flare would cause the airplane to kind of drop in on the touch down. Additionally, touching down one wheel first helps too. The other thing is on takeoff, the airplane can be prone to ground looping if you’re slow to bring on the power. So, don’t be afraid to add power relatively quickly as it’ll help it to track in the acceleration.
Below is the full flight video of the airplane in action. This is the bone stock airframe after the repaint. Unfortunately, I didn’t get any vid of the airplane before painting but, I didn’t notice any change in performance between the two. In fact, the airplane seemed to pick up some speed (it was also a pretty hot day when we took this too though).
FINAL THOUGHTS
Well, there we have the E-Flite 1.5m T-6 Texan . This is a great flying little airplane that I have really been enjoying significantly; it looks good and flies even better! And it’s something that really lends itself well to a repaint, so don’t be afraid to give that a shot! If you’re looking for a different warbird and like the looks of the E-Flite AT-6, I think you’ll enjoy this one. Until next time, I’ll see you at the field!

The RC Geek Blog is your place to learn about all aspects of the RC hobby. Learn to build, design, drive or fly that RC project you’ve always wanted to build, but have been intimidated to try. This blog is here to help you on your journey and provide tips and tricks as you go! My hope is to inspire builders both experienced and new! So, welcome, please look around, it’s an exciting beginning! I’m currently documenting my latest competition scale RC jet build, a Mark Frankel F4D Skyray, along with some other fun tips and videos. If you can’t find what you’re looking for on this front page, click on any of the categories to the right and it will show just posts related to those categories. Please feel free to add comments and/or contact me directly if you have questions, I’m here to help! And don’t forget to check out my YouTube Channel, I post new videos every week!
Subscribe To Our Blog Now