The RC Geek Blog
By: Chris Wolfe
Schwalbe there for you!
The Me 262 is an airplane that I have had a fascination with since I was a kid. To envision the world's first operational jet fighter and the mark that the airplane made on aviation history certainly made my mind run circles. That's not to mention, the look of design was not only appealing but also futuristic for the time that it was made! There was so much ingenuity occurring during WWII on both sides this airplane was one of many advances which changed and accelerated aviation in ways that I don't think we'll ever see again.
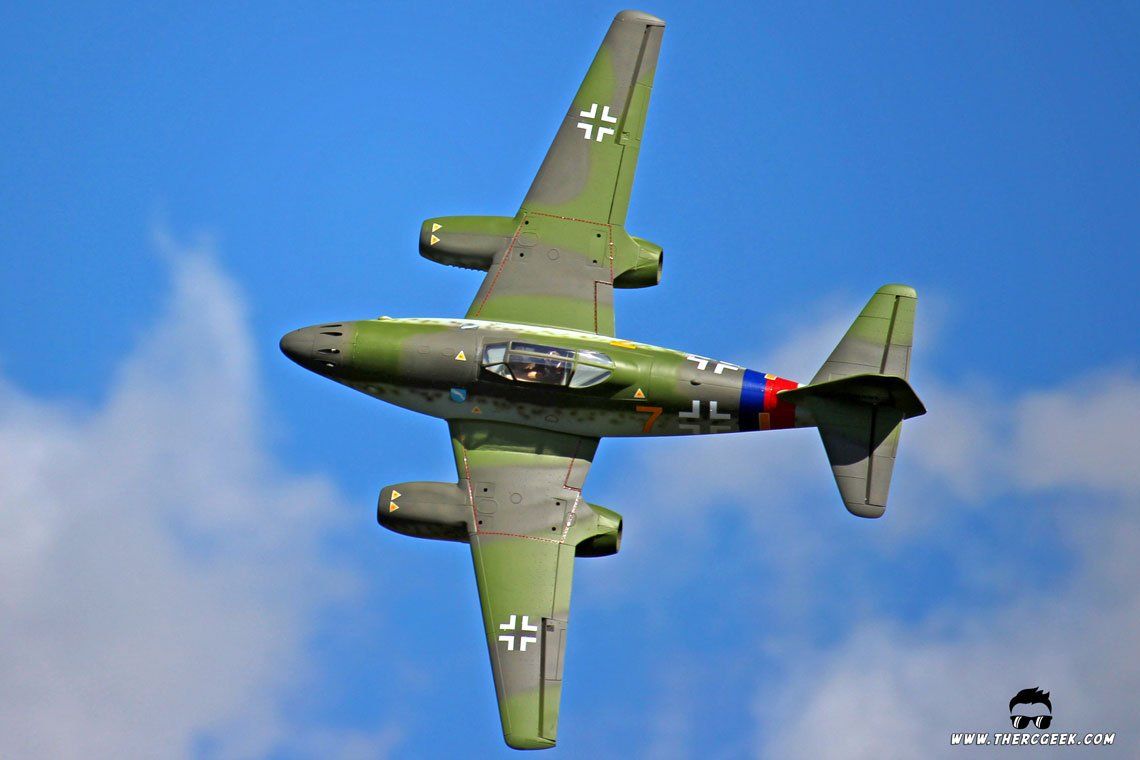
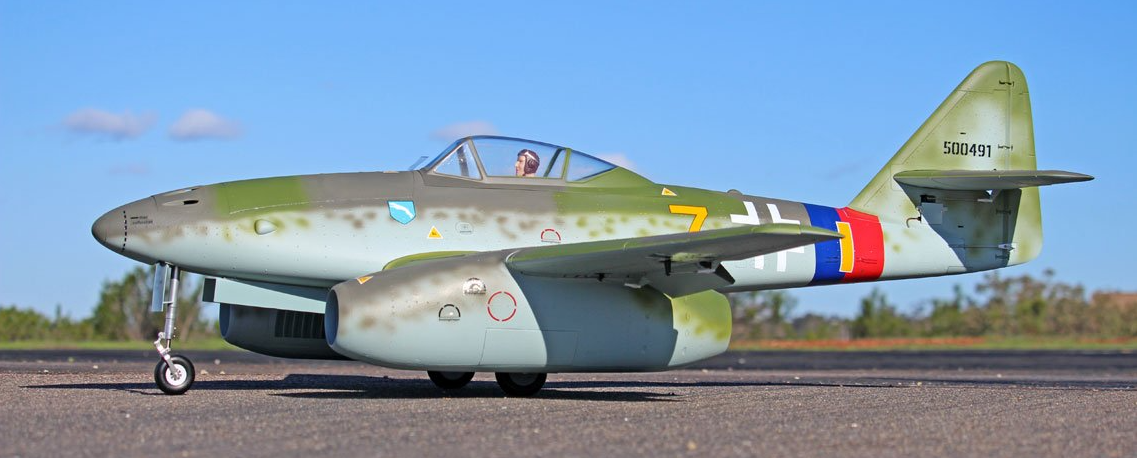
So, needless to say, as a fanboy of the Me 262, I had always liked the looks of the Freewing Me 262. Frankly though, I wasn't a fan of the original pastel gray paint scheme and having flown one, the power systems worked but left room for improvement. Well, enter the Freewing Me 262 Version 2 with the correct colors and upgraded power systems and I absolutely couldn't resist picking one up…and I tell you what it was worth the wait as this V2 is a great looking and absolutely wonderful machine to fly!
AIRCRAFT ASSEMBLY NOTES
What truly struck me with this V2 airplane was the paint scheme and pulling the airplane from the box, the paint was beautifully applied and the colors were spot on. The paint job truly transforms this model. Though a little older kit, the airplane still goes together fairly easily and quickly, but it does require a bit more work than some of the newer kits now in comparison. Mostly, there's quite a bit of wire routing getting everything from the wings into the fuselage. There are no quick disconnects for any of the wing wires, so that pretty much relegates this to a one piece airplane. ;) I should note that just like the E-Flite Spitfire assembly, I had some help on this one too from my friend and his son as we had an assembly marathon the night they came to stay with me. It was awesome!
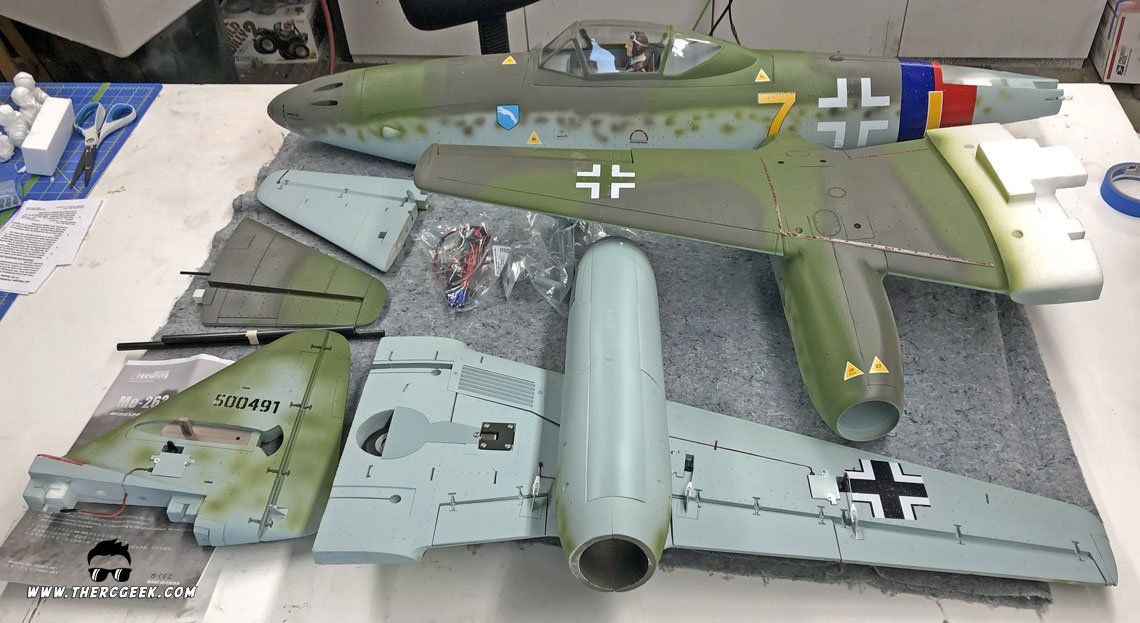
The assembly starts with the wings by joining them together and routing all of the wiring into the wing center section. There are a number of y-harnesses that are used to join the servos together as they are routed to the receiver. From there, the wing was joined to the fuselage and then the tails were installed. There was quite a bit of wire to get sorted and plugged into the receiver, but just requires a little time to make sure things are correct. From there, it was on to the radio setup.
Having the airplane assembled and on the bench, it looks absolutely fantastic. Freewing has really done a great job on the shape and especially the paint on the model. It looks the part exceptionally well. It's without a doubt one of the best looking 262 kits out there currently. I do wish that the main tire size was more scale out of the box. The main tires on the full scale airplane were quite large in fact and these are definitely on the small side. That's an easy fix though if I decide to swap them out. Also, the tires are pretty hard, so with a little side load you can get a little drift action going on the landing roll out.
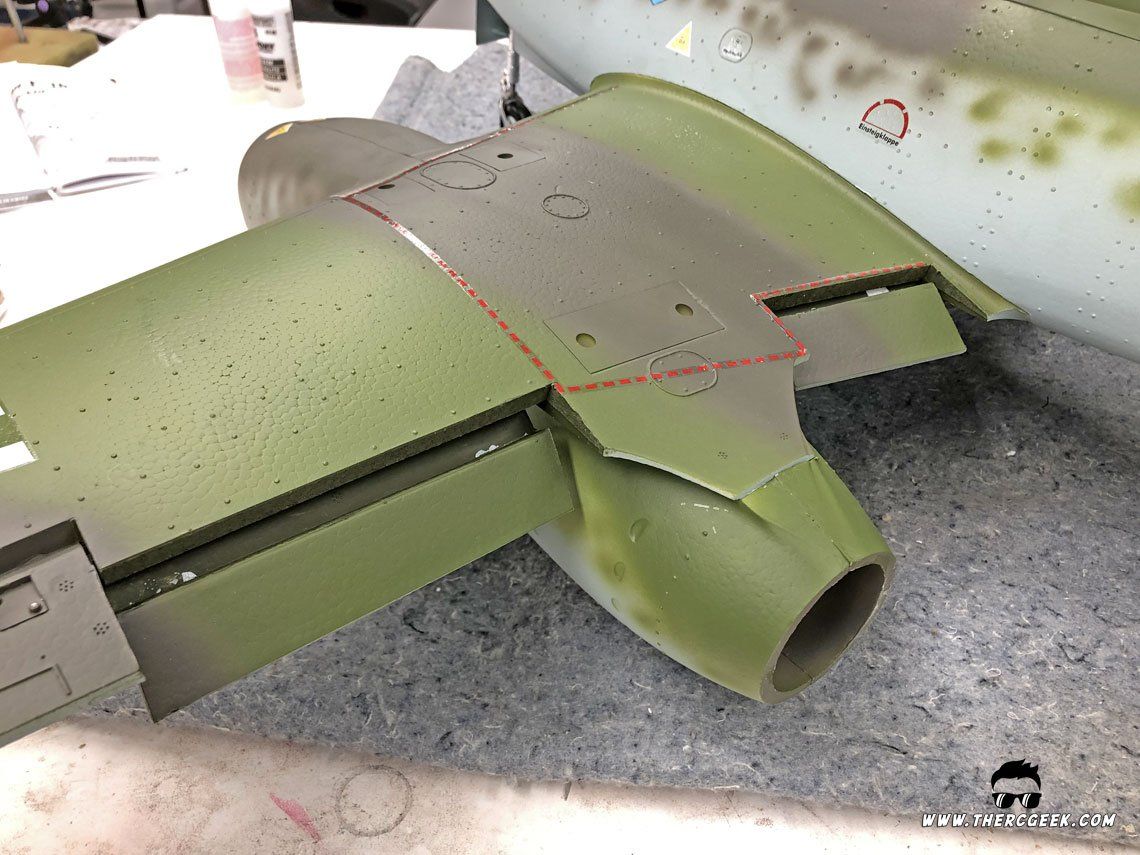
One of the modifications we did make was to the flaps. The model comes with split flaps which isn't scale to the airplane. So, we simply cut the foam upper flap surface and glued it to the lower plastic split flap which then created a more scale flap setup. If I were to do it again though, I would have cut the forward flap separation line at an angle vs a straight cut to create a little cleaner and scale looking flap. One thing to note is that the inner and outer flaps are connected by a piece of wire and operated be a single servo. The wire isn't super stiff, but it certainly works well enough.
AIRCRAFT SETUP & CG
Interestingly enough, setting up the airplane, I couldn't find any control surface throw information in the manual anywhere. So, I was pretty much on my own there. I setup triple rates based on what I thought looked about right based on my experience and then gave it a go. Through flying the airplane here's what I honed in on for throws.
- Elevator - 12mm up and down with no expo
- Aileron - 13mm up and down with 5% Expo
- Rudder - 24mm left and right with 15% expo to desensitize the steering
- Flaps - 20mm half with 5% elevator mix and and 40mm full with a 10% elevator mix (equates to ~2mm up elevator at full flap)
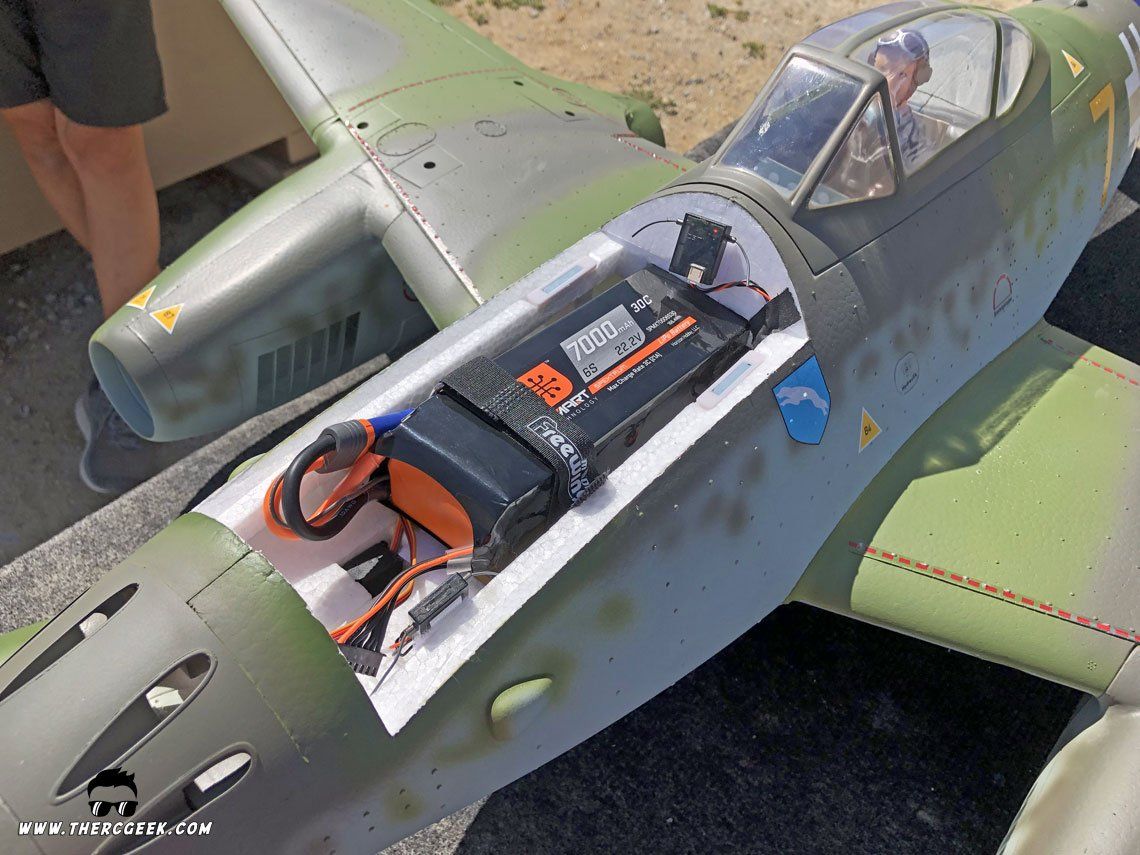
In terms of the CG, the manual recommends 100-110mm as measured from the wing root leading edge aft. I found that the CG location was spot on and never messed with it from the first flight. In terms of batteries, I've used Roaring Top 6s 5800s and 6250s which were good, but I really fell in love with the 30c Spektrum 6s 7000mah pack in the airplane. With the battery placed all the way to the rear of the battery tray, the CG worked out perfectly and the flight times are fantastic with that pack. I can fly the airplane as hard as I want for 4+ minutes and still have enough reserve for a go around or two if I have to. The 7000 packs are about 6oz heavier than the 5800s and are highly recommended for the airplane!
FLYING THE FREEWING Me 262 SCHWALBE
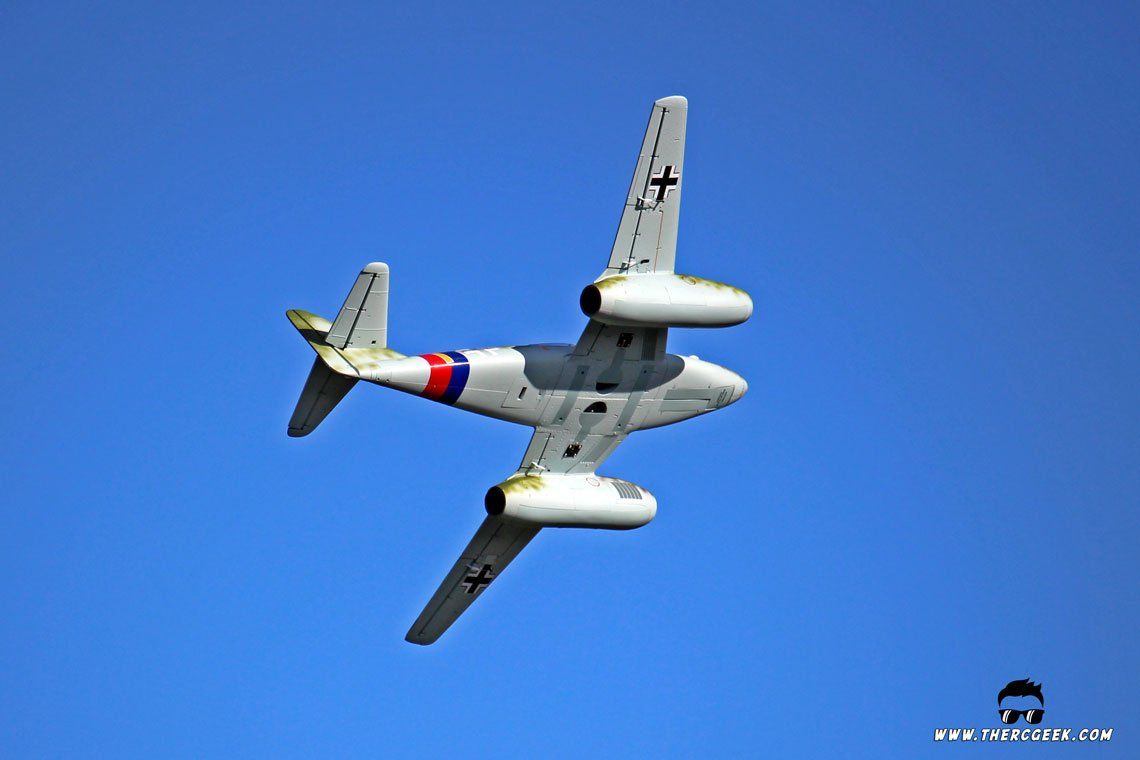
The Freewing Me 262 V2 certainly delivers on looks and it absolutely delivers on flight performance as well. I could tell from liftoff on the maiden flight that it was going to be a sweetheart and it is. The airplane delivers on all levels being fast at full throttle with great big vertical capability while also being able to slow down beautifully in the landing configuration. The airplane cruises and maneuvers well at 60% throttle which can really extend the flight times while at full throttle will perform huge vertical maneuvers. Plus, at the partial throttle settings, the airplane even has a beautiful sounding growl to it which gives it a sense of realism. Interestingly enough, the airplane will even perform a beautiful knife edge the full length of the field without a problem and with minimal coupling. It's extremely fun! One thing to note is that takeoffs only take about half throttle to get in the air. Taking off at full throttle is fine, just note that the airplane likely lift off sooner than expected based on the thrust offset from the underwing nacelles.
Here's a short flight video of the airplane in action. This is the stock Me 262 with the Spektrum 30c 7000 mah pack. My timer is set for 4.5 minutes which is when I setup for landing which means it's over 5 minutes of flight time. I like to fly the airplane pretty hard, but that could be extended with greater throttle management.
FINAL THOUGHTS
Needless to say, I have been thoroughly enjoying the Freewing Me 262 V2 as it looks good and flies even better. It's been a great airplane to have in the hangar as it really feels and flies like a larger jet. The overall flight characteristics combined with the power systems really make this a fantastic model. Until next time, I'll see you at the field!
The RC Geek Blog is your place to learn about all aspects of the RC hobby. Learn to build, design, drive or fly that RC project you’ve always wanted to build, but have been intimidated to try. This blog is here to help you on your journey and provide tips and tricks as you go! My hope is to inspire builders both experienced and new! So, welcome, please look around, it’s an exciting beginning! I’m currently documenting my latest competition scale RC jet build, a Mark Frankel F4D Skyray, along with some other fun tips and videos. If you can’t find what you’re looking for on this front page, click on any of the categories to the right and it will show just posts related to those categories. Please feel free to add comments and/or contact me directly if you have questions, I’m here to help! And don’t forget to check out my YouTube Channel, I post new videos every week!
Subscribe To Our Blog Now
