The RC Geek Blog
By: Chris Wolfe
Back from the ashes, Refinishing and Weathering the E-flite P-39 Airacobra!
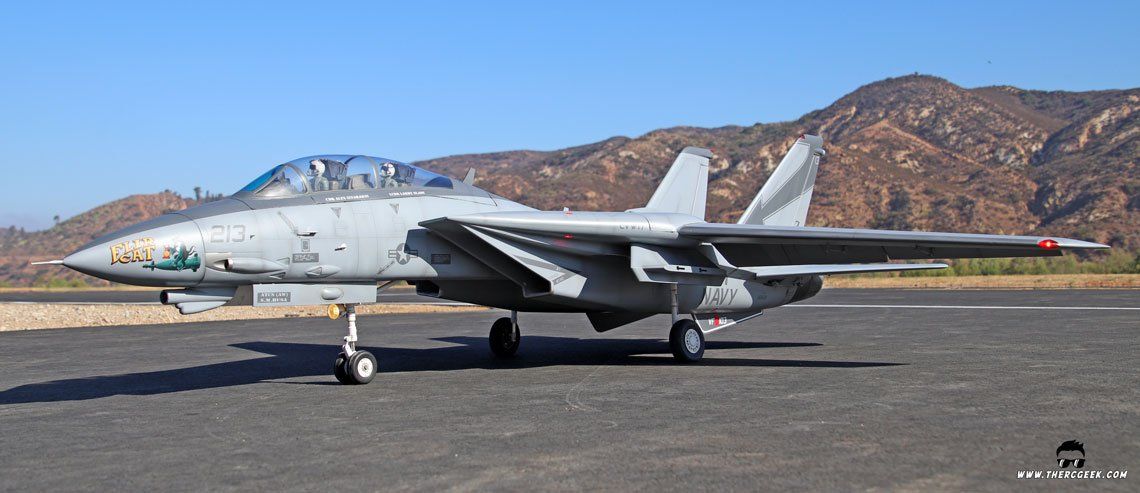
To this point, I realize that many of the weathering techniques I've shown, or at least the subject aircraft, have been jets. I do love my jets and the techniques I've shown are extensible to warbirds as well, but there are a couple distinct differences that are worth talking about. Most notably, paint chipping is not something that you see often on modern jets based on their maintenance and the fact that regularly accessed panels are regularly touched up. Also, piston engine exhaust staining is another one since, obviously, jets don't have piston engines. So, when my E-flite P-39 Airacobra wound up crashed upside down in the weeds at our field, it was a great opportunity for a refinish as well as a great subject for showing some of these additional techniques.
A Quick Note about the Refinish
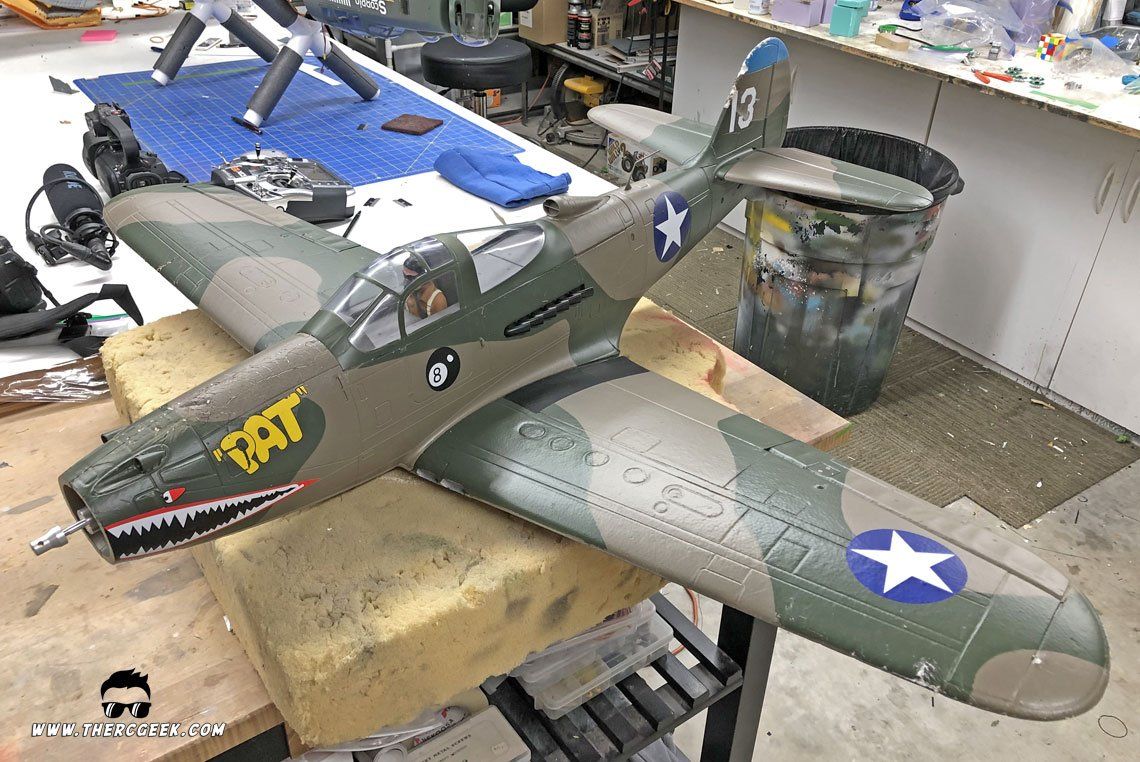
One thing that's worth mentioning is that a crashed airframe is sometimes the perfect opportunity for a refinish. It's a bit of a process, but using a crashed airframe is a great way to practice and learn some of these techniques if you've never tried them. In terms of the refinish itself, it was accomplished utilizing the techniques that we've shown here on this site and on my YouTube channel (thercgeek.com/kitbashing). Note that I did not strip the paint on this one, I simply did all of the prep work over the stock paint.

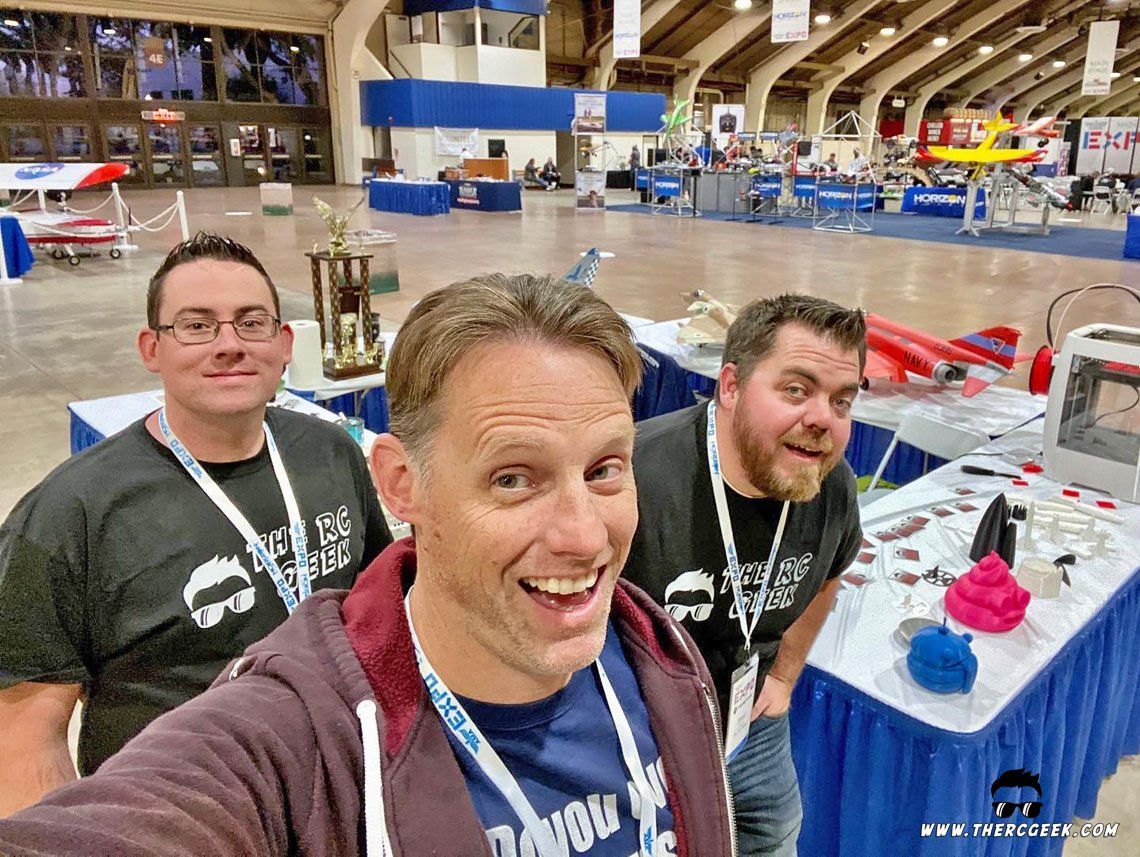
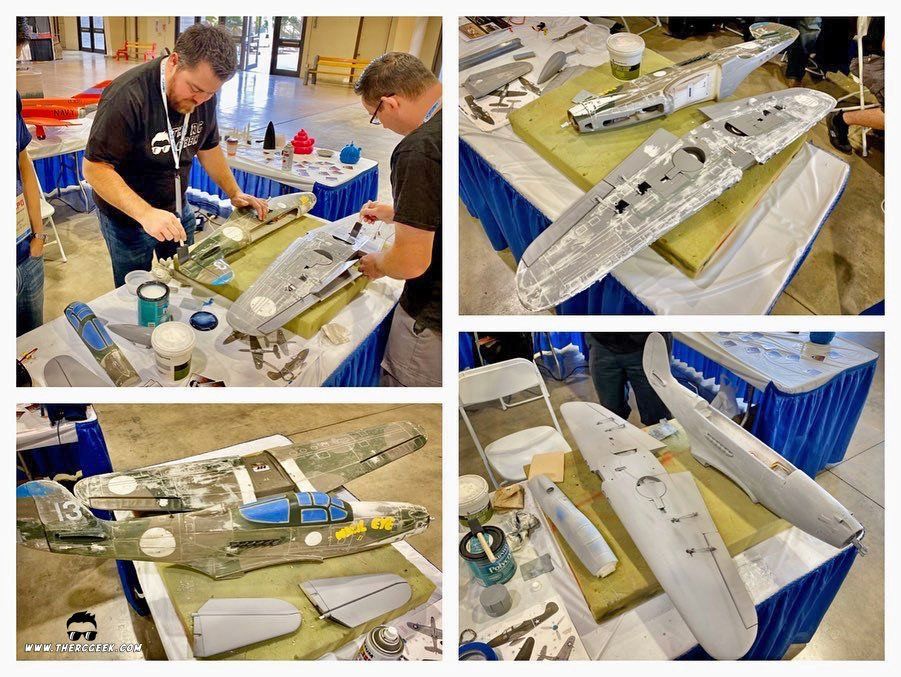
After the crash, I had put the airplane aside for a time and when the AMA West Expo came around for its final time, I thought it would be a great chance to use the model as a subject for showing foam repair and refinishing techniques at the show. With the help of my friends at the show, through the course of the 3 days, we had the airplane completely smoothed out, primered and mostly paint ready by the end of the show. It was a blast!
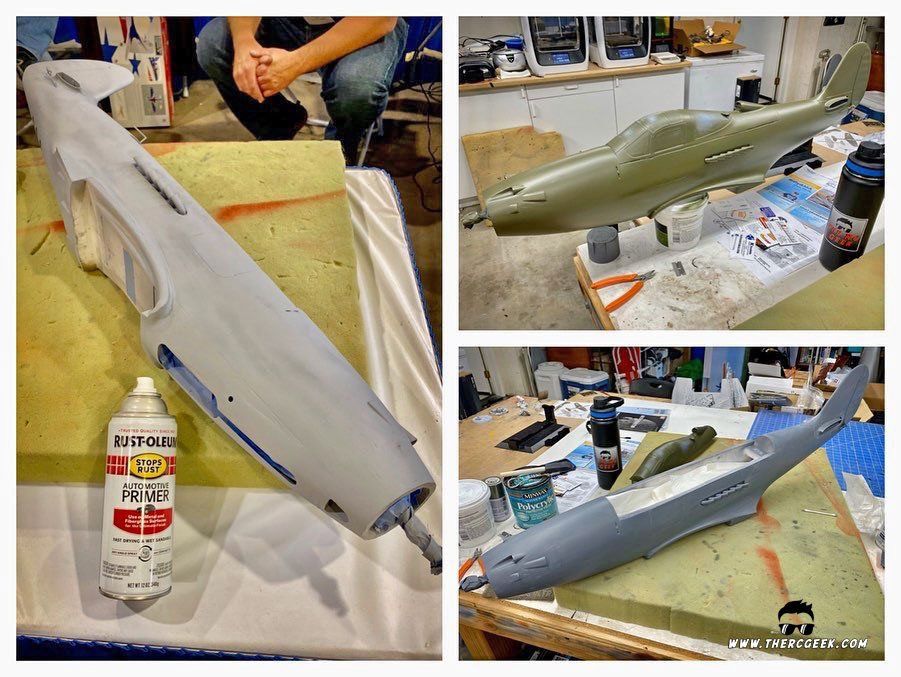
Following the show, I finished up the paint preparation that was needed and painted up the airframe. It takes multiple layers of primer, sanding in between coats with 180 grit sand paper, to really smooth out a foam airframe, so about 3 layers of primers were applied in the process. From there, final primer coat was wet sanded with 600 grit wet/dry sand paper and then the model was painted.
The model was painted with Tamiya AS Spray Paints utilizing AS-6 Olive Drab for the upper side and AS-7 Neutral Gray on the underside. I want to note that to get the feathered separation line between the upper and lower surfaces, I used 3M Soft Edge Masking Tape to mask the separation line and following paint, burnished the separation line lightly with a scotch brite pad. It ended up working out fantastically providing a perfect soft feathered edge without having to bust out the airbrush. This was a new process for me and really gives me an idea about doing a full camouflage scheme utilizing the soft edge tape and spray cans on another project.
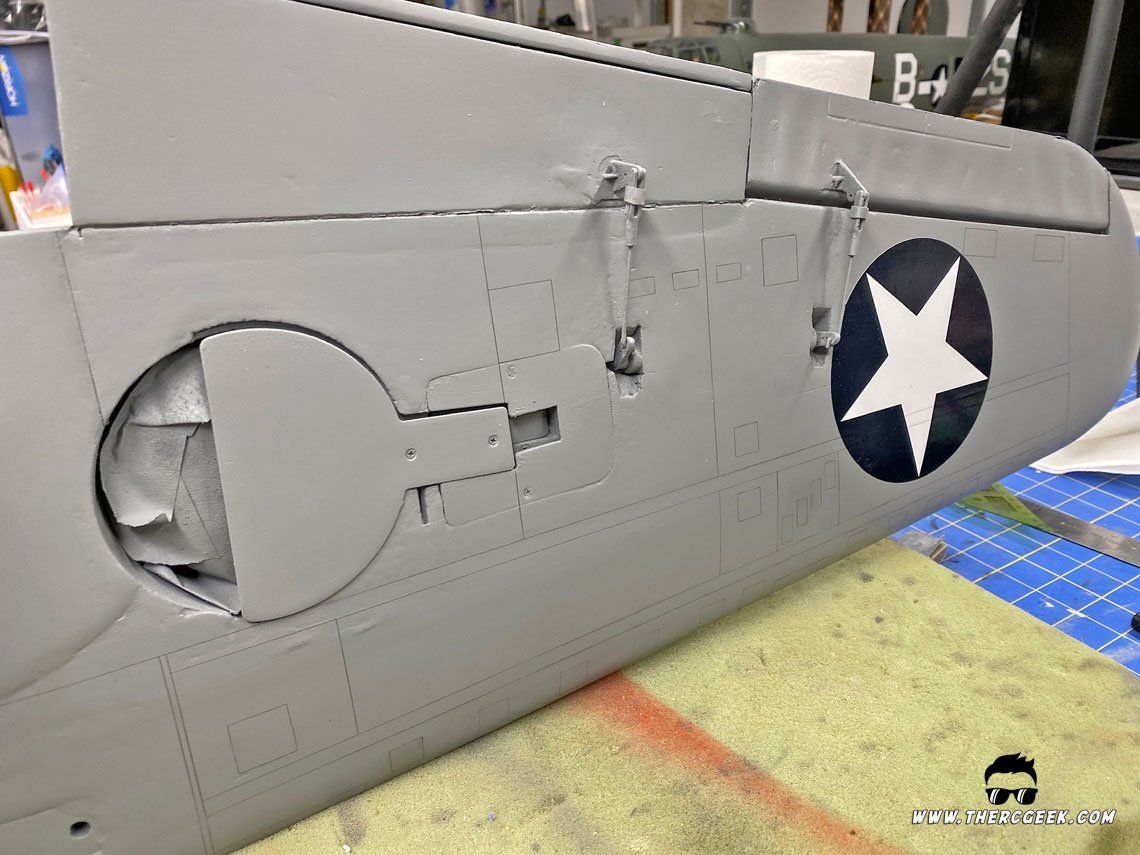
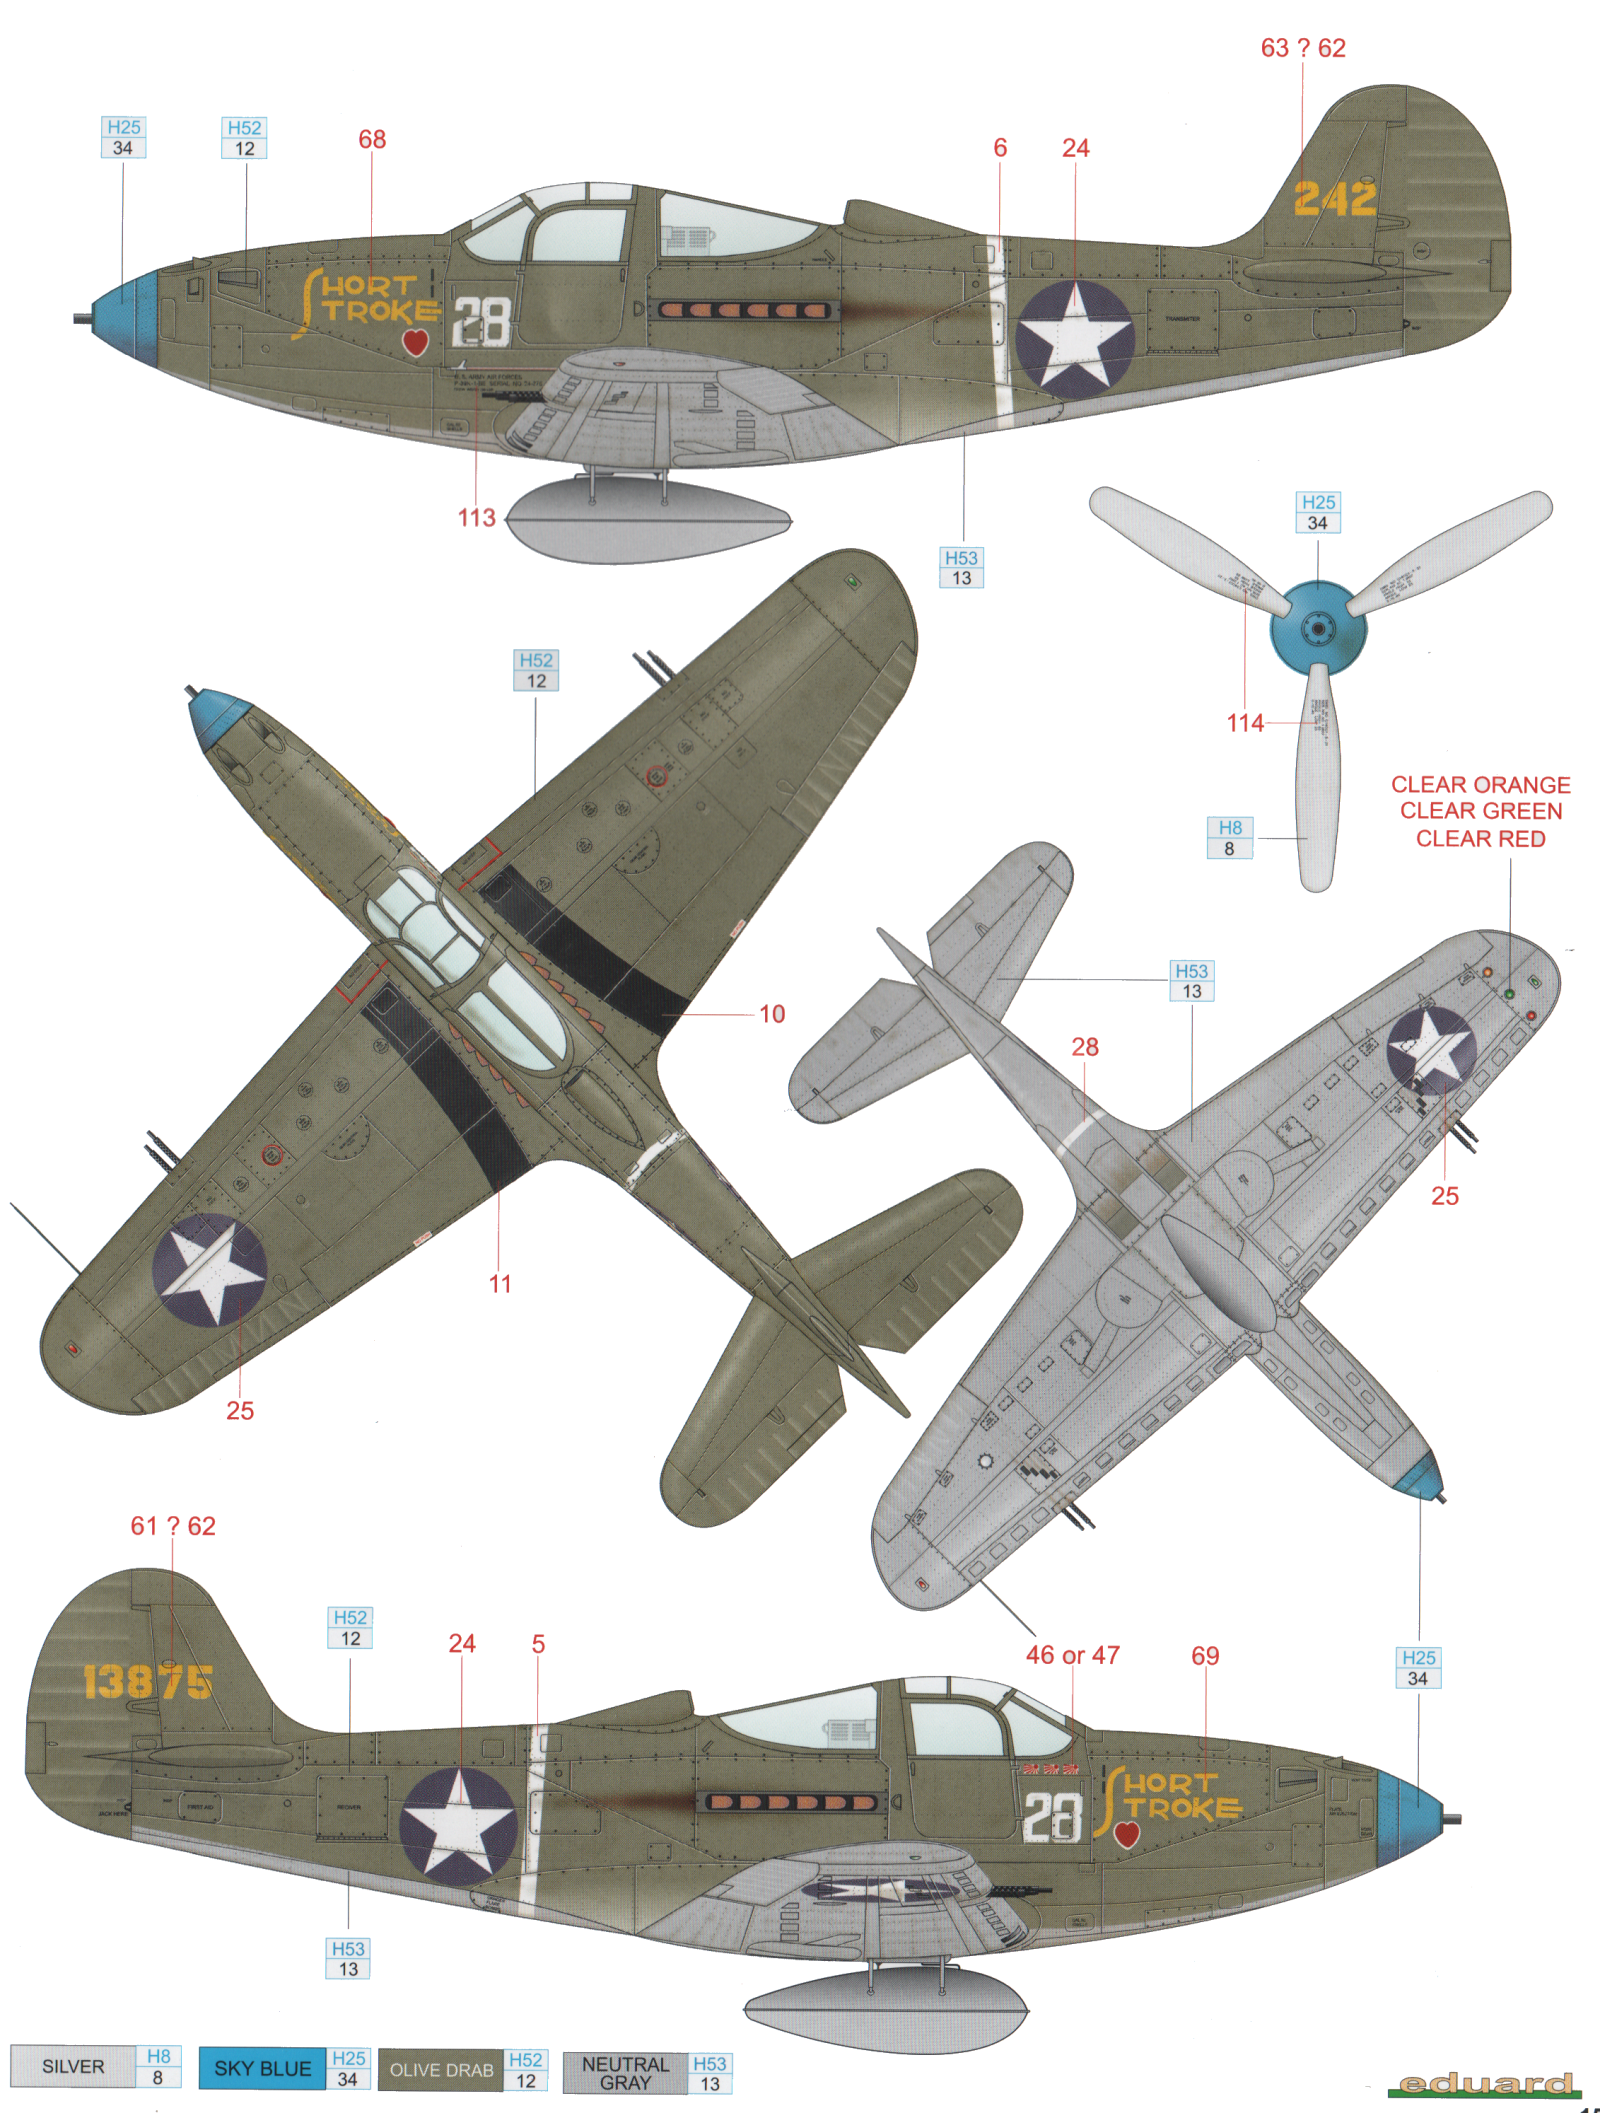
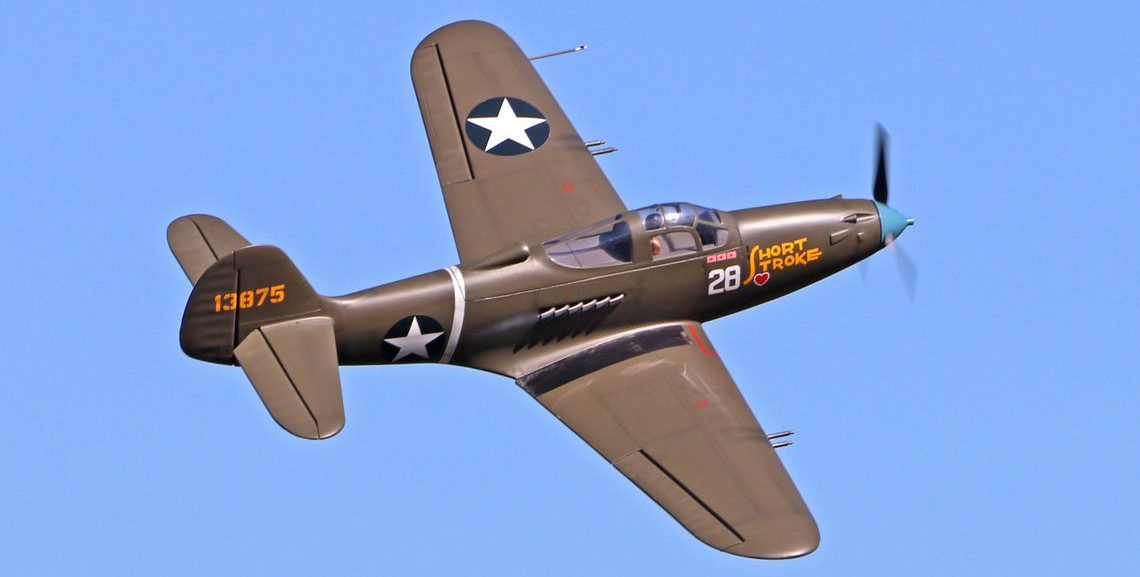
Regarding markings, I had found a multi-view drawing of a 3 victory P-39 carrying the moniker of "Short Stroke" which operated from Guadalcanal from late 1942 to early 1943 that I liked. It was only a two tone color scheme which meant painting would be simple and I liked the nose art that it carried, so it was a win, win. For the markings, I employed the help of Callie-Graphics and so, following paint, they were all applied with much rejoicing! Following that, pencil panel lines were applied over the entire airframe using a 0.05mm mechanical pencil (see video below from my Kitbashing series regarding panel lines). Once applied, I sprayed a light clear coat over them to protect them from the weathering process otherwise they would fade while working on the airframe. So now, it was now on to weathering!
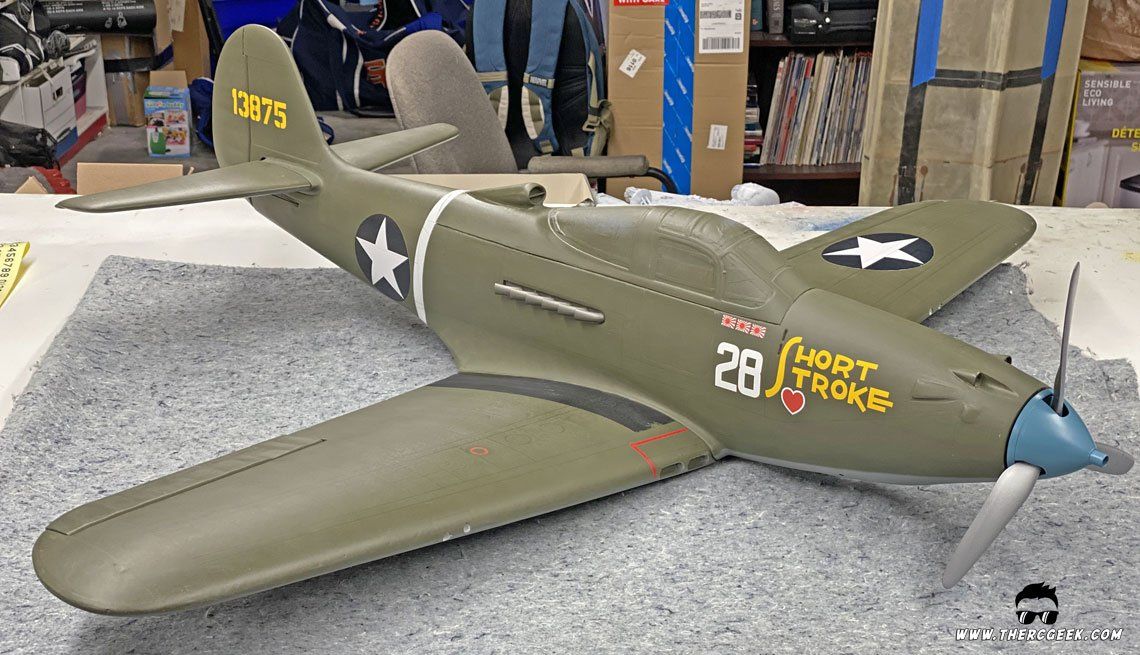
One quick note about the clear coat I used on this particular project. I ended up using a new lacquer clear I'd not used before on the model and made the mistake of not thinning it sufficiently. That ended up frosting and roughening the surface a bit which made discerning panel lines in the green areas pretty difficult. No amount of scotch-brite pad rubbing was cutting it down and seemed to make it worse in some cases. So, in the end, I performed a light wet sanding over the whole airframe with 600 grit wet/dry sand paper which really helped significantly. The panel lines in the green were still a little tough to discern, but it ultimately worked out. I ended up using Rustoleum Matte Clear for the final clear coat which worked great and resolved the frosting I was seeing from the other clear. It was the first time I'd used the Rustoleum clear (I did test it first) and I would definitely use it again!
A Quick Note on the Weathering Tools
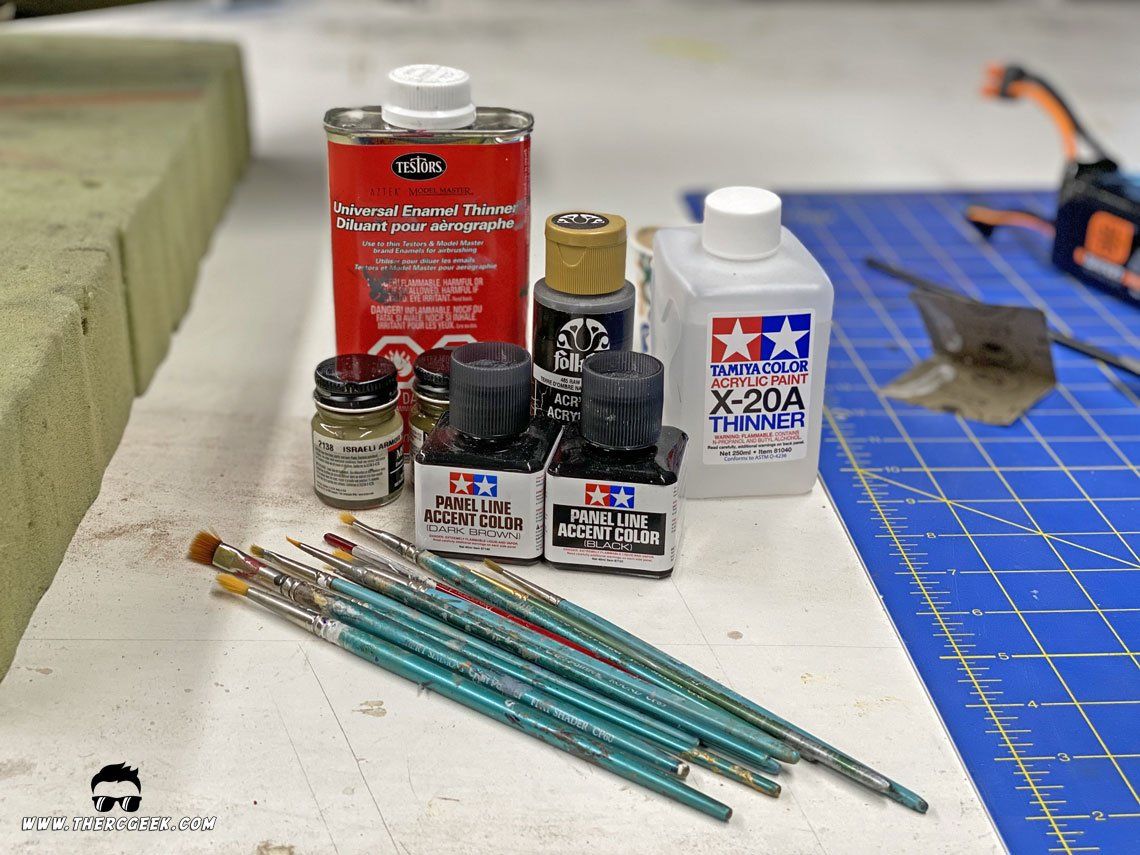
The weathering process is about taking a pristine built model and simulating years of use and abuse in the field to add realism. This is important to note because we will never be able to replicate all those years of intense exposure to the elements, we can only simulate it through the use of different tools and techniques to artificially make the model look aged. In terms of the tools, I like to use a selection of acrylic pigments along with Tamiya Acrylic thinner for washes and oil streaks (you could conceivably use tamiya acrylic paint too) and a Grex airbrush (I love these airbrushes!) for fading and shading, and a fine Scotch-Brite pad for blending it all together. I regularly leverage plastic model paints such as Testors Model Master and the like in this process as well, but it's important first to have a good solid paint foundation for the application of the weathering. This is why I like to use a lacquer clear coat generally as most any type of paint will go over it in the weathering process and protect the underlying paint job underneath.
WEATHERING AT LAST!
I mentioned the Scotch-Brite pad above and I can't stress enough the value of using this during the weathering process. As weathering layers are applied to the airframe, I use the Scotch-Brite pad to burnish the finish down to blend the layers together. This can be used to tone down weathering if it's too much as well. It doesn't take much for it to make a big difference in the realism of the finish. On a final note, as you go through this process, remember that less is more when it comes to weathering!
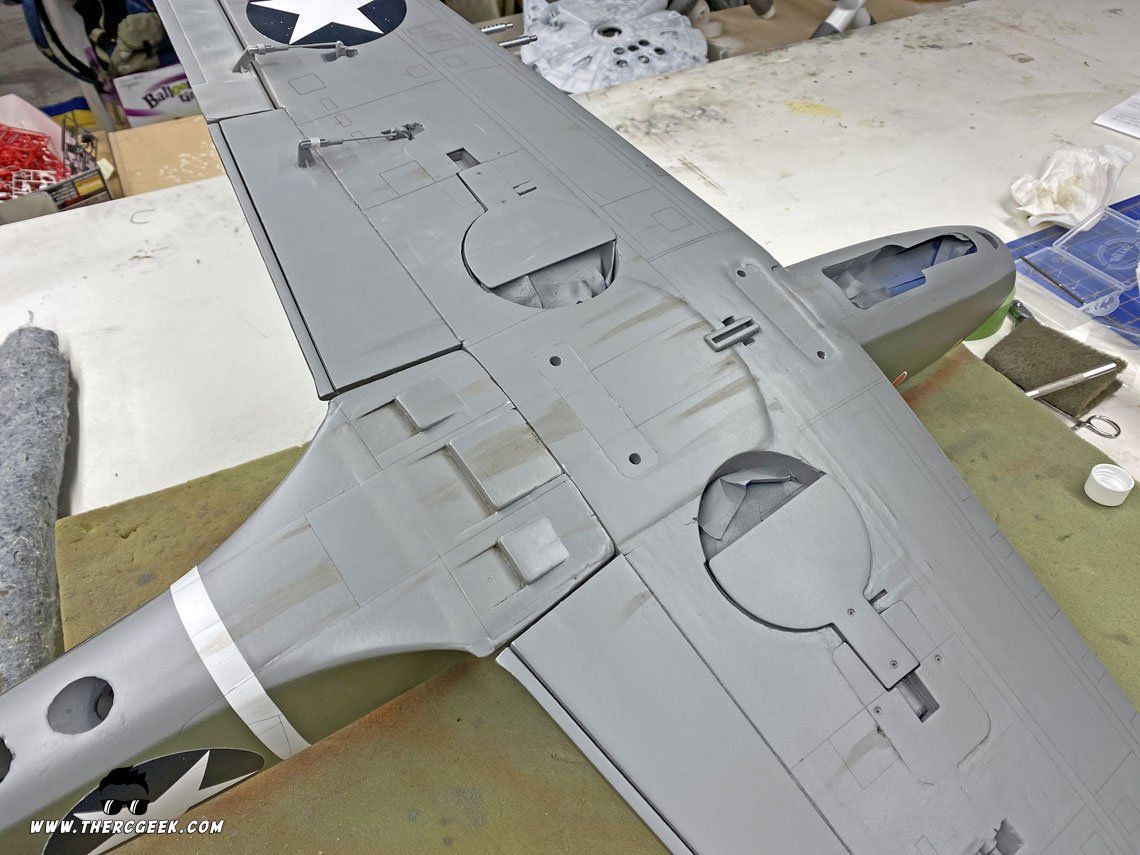
CONTROL SURFACE FADING
When looking at pictures of P-39 Airacobras from WWII, it was pretty apparent that the canvas covered control surfaces most definitely faded over time. I wanted to simulate this on the model by airbrushing a lighter shade of color over the molded ribbing on the model. To achieve the lighter shade of "Olive Drab," I used Model Master "Armor Sand" thinned down with Enamel Thinner to the consistency of dirty thinner. From there, the control surfaces were masked off and the thinned paint was airbrushed over the control surface details. The model features some scale ribbing that would be apparent from a fabric covered surface, so the raised ribs were airbrushed over. The beauty with the thin paint is that if you want more color, then simply perform another pass and repeat until the desired shade is achieved. Only 1 to 2 passes were made in this case as I was looking for a subtle effect on the surface. From there, the tape was removed and the surfaces were burnished down with a Scotch-Brite pad until I got the look I was going for. The intention was for it to be subtle, so a good portion of the applied paint was burnished away. I was looking for a slight color change and a highlight effect on the ribs. Note that the same was done on the underside with Model Master "Flat Gull Gray" used as the lighter color.
WASHES AND OIL STAINS
With the control surface fading completed, I went on to applying some oil stains and streaks. This was primarily done using Folkart Raw Umber acrylic pigment. Some pigment was applied to the surface in a desired location along a panel line using a paint brush. From there, I used my finger to streak/rub the applied pigment back in the direction of the airflow. This was repeated as necessary to get the desired look. It's a pretty arbitrary and random process, but utilizing some reference photos, you can get an idea of where these kind of leaks occurred and how heavily along the aircraft. Note that in some cases, additional pigment was added to the same area to get the desired look if it came out too light. Also, rubbing with a paper towel lightly soaked in Tamiya Acrylic thinner can help as well. I typically will use a combination of my finger and a paper towel. Experiment with it and try different applications to get the desired results. The beauty is that if you're unhappy with it, simply use the Tamiya Acrylic thinner to clean it up and start again. One thing to note is that for the flying surfaces (wings/tails) and fuselage underside, the streaks were applied in the direction of the airflow. However, for the fuselage and vertical tail, the streaks were applied vertically. The fuselage stains are typically the result of the aircraft sitting in the elements as any leaks, etc. tend to run vertically to the bottom of the aircraft where they then streak backwards on the underside.
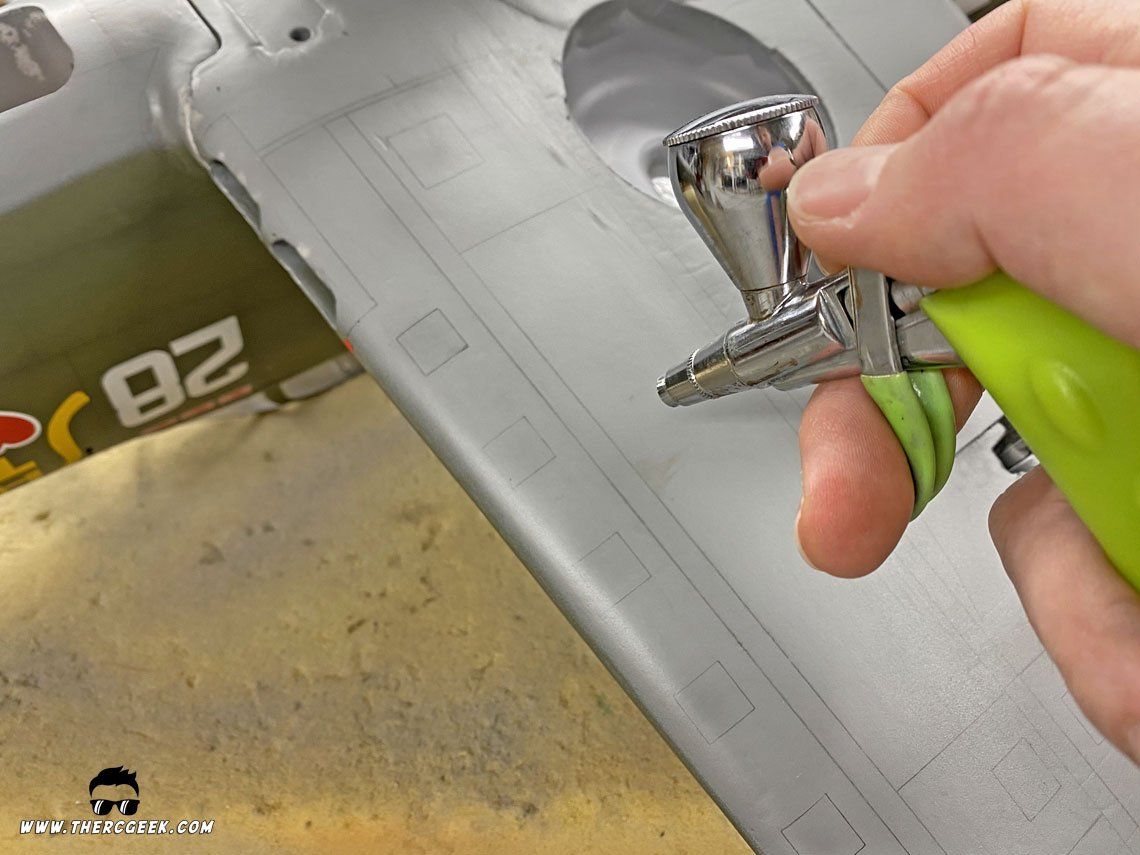
PANEL LINE SHADING
Similar to the control surface fading, a quick shading was done over all of the panel lines on the model using very thinned down Model Master "Flat Black." This helps break up the constant color of the airplane while also provide a faded center panel look along the model. Once all of the shading was applied over the entire model, the whole thing was burnished down with a Scotch-Brite pad to even out the layers (very important!). This was also used to help reduce some of the too heavy application I wasn't happy with. It's important to note that this technique is very easy to overdo and apply the shading too heavily, so be cognizant of that. Also, I recommend being inside and under artificial light as you do this. If applying the weathering outside in broad daylight, I guarantee that once the model is brought inside, it will be far too heavy since the sun tends to wash the colors out.
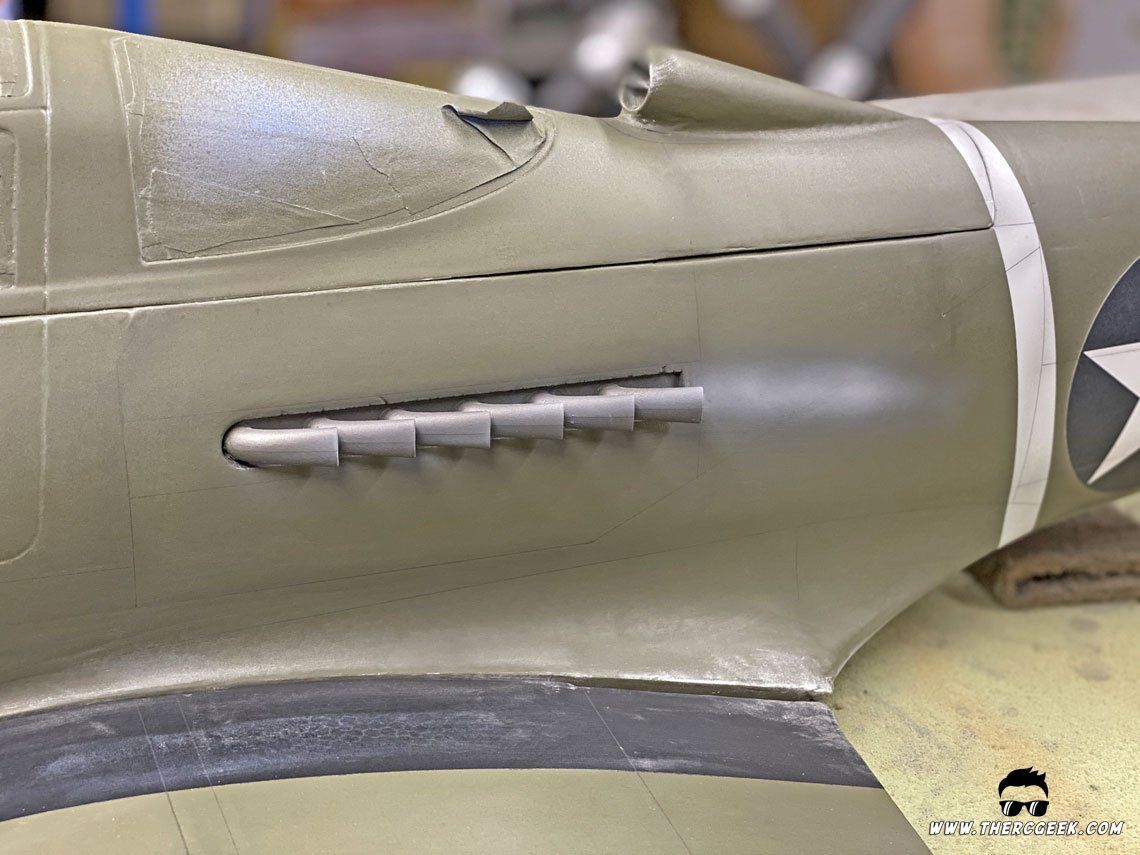
EXHAUST STAINS
While applying the shading over the panel lines, the black was used to apply some exhaust staining along the exhaust stacks on the fuselage. The shape and direction of the staining was approximated based on reference pictures. It's best to apply a little at a time and build up to the desired look in this process. When I was happy with the black application, I followed up with applying some thinned down "Flat Gull Gray" to shade the center of the black application. This was to simulate the heat and light colored staining that is so apparent on a number of the operational Airacobras during WWII. Reference pictures are huge here, as some Airacobras had a ton of exhaust staining, while others less. And, if you can find a pic of your specific aircraft, even better!
PAINT CHIPPING
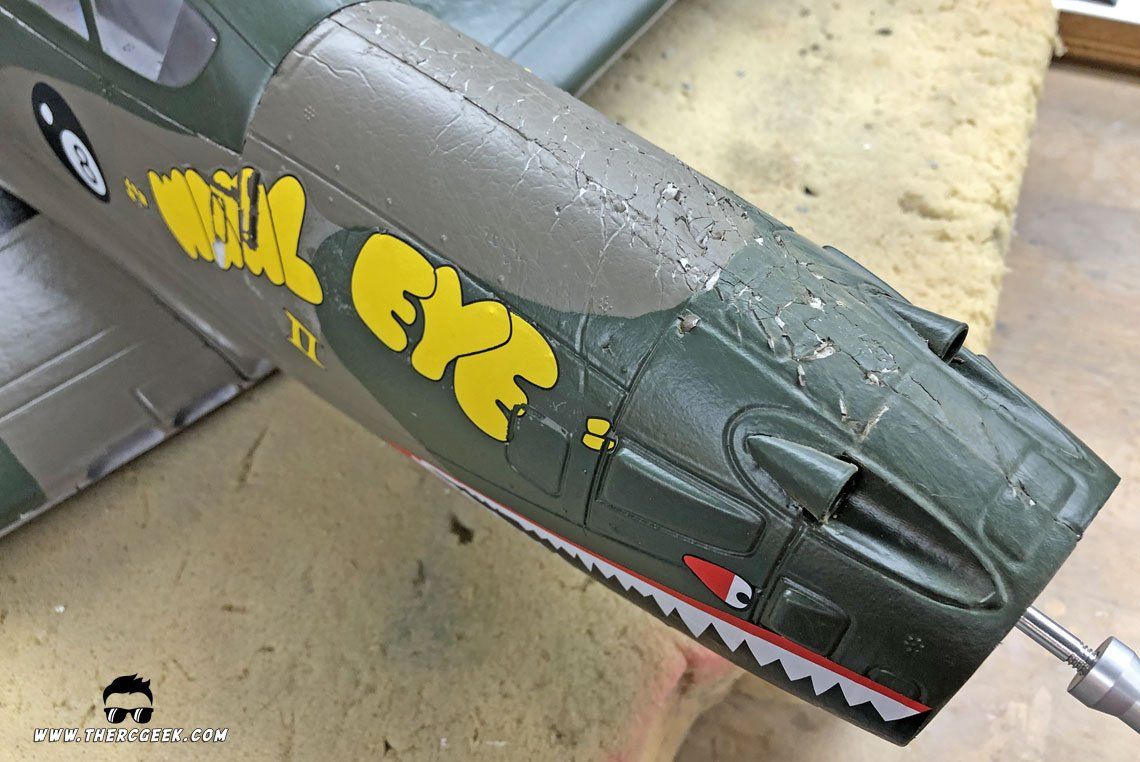
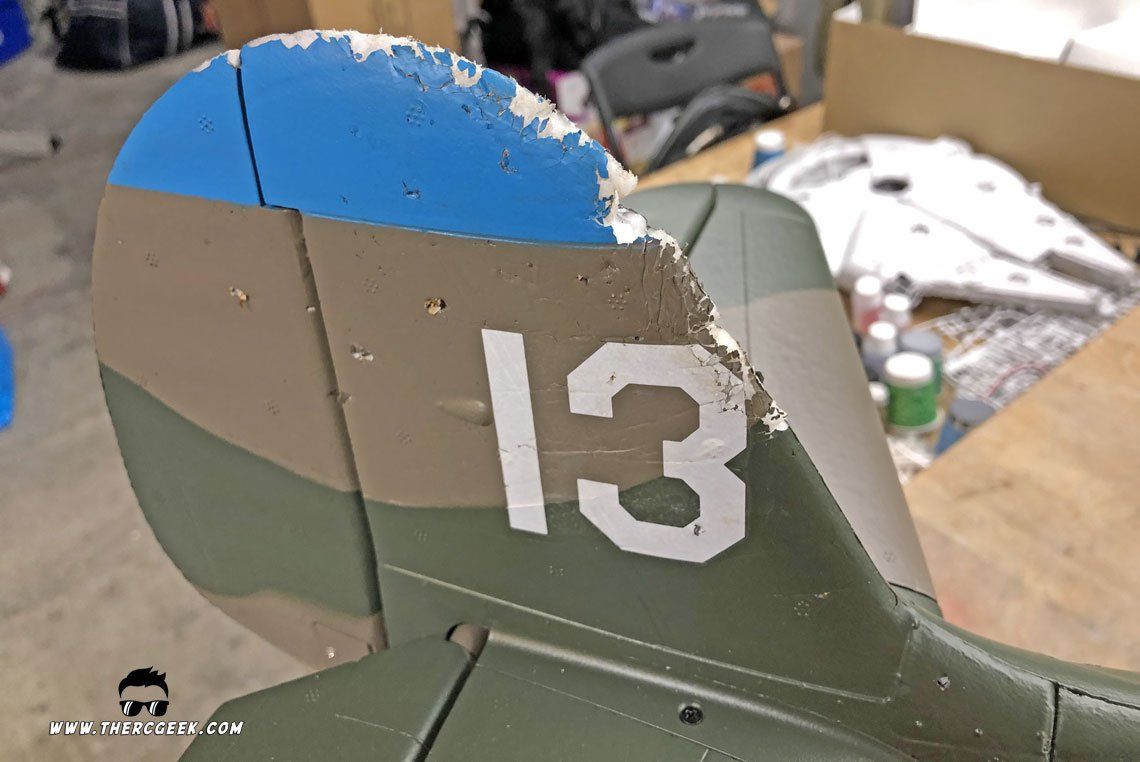
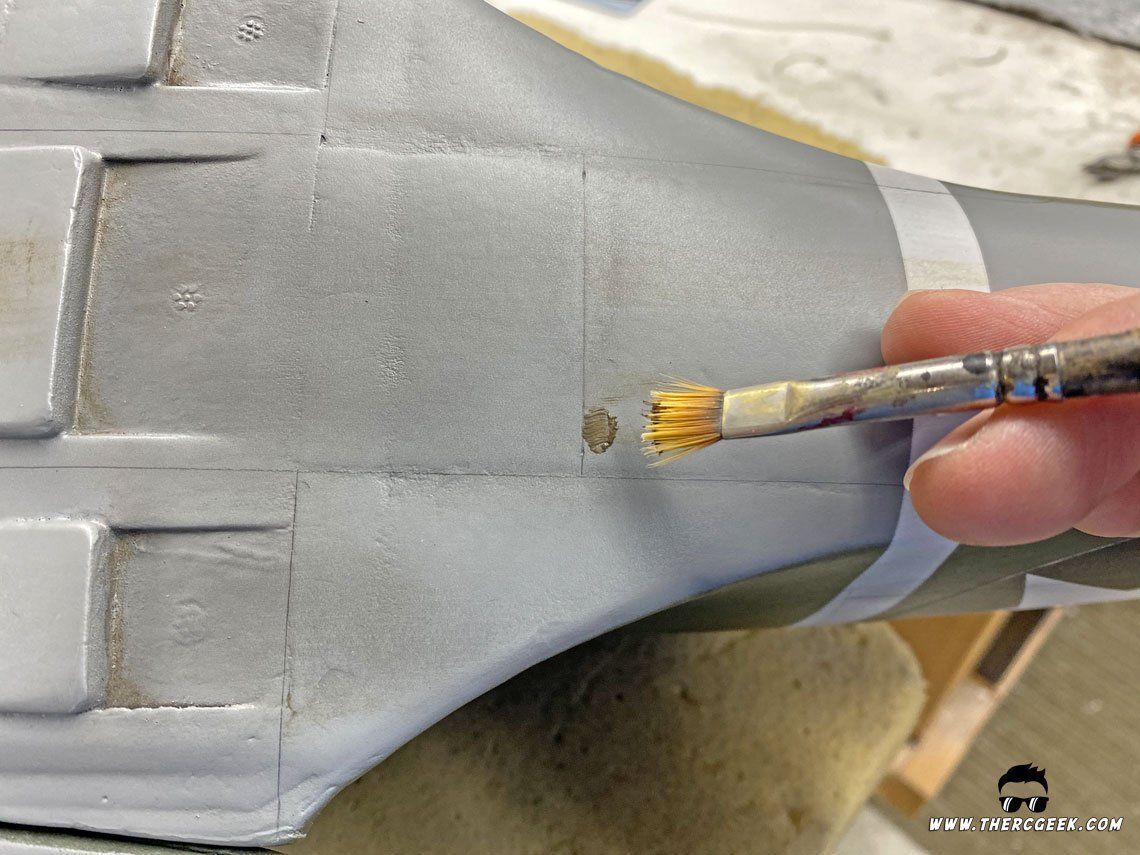
Finally, to finish the process up, some simulated paint chipping was applied. On the P-39, I found that the most notable areas of worn paint were along the wing walk areas. There were also random chips along the cockpit doors as well but to a much lesser extent. So, to simulate the chipping a dry brushing technique was employed. Using a paint brush dipped in silver paint, the bristles were rubbed along a paper towel multiple times until most of the paint was out of the brush. Then the dry brush was rubbed along the desired paint chip areas. With the dry brushing, the paint will collect on the higher areas mostly and be applied in a light and streaky type manner. I focused primarily on the wing walk areas mostly here knowing that was a common area. Some random chips were applied around the door frame as well with a little bit heavier application of paint. Dry brushed paint chipping is a simple technique, but is also another one that is easy to overdo. I found myself wanting to add more and had to consciously restrain myself from doing so to other areas around the model. My recommendation is to focus primarily on the areas you know have those paint chipping and focus much less on ancillary areas.
THE FINAL RESULT
With all of the layers of weathering applied, I applied a final matte/satin clear coat. As mentioned earlier, I had issues with the original lacquer clear coat I used frosting up on me (sprayed too dry and didn't wet out on the surface), so I used Rustoleum Matte Clear in its place for the final clear which gave a great final finish. It also wetted out the surface sufficiently to resolve the frosting I had experienced with the other clear which I was really happy about and brought the panel line detail to life.
With the airplane completely finished, I am absolutely stoked with the airframe. I love the look of it on the ground, but especially in the air. The airplane really flies great and is easily transportable, so it'll be coming to the field with me regularly! :)
The RC Geek Blog is your place to learn about all aspects of the RC hobby. Learn to build, design, drive or fly that RC project you’ve always wanted to build, but have been intimidated to try. This blog is here to help you on your journey and provide tips and tricks as you go! My hope is to inspire builders both experienced and new! So, welcome, please look around, it’s an exciting beginning! I’m currently documenting my latest competition scale RC jet build, a Mark Frankel F4D Skyray, along with some other fun tips and videos. If you can’t find what you’re looking for on this front page, click on any of the categories to the right and it will show just posts related to those categories. Please feel free to add comments and/or contact me directly if you have questions, I’m here to help! And don’t forget to check out my YouTube Channel, I post new videos every week!
Subscribe To Our Blog Now
