The RC Geek Blog
By: Chris Wolfe
E-flite's Newest Warbird, the P-51D Mustang…and it's extra Smart!
Ever since taking a ride in Dr Ken Wagner's 'Lady Alice' P-51D Mustang, I've been a fan of the of the airplane. Experiencing the airplane first hand in flat is something I will never forget! As an aircraft design, the P-51D Mustang is timeless, it truly is. Being a workhorse in the air war over Europe in WWII, it has cemented itself as arguably one of the greatest fighters of all time. Interestingly, it was one of the first production aircraft to take advantage of laminar flow technology in the wing airfoil design to realize a greater drag reduction in flight. This was quite revolutionary as laminar wing design wasn't well understood at the time.
So, when the opportunity came up to experience E-flite's new P-51D Mustang 1.5m with Smart technology I was elated! Having another good sized mustang in my hangar since my Lady Alice has been long overdue I think. Plus, being packed full of scale features along with Spektrum RC's Smart technology (new offering for a BnF), I was eager to see what it was all about.
AIRCRAFT ASSEMBLY NOTES
Pulling the airframe from the box, you are met with a nice large airframe that has been broken down into only just a few large components. The result is a quick and easy assembly. Assembly starts with the horizontal tail which is a single piece that slips through a slot in the fuselage and then is held in place by three screws. From there, the wing is installed which comes as 3 pieces. The wing center section is held in place with 4 screws and the outer wing panels are split at the flap/aileron intersection and slide on with a carbon tube and snap into place using some plastic snap-in keepers. The nice thing is with the outer panels removable in this way, the landing gear remain attached to the airframe which helps with transport while also making assembly at the field extremely quick.
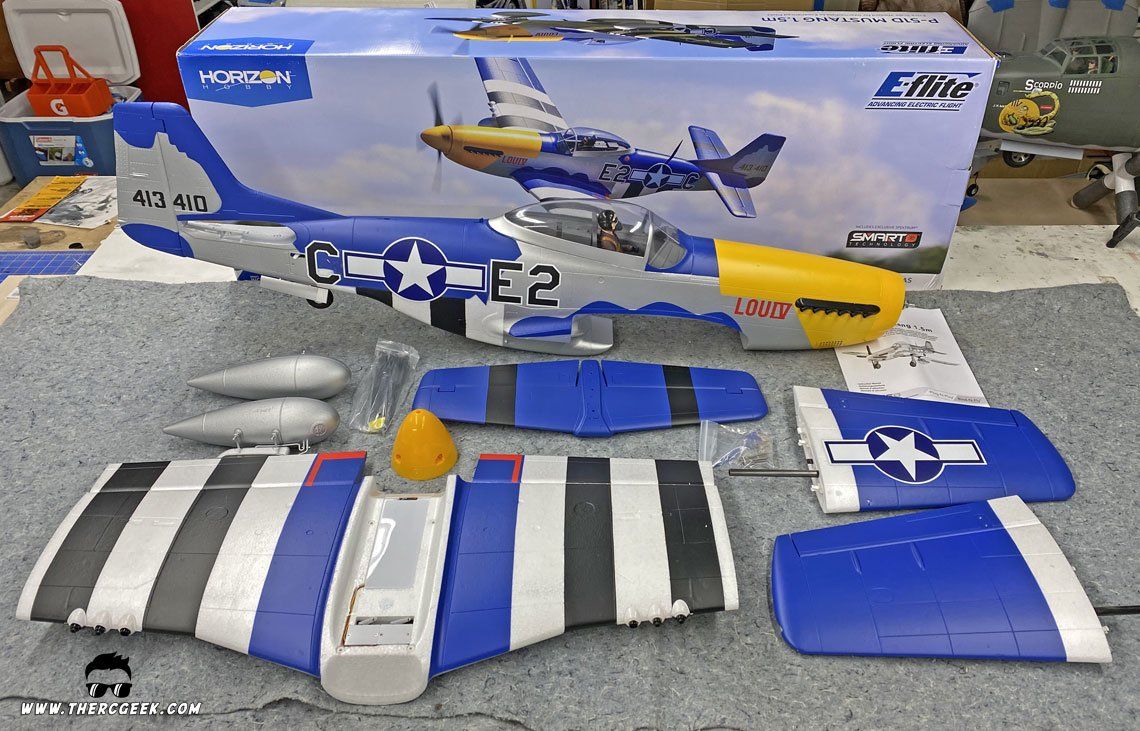


I should note that the wing features hard mounted connectors at the base of the wing root as well as the outer wing junctions. This really simplified the assembly alleviating the need to manually set connectors our route any wires at all.
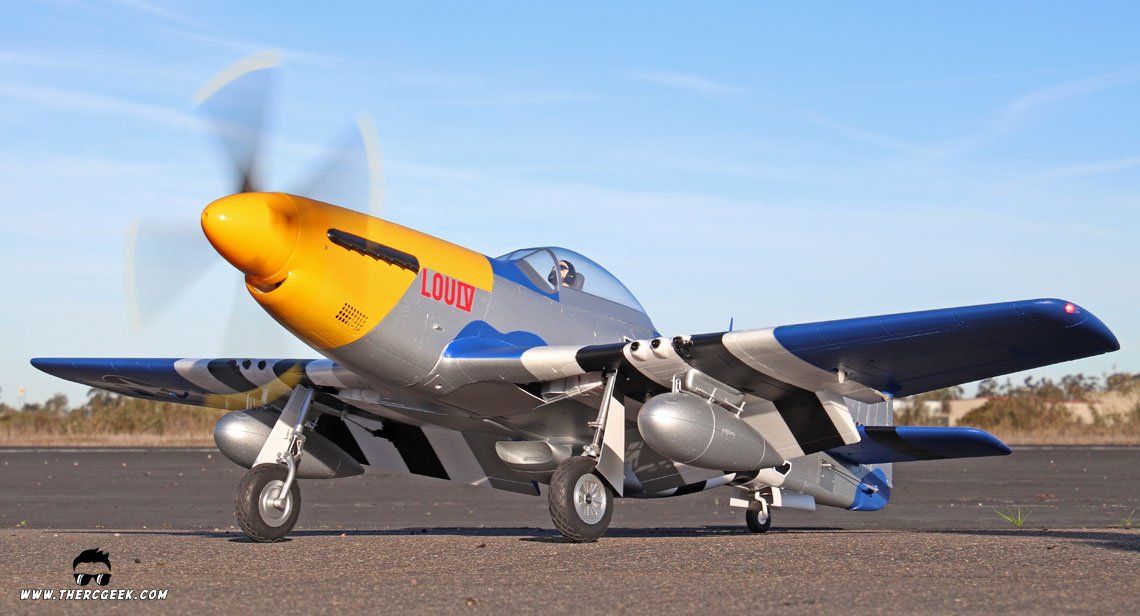
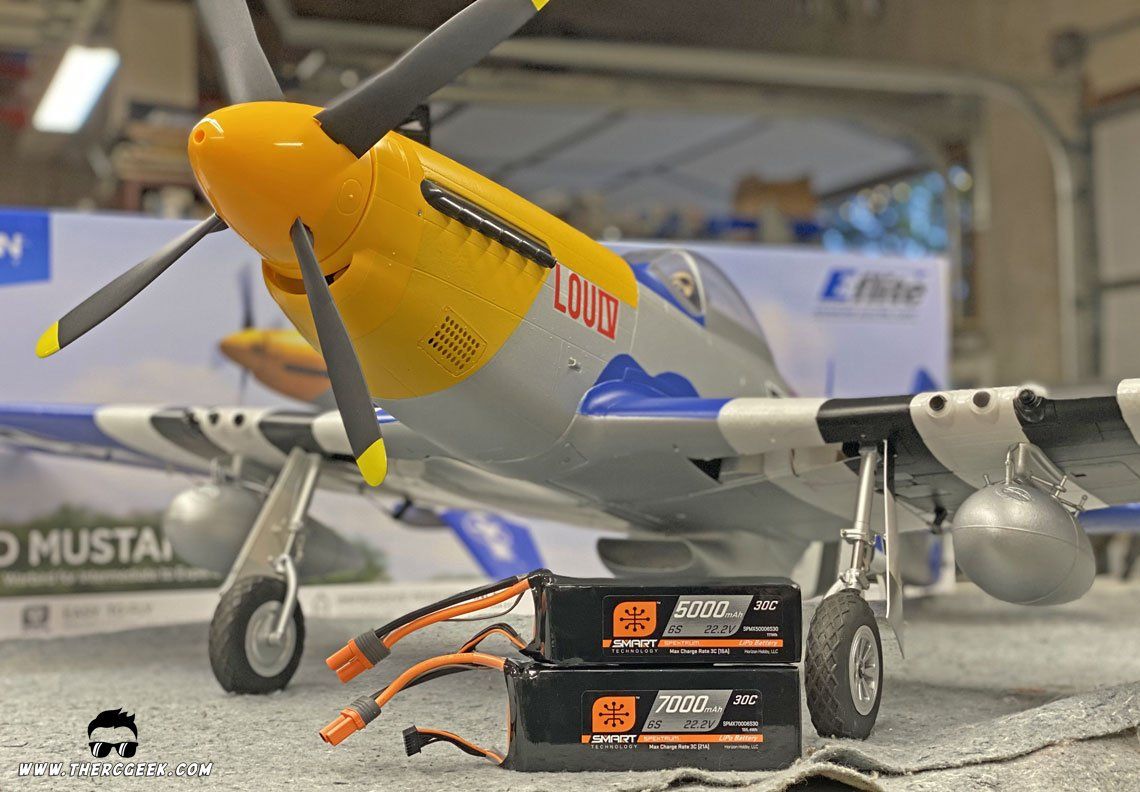
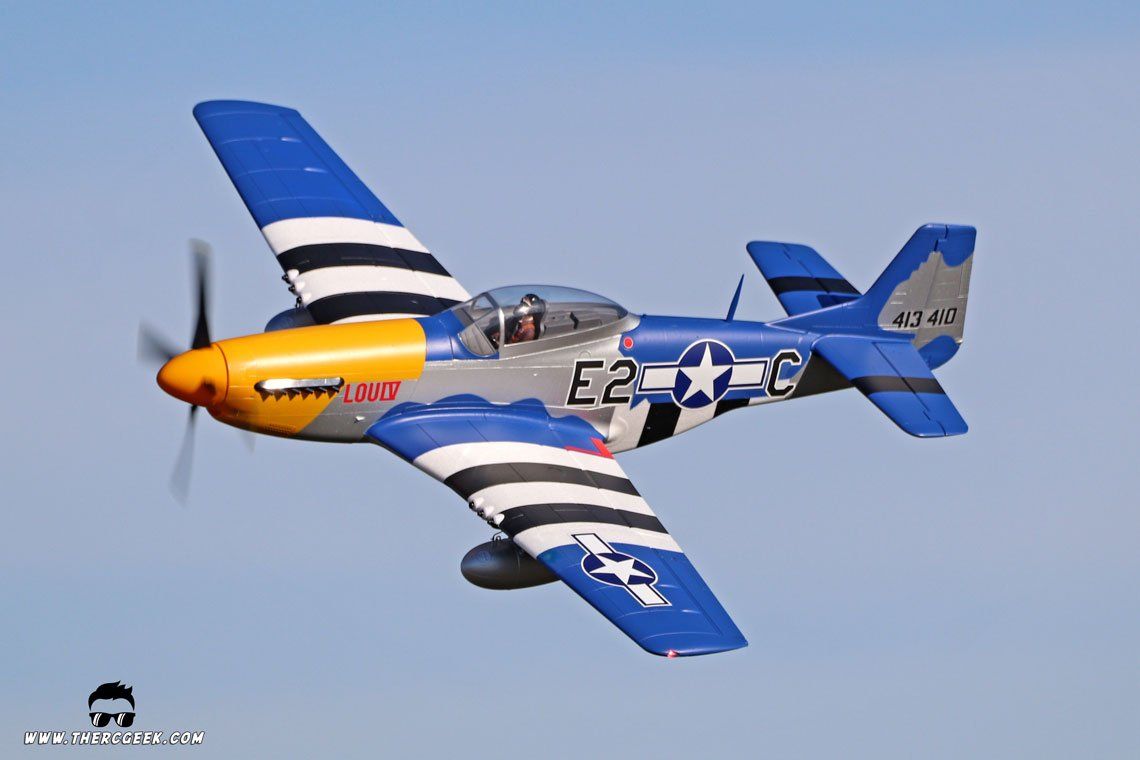
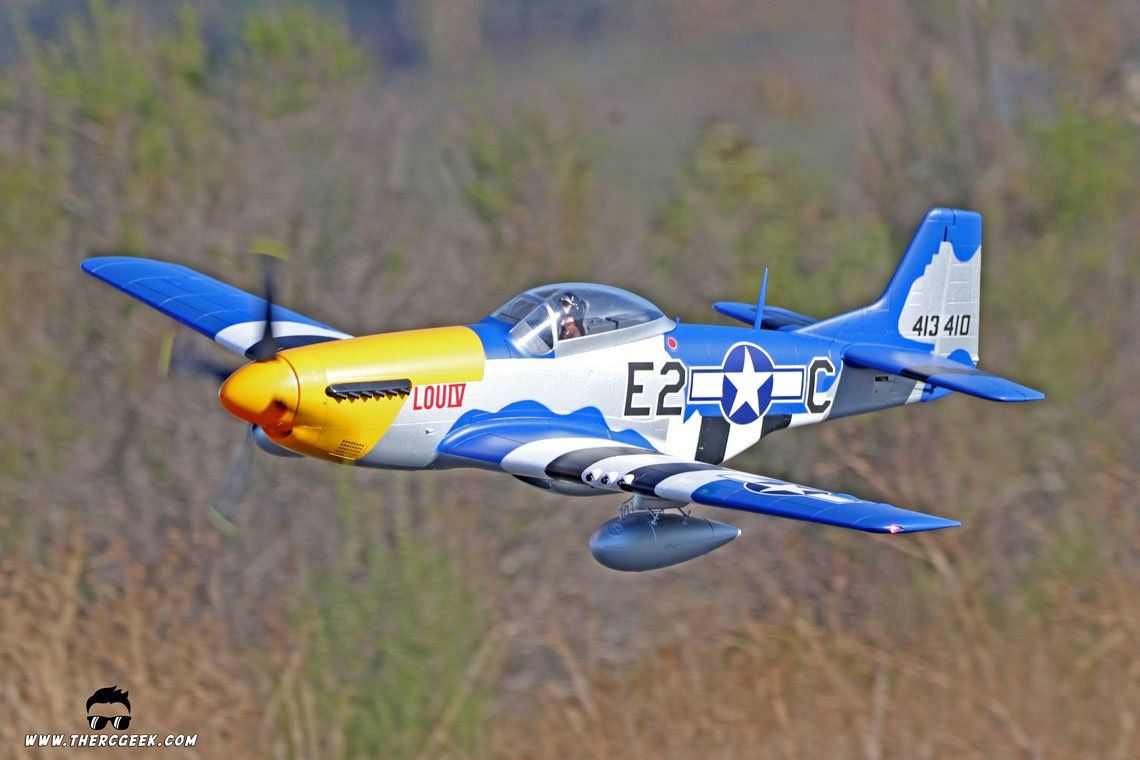
In terms of the assembled airplane on the bench, it looks fantastic! The classic lines of the P-51D Mustang have been characterized wonderfully and the fit and finish of everything is well done. In terms of the paint scheme, it's painted up as "Lou IV" featuring a blue camouflaged top side and a yellow nose over a silver base as worn by a privately owned P-51D Mustang (the Lou IV aircraft that fought in WWII was OD green as opposed to blue) which looks good on the airplane. The blue looks especially nice in the air!


In addition to the nice fit and finish, the airplane also includes some good looking landing gear details including full shock absorbing landing gear, retractable tail wheel and full cycling gear doors. Lastly, the airplane features a nice big 4-blade prop and a scale shaped spinner. These are all the small details that I always love to see in a warbird, I can't help it! ;)
In the process of making this review, I actually had put together a full assembly review video on my channel which is below:
AIRCRAFT SETUP & CG
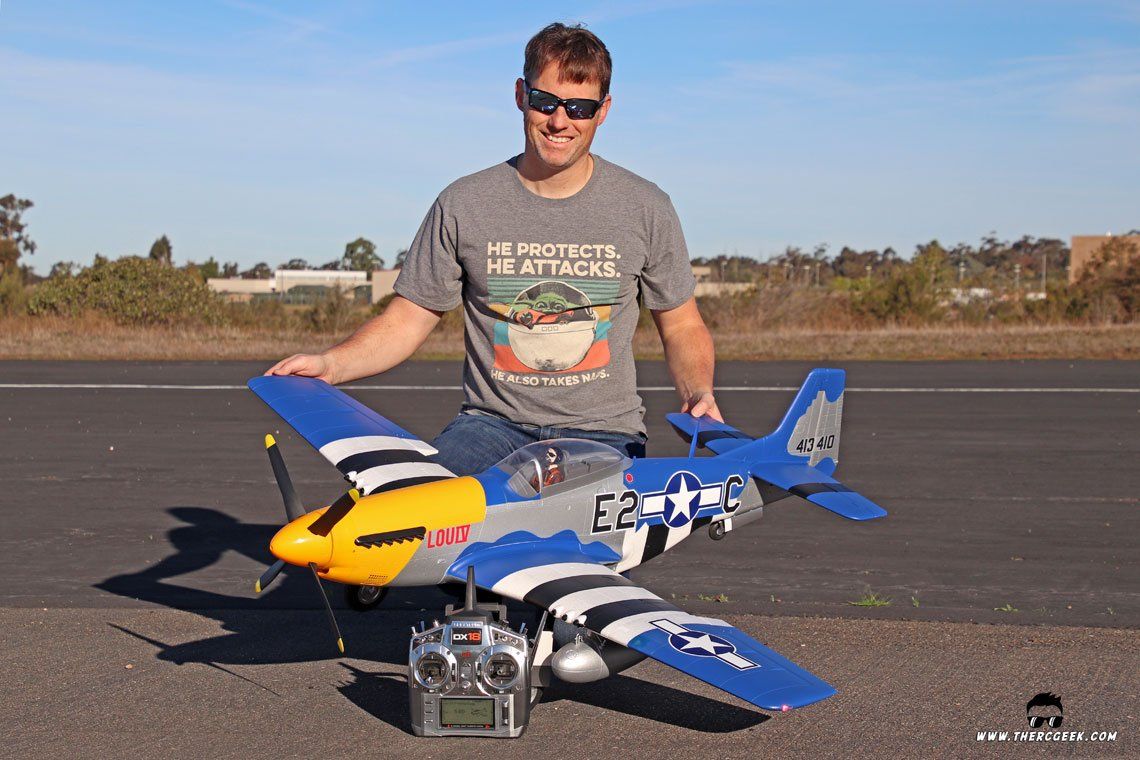
The subject model was the bind and fly version which means that it takes full advantage of the new Spektrum Smart technology (discussed a little more further down) as it comes with a Smart ESC and Receiver. Also, the airplane does not feature SAFE, so if that's something you're looking for, you'll want to look at the smaller 1.2m P-51 Mustang.
For the control surface setup, the E-Flite control recommendations were a great start. Through flying the airplane I found that I preferred the high rate ailerons and the low rate elevator recommendations based on the CG. This equates to the following rates:
- Elevator - 10mm up, 7mm down with No Expo
- Aileron -15mm with 10% Expo
- Rudder - 20mm with 10% expo (the airplane does a beautiful knife edge!)
- Flaps - 22mm half, 57mm full, no elevator mix at all

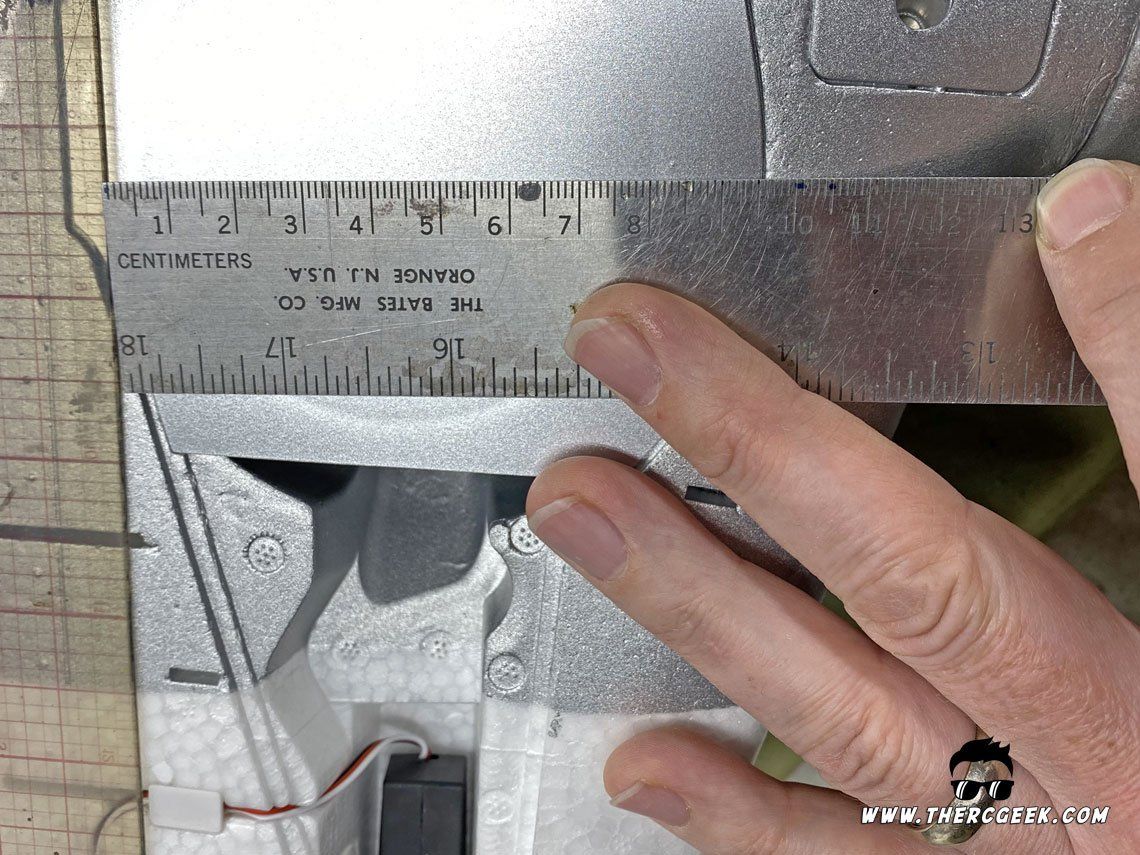
The CG location recommended in the manual is 124mm-137mm as measured from the wing leading edge root aft. For the first flight, I shot for the CG in the middle of that range and that's where it stayed as it felt great there. This equates to 132mm as measured from the wing root leading edge aft. In fact, there is a small rectangular plastic cover near the main gear well which if you place your fingertips at the rear edge on each side to CG the model, it ended up being about perfect.
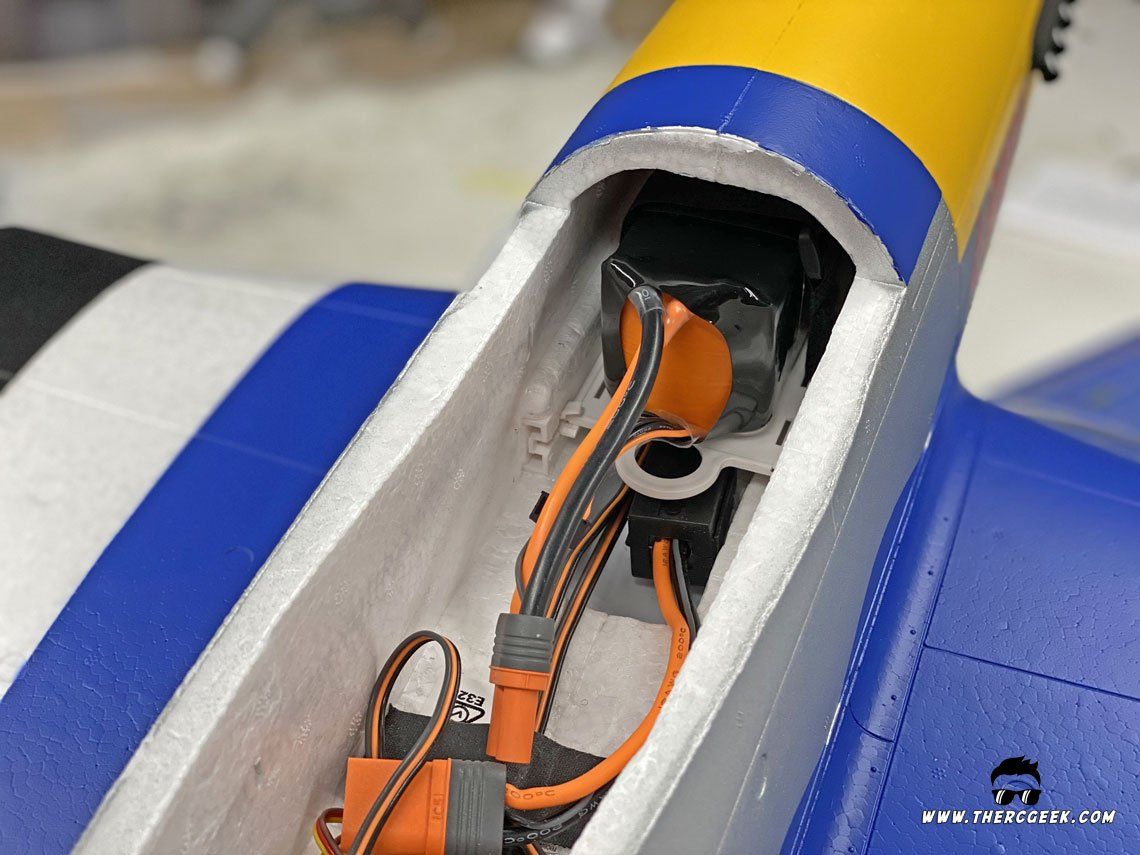
For the battery, I'm using a Spektrum Smart 6s 5000mah pack which provides excellent power and flight times. This also means that the battery talks directly with the Smart ESC so that full battery voltage, current, temperature, etc. is downlinked to the transmitter via telemetry. Note that the model has a sliding tray for the battery, so the battery is placed such that the back of the battery aligns with the rear of the tray which provided the perfect CG.


BEING SMART WITH SMART TECHNOLOGY
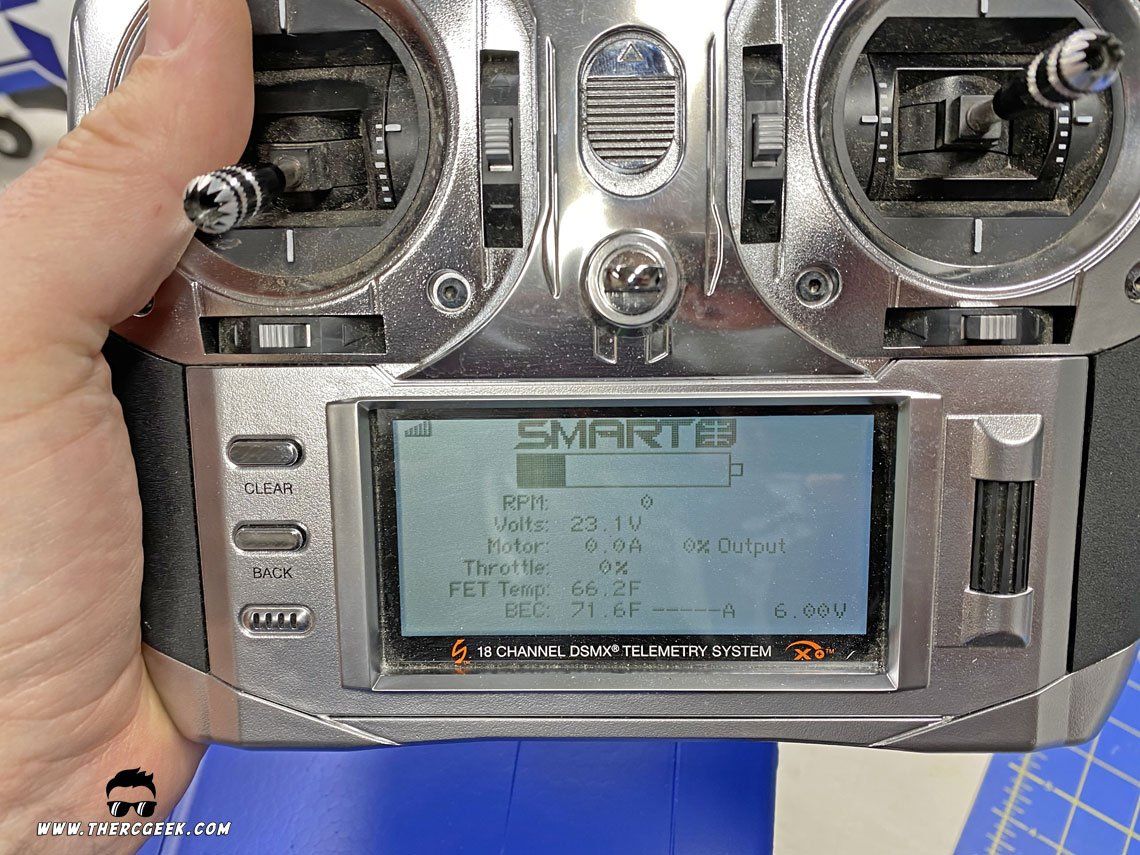
One of the defining features of this particular offering is the fact that it is packaged completely with Spektrum's Smart technology. So, when combined with a Spektrum Smart battery, this allows full real-time monitoring of the power system in flight. Having that real-time data can be very useful, especially knowing when your voltage is getting low in flight. Also, it will alarm if the system starts with a low voltage (i.e. if you plug in an already flown pack) which is an excellent feature and I anticipate will help many of us who have occasionally forgotten to check the voltage before plugging a pack in for flight.
I'm currently working on an in depth discussion about the Smart Tech which will post here, but in the meantime, I wanted to mention a few takeaways in the time that I've used the tech on the Mustang. Most notably, my primary recommendation is to be smarter than the Smart technology. What I mean is that it's possible to have data overload, so setting up the telemetry alarms in a smart way is important. The screens are useful on the ground, but aren't practical to look at in flight. So, the alarms and reports are what will be leveraged in the air. Setting things up in a smart way will afford you a stress free flying experience while still having the ability to assess the flight battery condition.


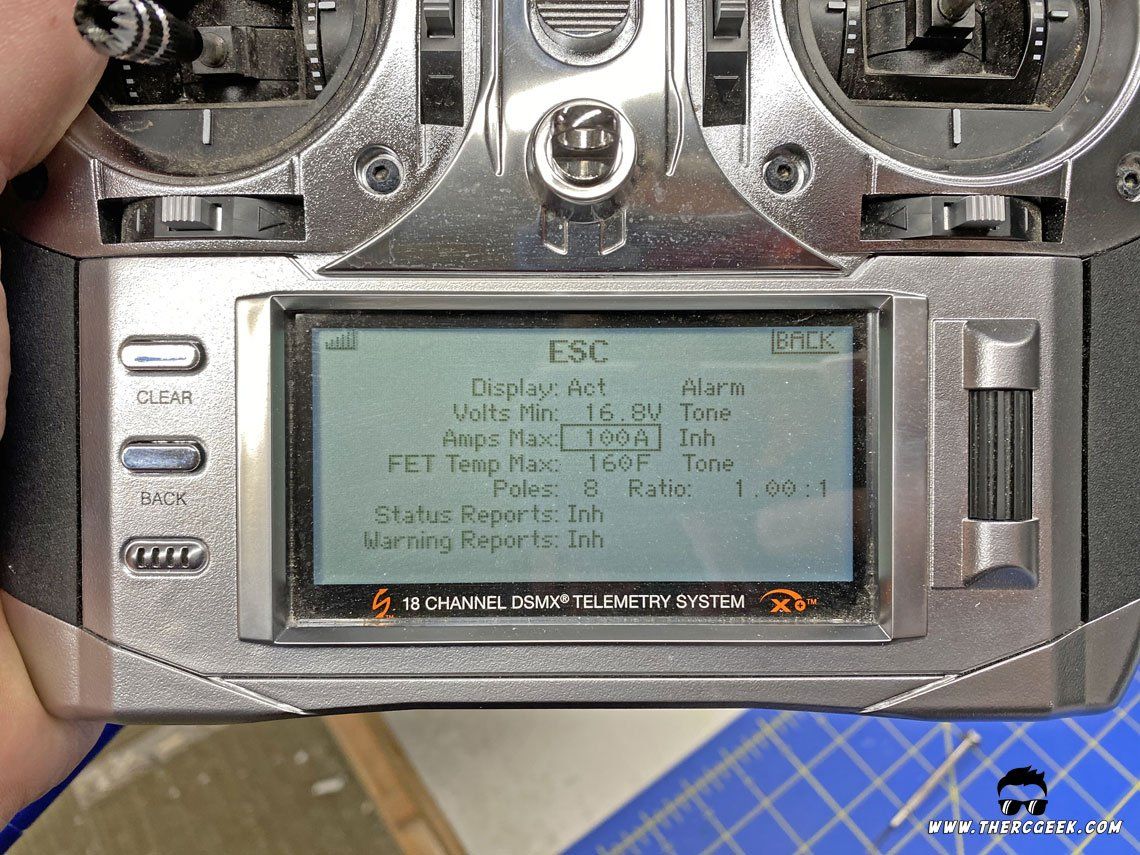
For the Mustang, I took a simple approach to the reporting. I wanted the ability at any time to have a real-time report of the system. So, I setup on the I button on the top of the transmitter a report of ESC voltage, temperature, and amps so that the transmitter will read out to me the instantaneous data when the button is pressed. Additionally, I setup a low voltage alarm. I found that the defaults tended to alarm far too soon in the flight, so in the telemetry/ESC menu, I adjusted the minimum voltage to 16.8v to account for voltage sag in flight. This coincides with the packs showing 3.79v/cell on the ground after landing which is exactly where I want to be after a flight. Though, I have my timer set for 5 minutes, depending on how hard I fly the airplane, this alarm ensures that I land where I want the batteries to be every time which will help with battery longevity.
FLYING THE E-FLITE P-51D MUSTANG 1.5m WITH SMART TECHNOLOGY
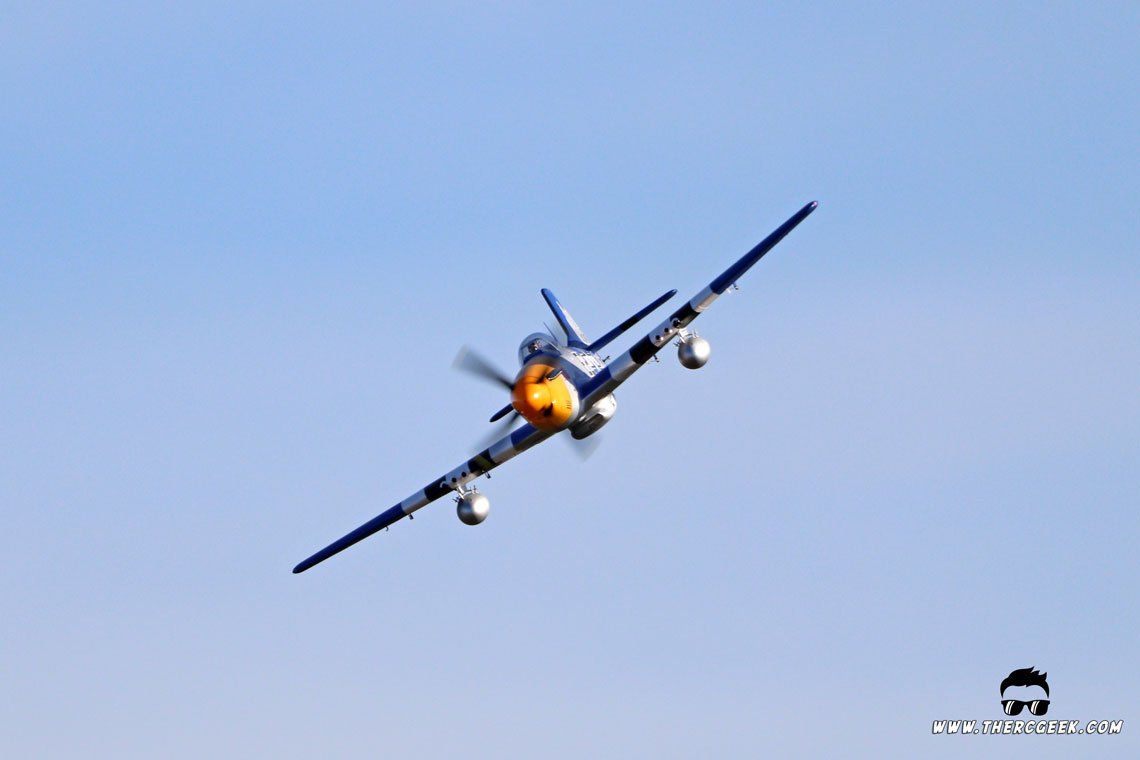
From the very first flight, I fell in love with how this P-51D Mustang flies. Having flown a select few (including the FMS 1450mm), this is by far the best flying Mustang I've flown to date. The airplane has great power which means large verticals and the straight and level speed at full throttle is quite nice while also cruising at partial throttle very efficiently. The airplane will perform aerobatics beautifully and precisely almost maneuvering like a pattern airplane in the air. The scale aerobatics look great and I didn't really experience any bad habits up and away. Oh, and the knife edge flight is killer!

There are a couple things to be aware of related to ground handling. It has the large prop on the front, so for takeoffs it's important to be active on the rudder to keep the airplane headed straight down the runway. Also, it can be a little challenging to get a smooth touchdown on pavement. The gear are pretty springy and the wheels are hard and so the airplane can get a little hoppy if touching down on two wheels and the sink rate isn't perfect. I found that keeping a little power all the way to the ground and touching down one wheel first really helps smooth out the touchdown. Also, I ultimately swapped out the stock tires with some Robart 3.5" wheels and this helped some as well since the tires are soft. Note that some fitting was required to install the Robart wheels. I used a combination of wheel collars and cut aluminum tubes to fit them. On grass, I wouldn't expect this would be an issue at all.
FINAL THOUGHTS
And there we have the E-Flite P-51D Mustang 1.5m with Smart technology. I was pleasantly surprised at just how nice this model is and especially how well it flies. It has some great scale features and the addition of the Smart tech is a nice touch. I'm thinking this could make a great base for a new Lady Alice I think…hmmmm… ;) Until next time, I'll see you at the field!
The RC Geek Blog is your place to learn about all aspects of the RC hobby. Learn to build, design, drive or fly that RC project you’ve always wanted to build, but have been intimidated to try. This blog is here to help you on your journey and provide tips and tricks as you go! My hope is to inspire builders both experienced and new! So, welcome, please look around, it’s an exciting beginning! I’m currently documenting my latest competition scale RC jet build, a Mark Frankel F4D Skyray, along with some other fun tips and videos. If you can’t find what you’re looking for on this front page, click on any of the categories to the right and it will show just posts related to those categories. Please feel free to add comments and/or contact me directly if you have questions, I’m here to help! And don’t forget to check out my YouTube Channel, I post new videos every week!
Subscribe To Our Blog Now