The RC Geek Blog
By: Chris Wolfe
Oh Avios MiG-17, mine kids hath dubbed thee "cow plane."
Truth be told, I'm normally all about US airplanes generally, especially Navy jets, but if there was one Mig that I could have in my hangar, it would be the Mig-17. I think it's the highly swept wing that strikes me most about it in addition to the lengthened fuselage…that's not to mention afterburner too! Compared to it's older brother, the Mig-15, the Mig-17 just has such nicer lines in my mind. So, after seeing the Hobbyking Avios Mig-17, it was all I could do keep from ordering one! Hobbyking has been putting out some nice airframes and I will say up front that the Avios Mig-17 is a nice sized, well finished airplane that is an extremely forgiving flyer. There were however, some frustrations in the assembly process resulting in some rework that was required to get the airplane to where it needed to be. Bottom line, the airplane could use better servos as they are pretty marginal in my mind and not very precise.
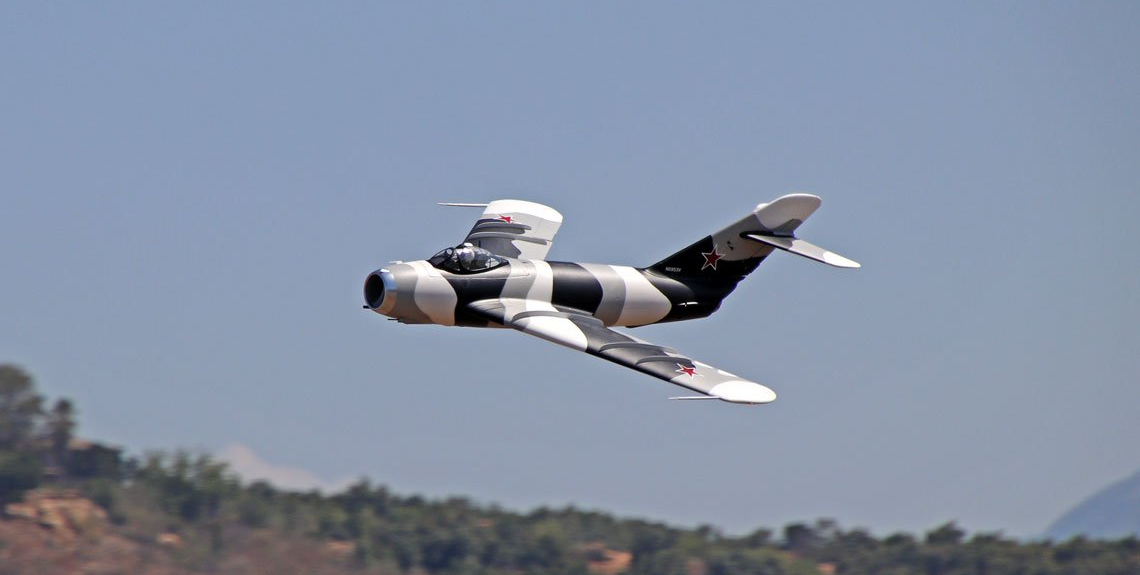
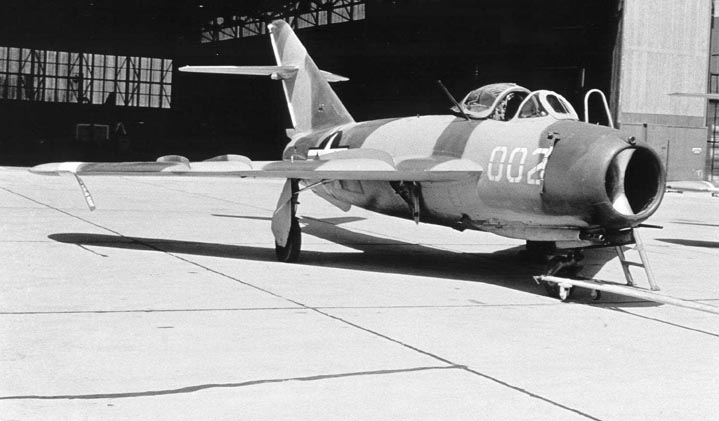
With the NATO reporting name of "Fresco," the Mig-17 found itself in use amongst numerous countries around the world and was especially prevalent during the Vietnam War. There was in fact a secret program code named "HAVE DRILL" that took place in the late 60's where a captured Mig-17 was tested at Groom Lake to characterize the performance and combat capability against various US aircraft. Interestingly enough, in close air combat, the Mig-17 proved more maneuverable and dominant to the US fighters. However, the more powerful US fighters such as the F-4 Phantom could out accelerate the Mig-17, so as a result, the engagement tactics were revised to keep the Migs at a distance vs fully engaging at close range. This kept the US fighters out of the range of the Migs guns, while keeping it in range of the US guided missiles and having an acceleration advantage, the F-4 could be out of range of the guns in about 30 seconds. In the case of the A-4, A-6, and A-7, they were given a do not engage order against the Mig-17. A very interesting result considering that the Mig-17 was considered mostly out dated by that time!
AIRCRAFT ASSEMBLY NOTES
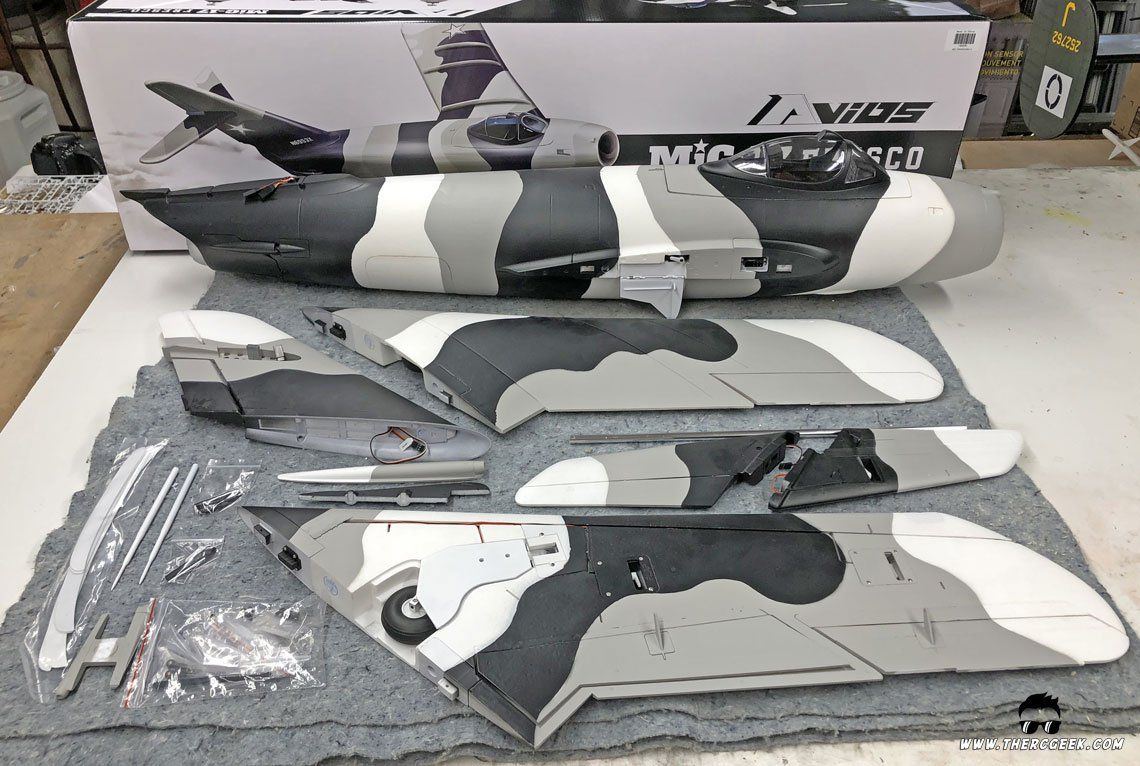
The Avios Mig-17 was nicely packaged and pulling the airplane from the box, you are greeted with the nice lines of the Mig-17. Parts count is low and the finish is smooth with the paint applied well. There are definitely some nice features like the split flaps and speed brakes as well as the all metal retracts which work well (albeit in a strange manner based on the gear sequencer which I ultimately tossed in the trash…but more on that later).
In terms of the assembly itself, the parts fit I found quite decent as a whole, however, as noted previously, the assembly was a bit fiddly and took quite a bit of time. First of all, the servos that are used are pretty low quality which when ultimately setup do work, but are marginal for torque on most of the surfaces, especially on the elevators and flaps. To help rectify this, I used the lower holes on the servo arms for the pushrods to help get the most torque as was feasible from the servos. Without this, most of the servos would just grind and hum struggling to hold center. The other part of this was that I don't think one servo arm was clocked the same left to right on the servos in the airframe, so as a result, extra work was required to either dig out the servo and fix the arm clocking (which I wasn't about to do for every single servo), or get the pushrod lengths proper to account for the mismatch. I chose to just deal with the mismatch mechanically where I could. The main gear doors and speed brakes were especially fun requiring quite a bit of manual adjustments to get operating symmetrically while also needing the servo arms reclocked.
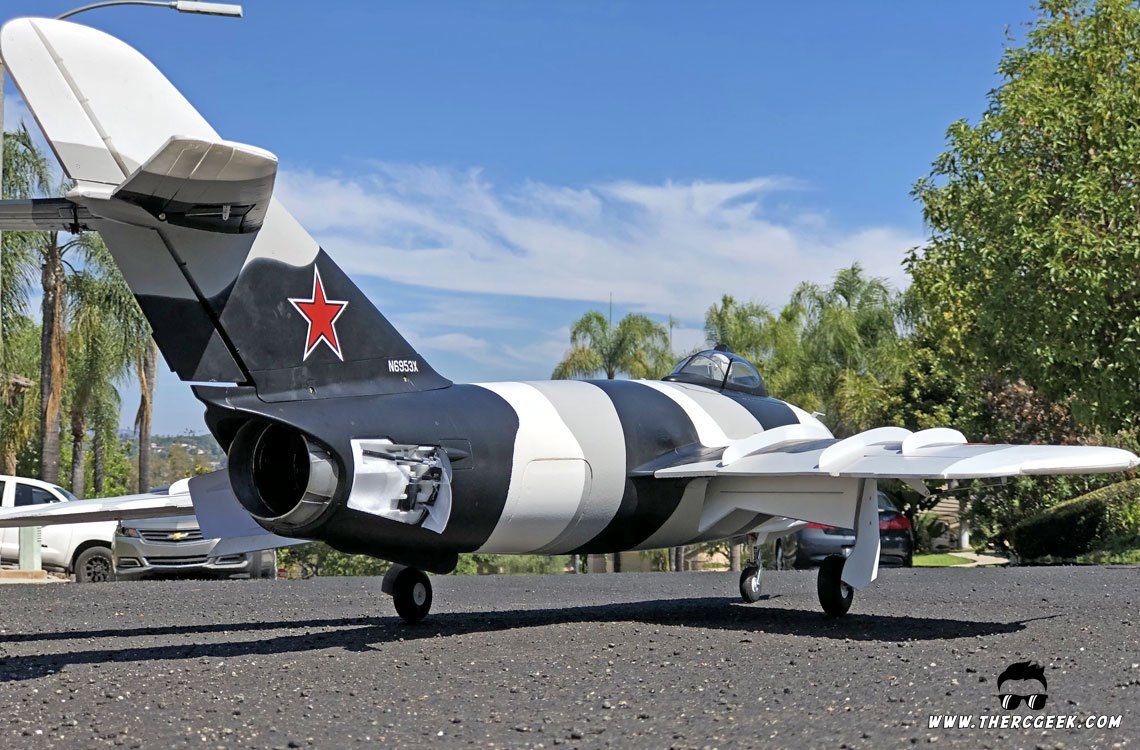
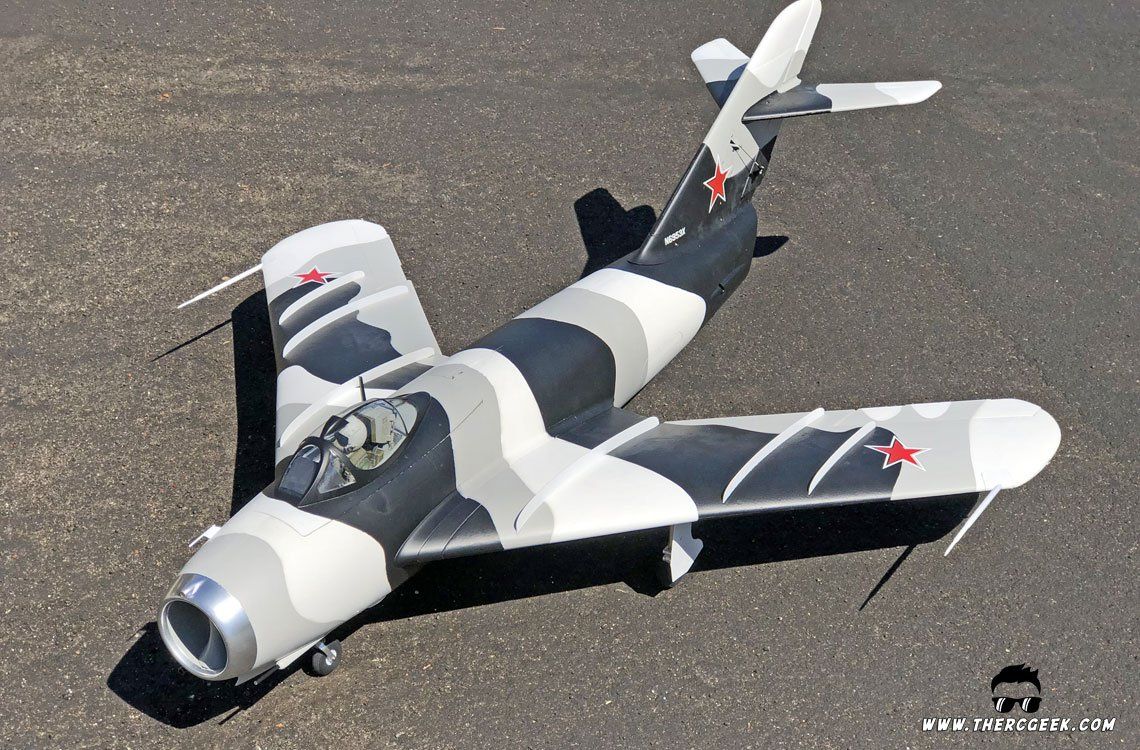
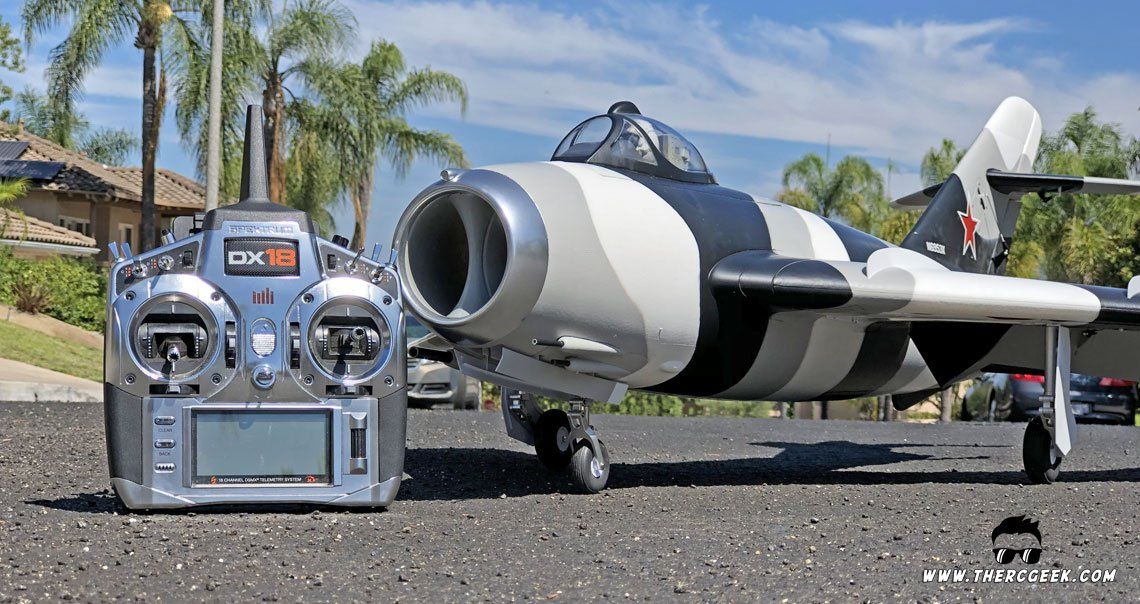
Once the airplane is assembled, you are greeted with a really nice looking representation of the Mig-17 that really does have some great features. The shape of the airframe looks about spot on to me in fact! The size is especially nice being just about an even 1/8 scale and the finish really does look good. So, working through the challenges was certainly worth the end result.
CENTERBURNER FTW!
One of the draws for the Mig-17 is the fact that it has an afterburning engine. It's hard not to enjoy a picture of a Mig-17 at an airshow with flames shooting out of the tail pipe! So, to fit a CenterBurner onto the Avios fan, we designed up a new tailcone for it. The end result was a fantastic and authentic looking afterburner in the airplane. The flicker is just perfect for this one.
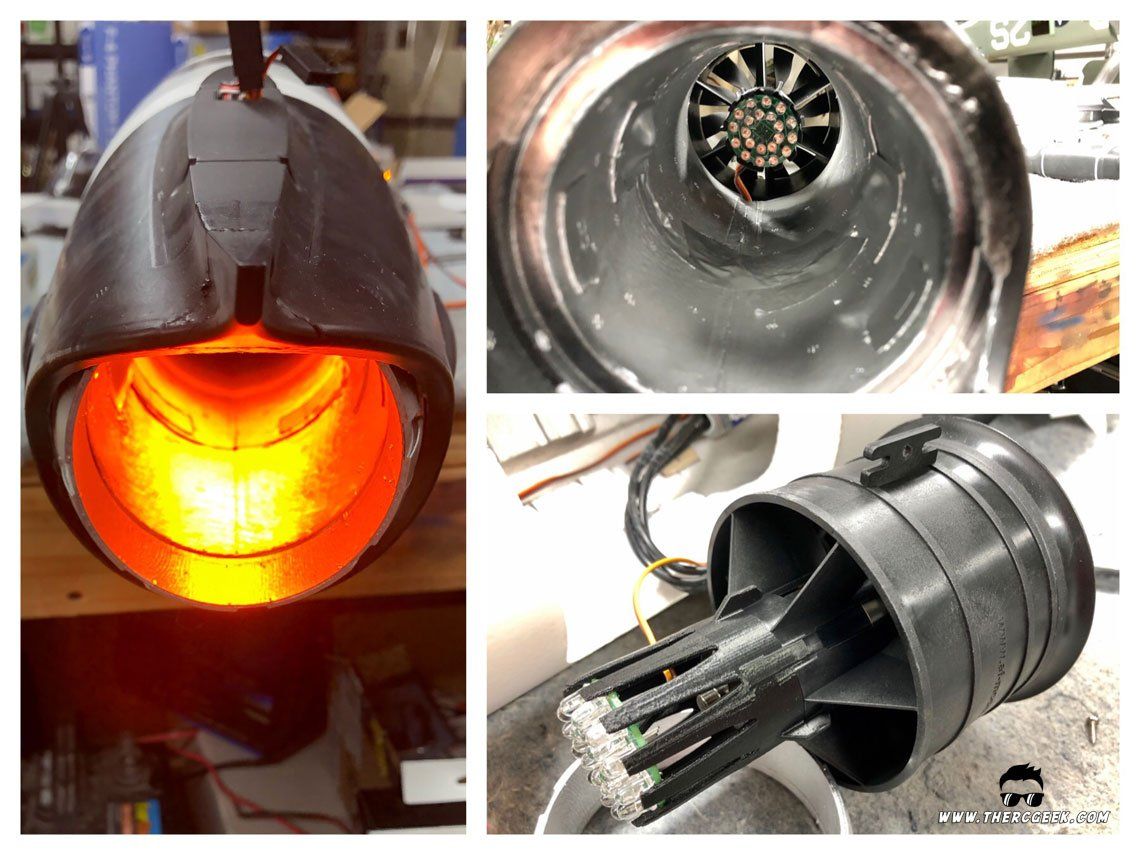
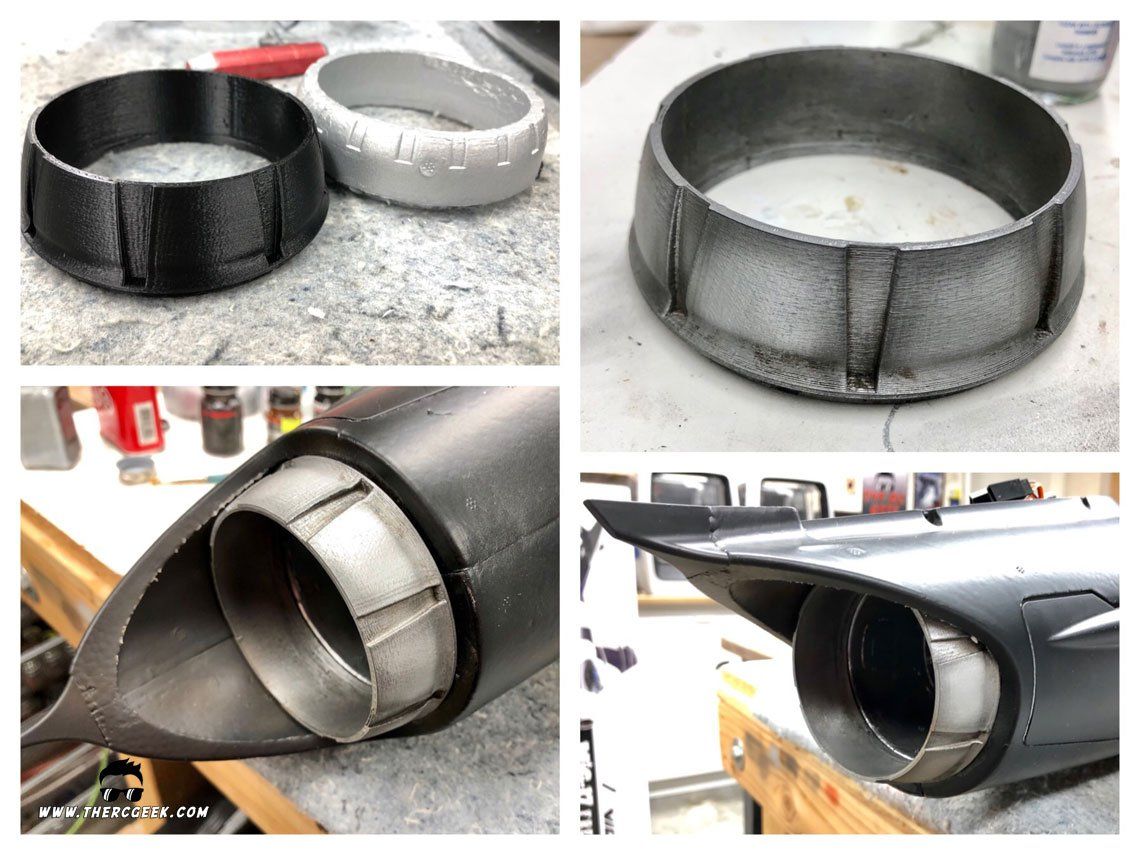
Also, there was a 3d printable exhaust nozzle for this airplane available for download on Thingiverse. So, I chose to print one up and install it as the foam nozzle was already creased and dinged. It's a more scale and durable replacement to what comes on the airplane.
LET'S TALK RETRACTS & GEAR DOORS
In talking about the retracts, I was quite impressed with the retract units as well as the struts. They are both fully made of metal and have worked quite reliably. That said, the retract cycle sequence was quite odd in that when the airplane was powered on, it required multiple gear switch cycles allowing the gear doors to fully cycle for the gear to finally operate. I never actually figured out what the required cycle was. Also, the inner gear doors closed when the landing gear were down which isn't actually scale to the airframe and was a product of the gear sequencer in the airplane. So, following one of the main gear door servos getting stripped when it operated out of sequence, I opted to remove the gear sequencer from the airplane entirely and to mechanically operate the doors so they functioned scale.
The first item of business was to remove the gear door sequencer and to plug the retract lead directly into the receiver. This resulted in the gear operating in a much more logical and consistent manner. When the aircraft is powered on with the gear down, the gear operate the first time straight away. When the aircraft is powered on with the gear up, the gear switch needs to be cycled twice before the gear come down and then they operate consistently following that. So much simpler!
To achieve the mechanically actuated gear doors and following the removal of the door servos, first a spring was made from 0.032" wire that pushes and keeps the inner door open when the gear are down. The wire was bent in a large "Z" with the top being approximately 1" or so long. The shorter end was embedded into the foam with the vertical part glued onto the foam in the wheel well with the longer end extending towards the gear door with a slight angled bend towards to door to apply positive force to open the door. Note that a compression spring could potentially do the same thing here. From there, a piece of 0.47" wire was bent into an "L" shape and glued to the inner door such that when the gear retracts, the wheel catches the wire and pulls the door closed. There was a bit of mechanical adjustment necessary to the wire bend to get the gear door to close fully. Lastly, a small magnet was glued to the tip of the door and the wing simply to ensure that the door fully closes tight when retracted.

AIRCRAFT SETUP & CG
On the control surface setup, I used the manual recommendations as a mid rate starting point, but did not follow the expo recommendations (I generally prefer a bit more feel around center than some folks). I then added a higher and lower rate so that they would be available on the maiden flight. Ultimately, through flying the airplane, here's what I settled on for rates.
- Elevator - 13mm with 5% expo
- Aileron - 15mm with 10% Expo
- Rudder - 18mm with 15% Expo
- Flaps - 15mm half and 33mm full with no elevator mix
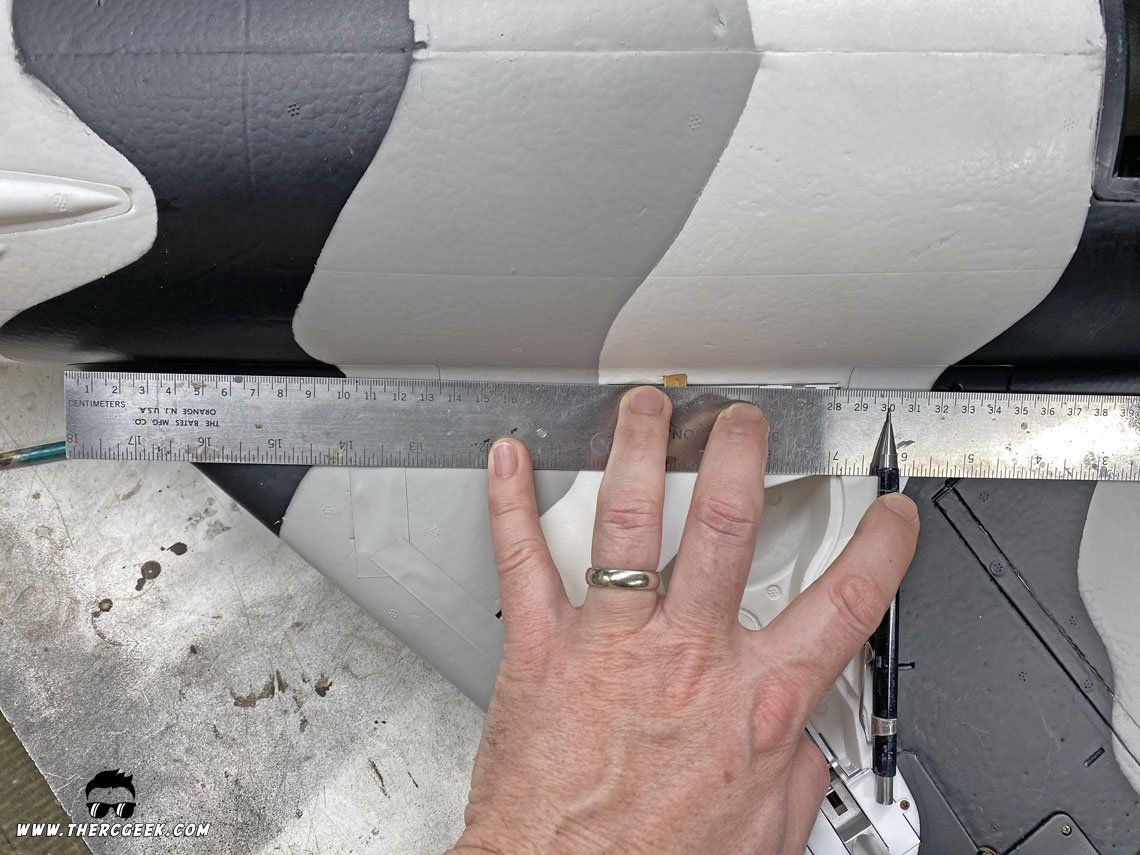
In terms of the CG, I'm flying the airplane at the recommended CG location which is 300mm as measured from the leading edge root aft. This feels good in the air (albeit quite neutral), and the airplane lands really nicely as well. I should mention that the airplane is quite light on the nose based on the landing gear placement. It's a blast for shooting wheelies, but it seems that the main gear might be a little too far forward on the model. It's not a big deal at all, but if you're shooting wheelies, understand that as the airspeed decreases, you lose rudder authority before you lose elevator authority which means that there's a threshold where the airplane won't respond to rudder inputs until the nose wheel is on the ground. Also, being so light on the nose, the nose bounces around quite a bit during taxi.
In terms of the flight battery, I'm flying the airplane with a 6s Spektrum 7000mah pack. There is plenty of battery space, so fitting large packs in there is really not a problem at all which is nice. My timer is set at 3.5 minutes and that gives me plenty of reserve flying the airplane really hard. To get the CG, the battery is placed all the way to the rear on the battery area which works out perfectly.

FLYING THE AVIOS MIG-17 FRESCO
Working through the assembly difficulties, you are rewarded with a really nice flying airframe. The model itself is quite large in fact and really looks great in flight. In the air, the model has great power and an impressively large speed envelope being rather quick at full throttle and slowing down hugely on landings with the flaps and speed brakes deployed. Maneuverability is decent and the Mig-17 also has very good vertical performance as well being capable of large loops, etc. The model did require quite a bit of right aileron trim on the maiden, so I would recommend sighting down your wings prior to the maiden. It appears that the right wing may be slightly warped at the tip on this model. As good of a flying airframe as this is, the one thing that I will say is that I haven't found it to be a real precise flyer. What I mean is that the response isn't particularly crisp compared to other models that I've flown and I think that this may be an artifact of the servos. It would imagine the response would be quite a bit better with some more precise servos on the ailerons and elevators.
Here's a short flight video of the Mig-17 in action. This is the stock airframe with the Spektrum 30c 7000 mah pack. My timer is set for 3.5 minutes which is when I setup for landing which means it's over 4 minutes of in air time. I like to fly the airplane pretty hard, but that could be extended with greater throttle management.
FINAL THOUGHTS
There we have the Avios Mig-17. This is an impressive airplane with some really cool features that is an extremely forgiving flyer. With some better quality electronics in there, this airplane would probably be amazing! I can only imagine what it would do with an 8s setup, but I wouldn't want to go there with the stock servos. Until next time, I'll see you at the field!

The RC Geek Blog is your place to learn about all aspects of the RC hobby. Learn to build, design, drive or fly that RC project you’ve always wanted to build, but have been intimidated to try. This blog is here to help you on your journey and provide tips and tricks as you go! My hope is to inspire builders both experienced and new! So, welcome, please look around, it’s an exciting beginning! I’m currently documenting my latest competition scale RC jet build, a Mark Frankel F4D Skyray, along with some other fun tips and videos. If you can’t find what you’re looking for on this front page, click on any of the categories to the right and it will show just posts related to those categories. Please feel free to add comments and/or contact me directly if you have questions, I’m here to help! And don’t forget to check out my YouTube Channel, I post new videos every week!
Subscribe To Our Blog Now
