The RC Geek Blog
By: Chris Wolfe
Airacobra Kai Never Dies!
The P-39 Airacobra is one of those well-proportioned and unique warbirds that, for whatever reason, you really don't see very often at the field. With the mid fuselage engine placement and long prop shaft design of the full size aircraft, the result is a nicely streamlined airplane. So, I was excited to see E-flite announce their P-39 Airacobra 1.2m as it's a great platform for a fantastic flying model and provides something you don't otherwise see very often. Plus, if you crash the airplane like we did…then hey, you get to refinish it and make it look even better! ;)
As a WWII fighter, over 9,500 Airacobras were built during its production from 1940-1944 marking it as one of the most successful aircraft built by Bell Aircraft. The unique engine configuration allowed for the integration of a 37mm cannon in the nose which shot through the center of the spinner and needless to say packed quite the punch. Though requisitioned by the US Army Air Force and operated by numerous countries, the airplane found its greatest success and use in the Soviet Red Air Force during WWII as its performance and armament suited their needs well. In fact, five of the top ten highest scoring Soviet aces logged the majority of their victories in the P-39 Airacobra.
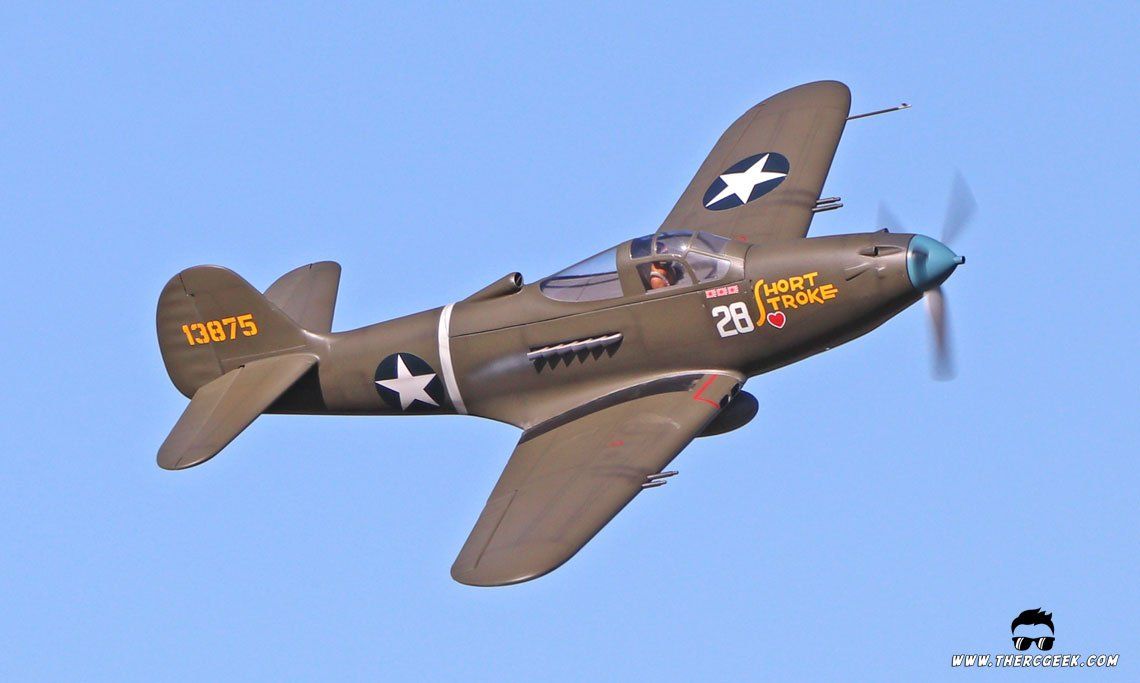
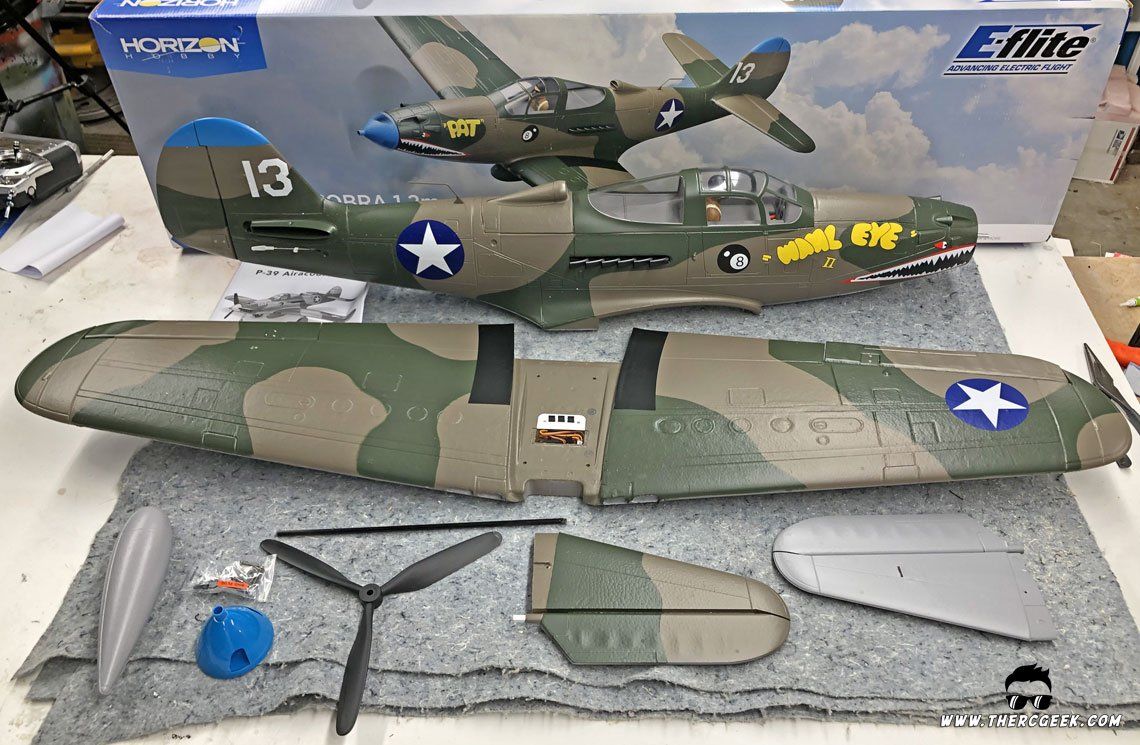
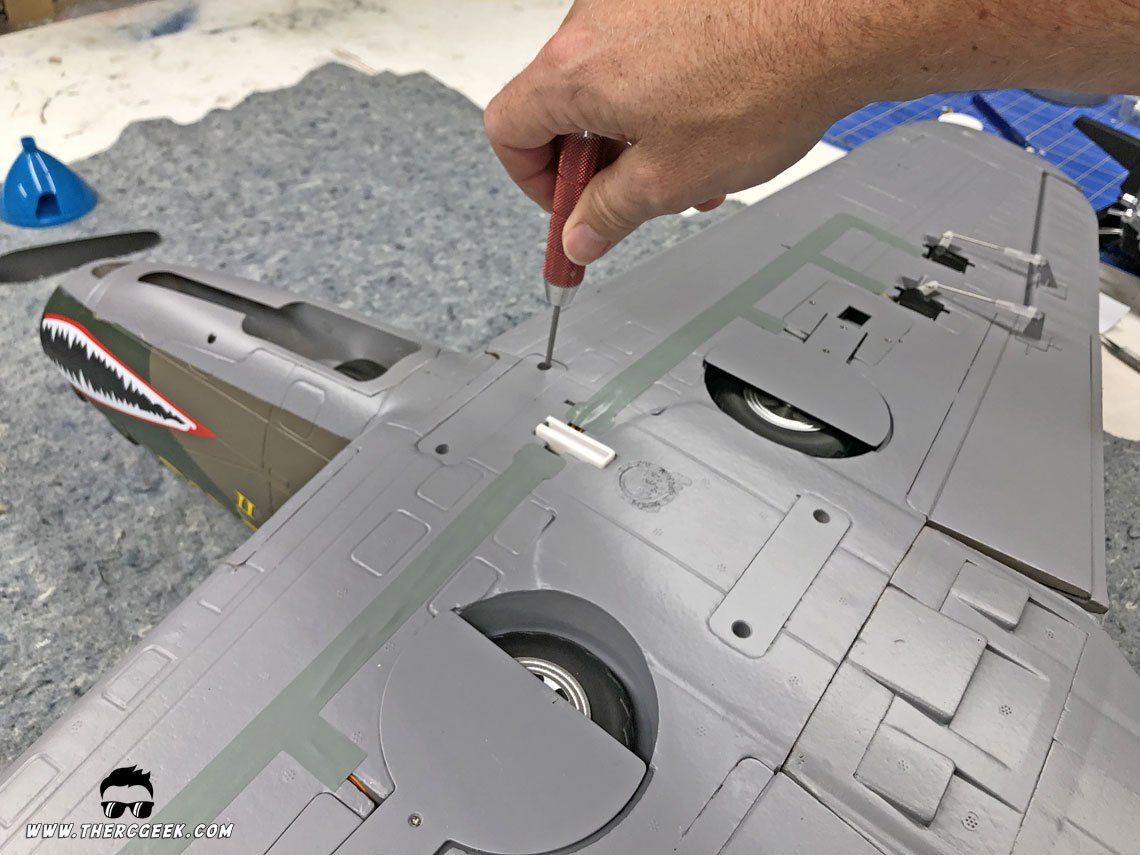
I was excited for the E-flite P-39 Airacobra 1.2m as I really liked the looks of the airplane. It arrived well packed and was an extremely simple assembly having only the major components to put together. It starts with placing the tails and then bolting the one piece wing onto the fuselage. I did find that the wing bolts were a little stiff to screw in in some cases, so be sure to check that the wing is fully seated and secure before flying. Also, the kit includes a centerline tank which adds a little schmaltz giving it a neat look. Note that the airplane does have hard mounted connectors in the wing, so be sure to double check through the hatch area that the are all fully seated well.
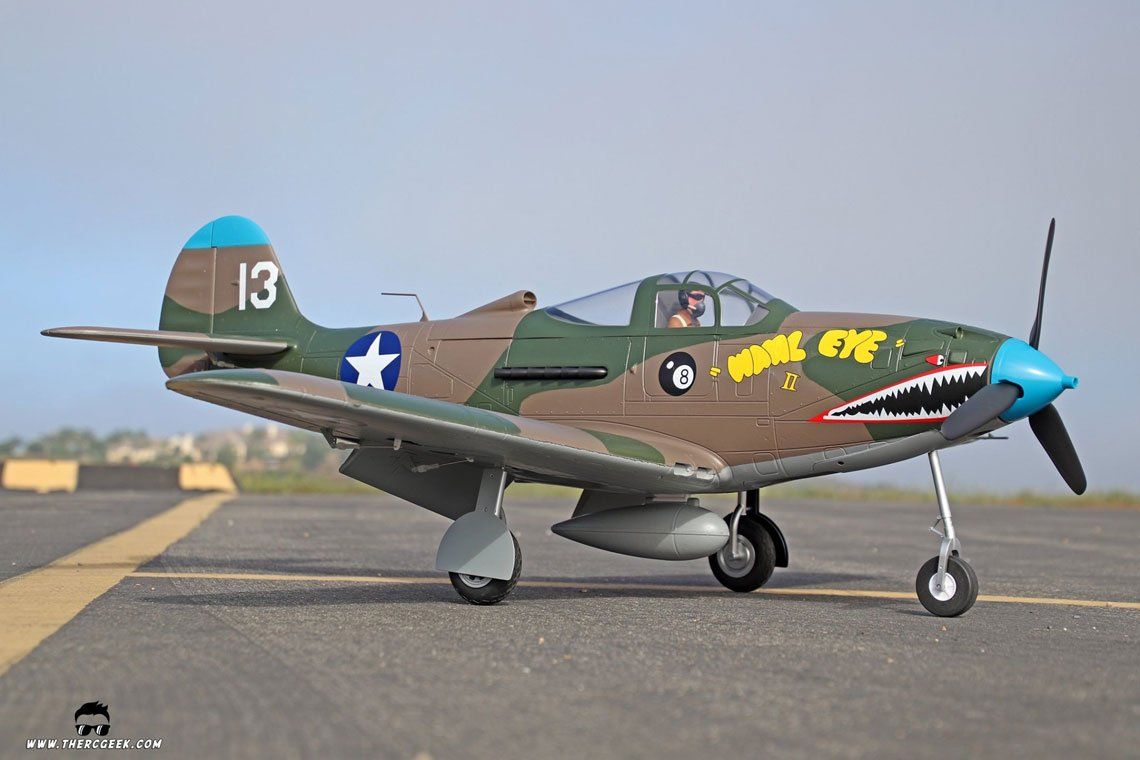
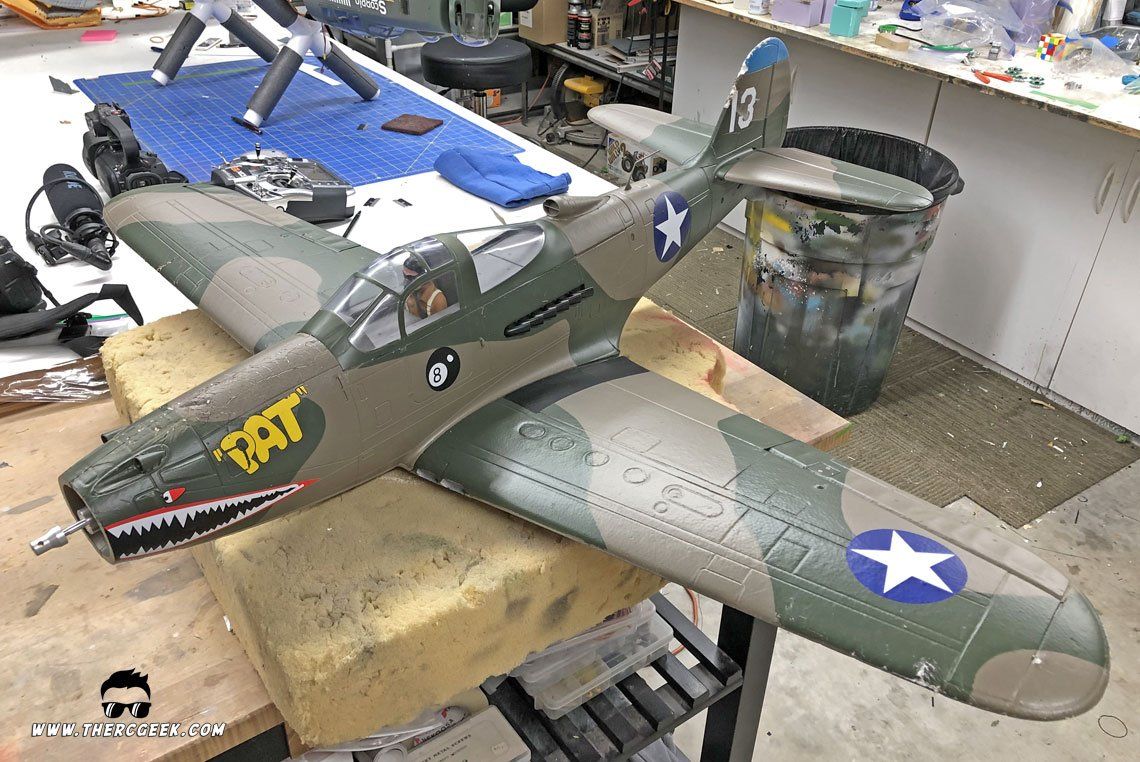
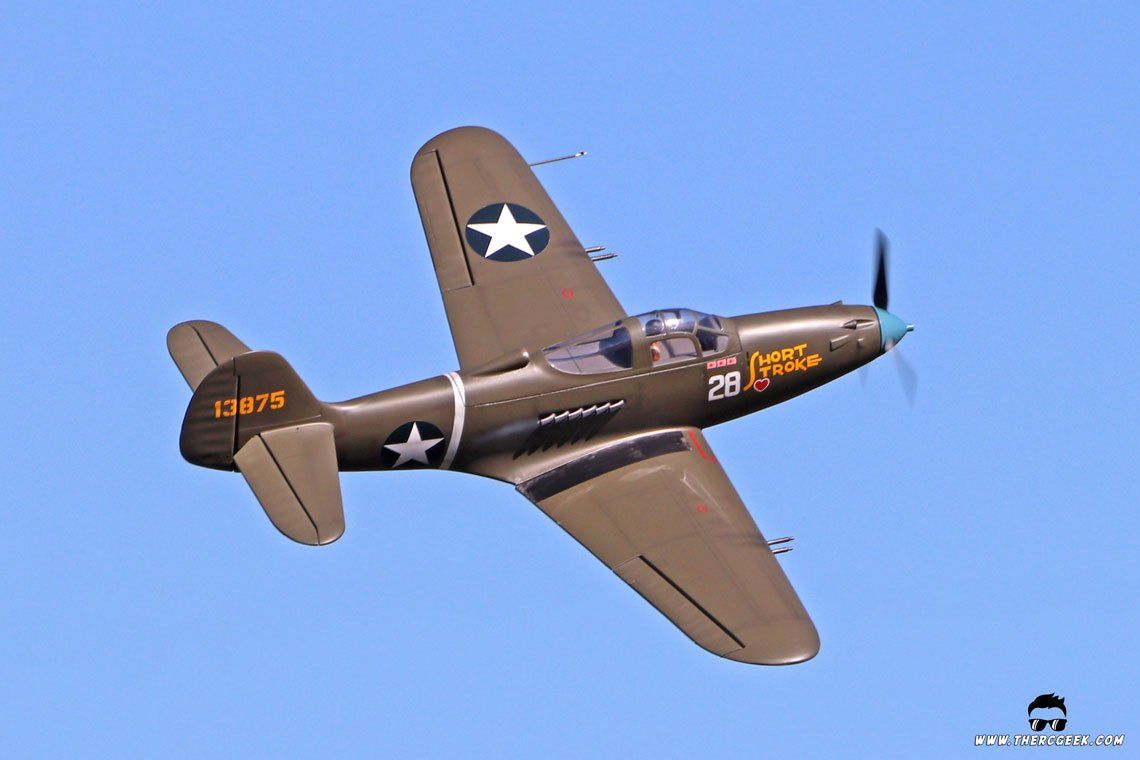
With the airplane assembled and on the bench, it really looks great and represents the Airacobra really well, even having the characteristic long nose strut and wide main gear stance. Also, the airplane has scale split flaps just like the full size which is certainly a nice touch. The camouflage paint is well done and the colors appear decently accurate with some nice distinctive markings as well. There's definitely no mistaking this one!
CRASHED?? NO PROBLEM!
During the course of collecting media for this review, I had asked a friend of mine to fly the airplane so that I could take some flight pictures. He is a good pilot, but does tend to fly more neutrally setup 3d type aerobatic aircraft at a generally low airspeed. So, after a couple passes at a low airspeed (great for pics!) while I was taking pics, he decided to provide an inverted pass but didn't increase the airspeed. So, as a result, the airplane had insufficient elevator authority to maintain the inverted flight (exacerbated by a nose heavy CG) and it pancaked on its back into the brush at the field. I set the airplane a side for a while after that, but not to be deterred, I wanted to refinish the airplane utilizing the techniques that we've shown (thercgeek.com/kitbashing) after getting some other reviews completed first.
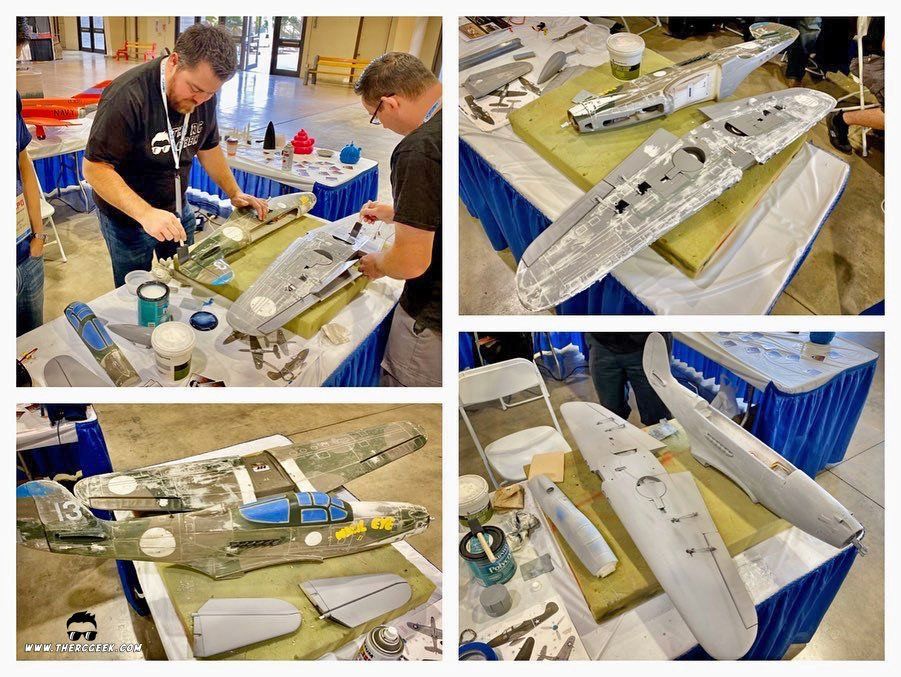
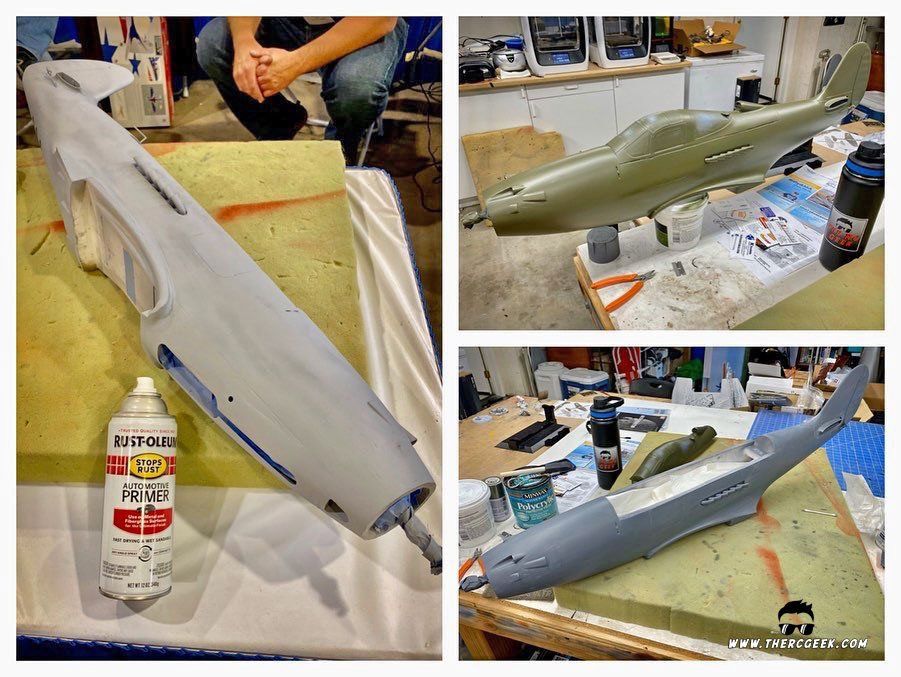
The refinish ended up aligning perfectly with the AMA West Expo as my friends and I used it as a subject aircraft for showing foam repair and refinishing techniques at the show. Through the course of the 3 days, we had the airplane completely smoothed out, primered and mostly paint ready by the end of the show. It's amazing how quickly things get done with a good team effort!
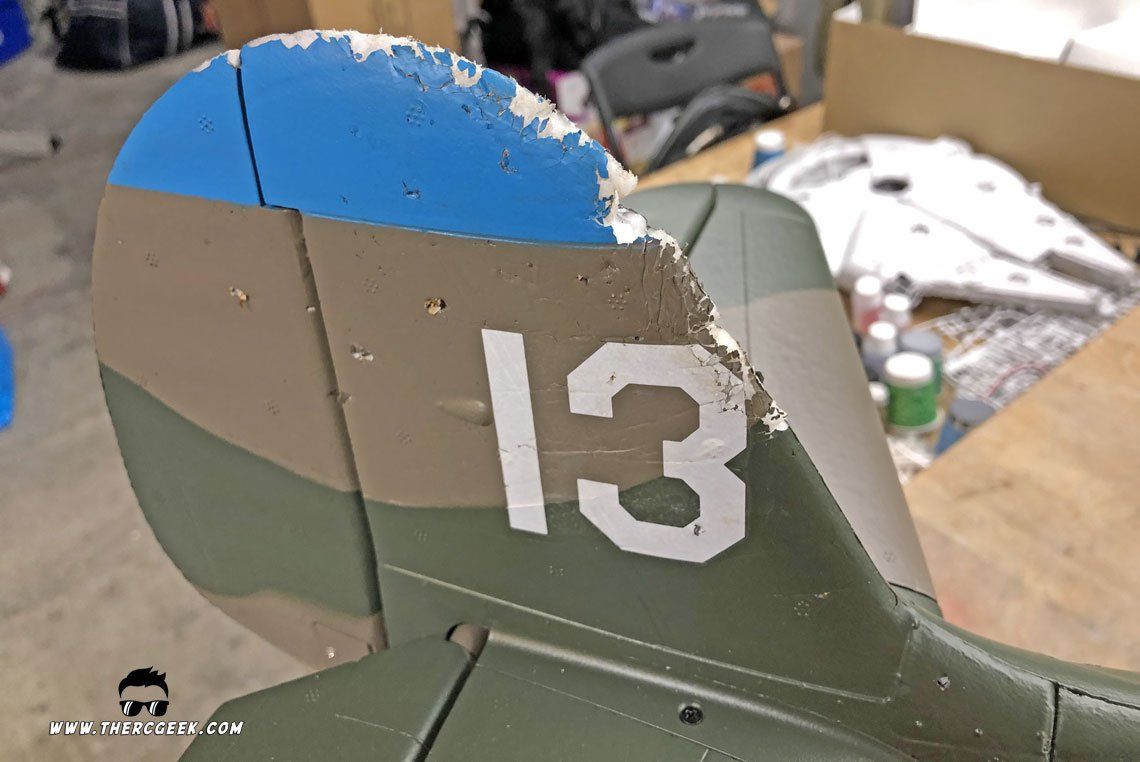
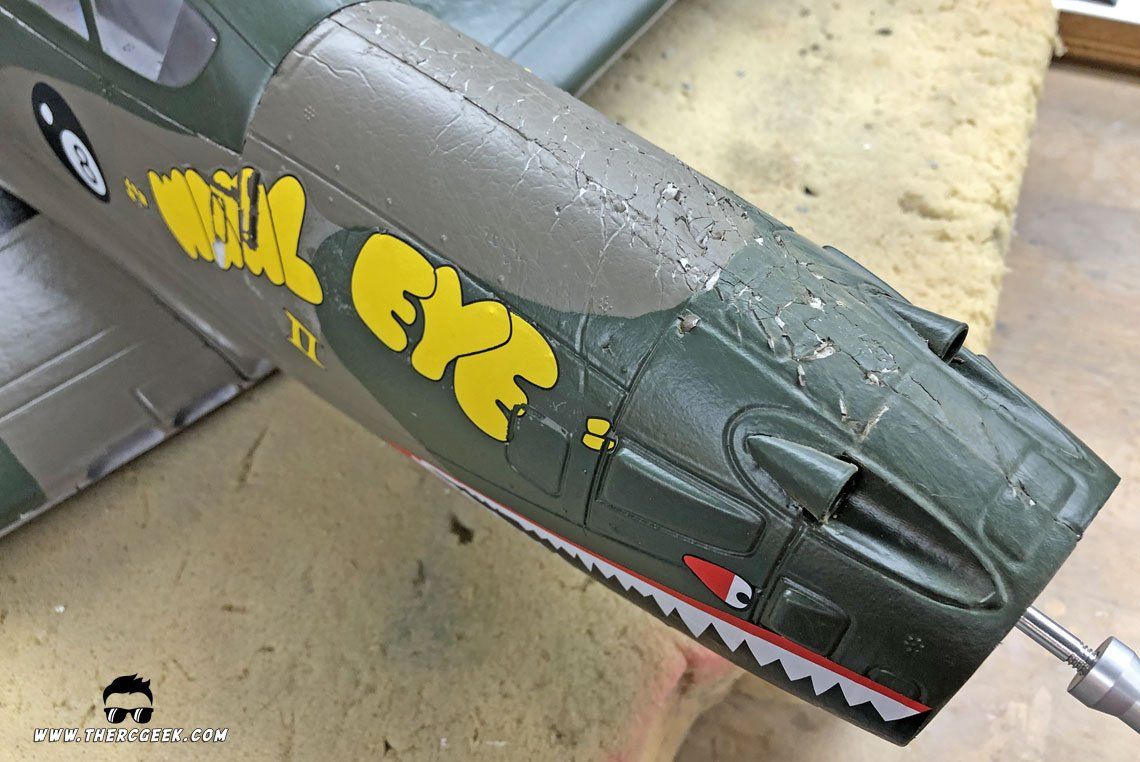
Once home, all of the final paint work was completed with markings, panel lines and weathering added. I put together a specific video and article on the weathering on this one as I used some additional techniques that were worth discussing including paint chipping, paint fading, and exhaust stains. Here is the video on that:
With all of the weathering done, the airplane really came alive! It really is amazing how a refinish like this completely transforms a model. The process takes some work, but what you end up with in the end is a unique and one of a kind airplane.
AIRCRAFT SETUP & CG
The subject model was the bind and fly version of the E-flite P-39 Airacobra 1.2m which means that it includes SAFE. I have a discussion posted about SAFE Select so be sure to look through that for my recommendations on effectively using SAFE. My preference always is SAFE Select off, so the airplane was simply bound normally keeping the bind plug in place the whole time. Should you choose to bind with SAFE select on, then during the bind procedure, simply remove the bind plug before selecting bind on the transmitter.
For the control surface setup, the E-Flite control recommendations were a great start. Through flying the airplane I found that I preferred the low rate ailerons and the low rate elevator recommendations based on the CG. This equates to the following rates:
- Elevator - 10mm with 5% expo
- Aileron - 9mm with No Expo
- Rudder - 23mm with 25% expo (the airplane does a beautiful knife edge if you can keep the hatch on it!)
- Flaps - 20mm half and 48mm full with no elevator mix
The CG location recommended in the manual is 45mm-55mm as measured from the wing leading edge root aft. Ultimately, I settled on 50mm as measured from the wing root leading edge aft. The CG could probably go back a little further, but I've been happy at this location.
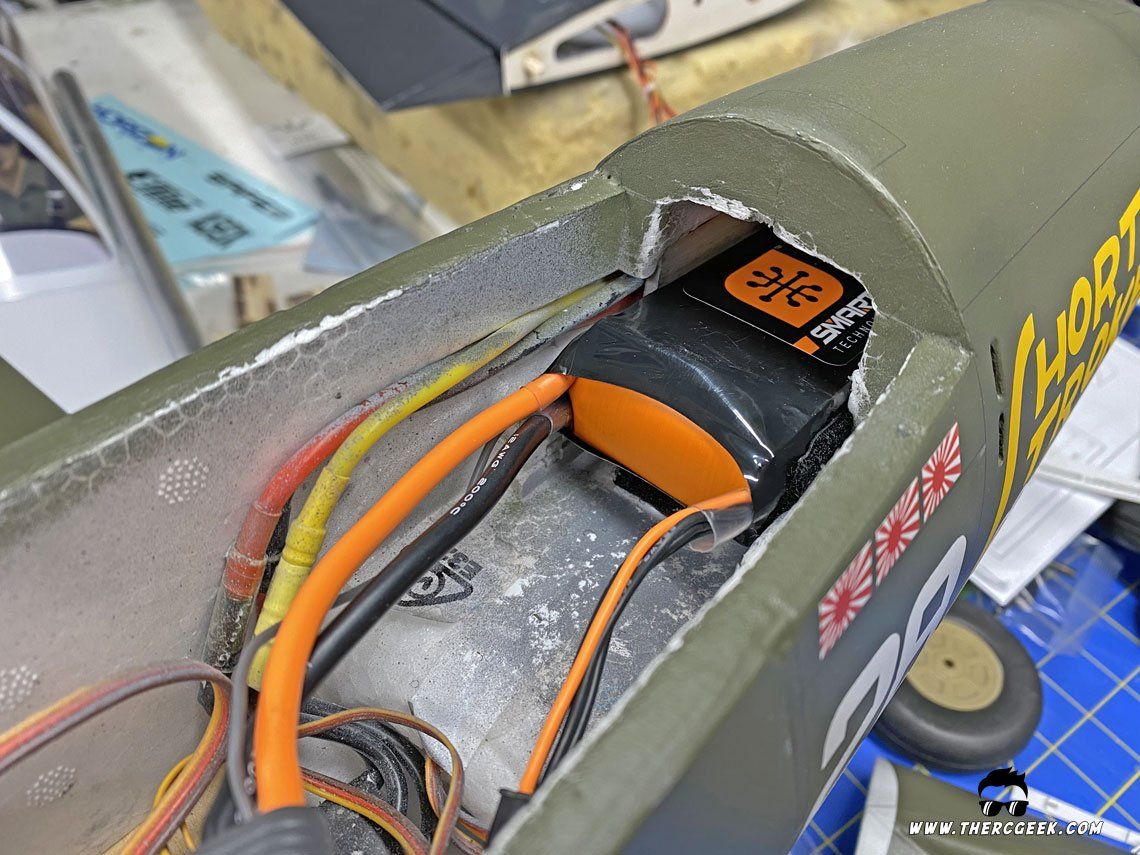
For the battery, I'm using a Spektrum Smart 4s 3200mah pack as well as an Admiral 4s 3600 mah pack. Both provide excellent power and flight times. The battery started out pushed all the way forward which placed the CG within the recommended range. Over a few flights, I pulled the battery back about 1/2" and that's where it's stayed. Note that the model includes a removable plastic tray. To get the these packs in there, I simply removed that and velcroed the battery to the floor. The battery fits nice and snug in the available slot in the fuselage.
FLYING THE E-FLITE P-39 AIRACOBRA
This E-flite P-39 Airacobra 1.2m really flies fantastically! With 4 cells, the airplane is quick and has great vertical performance. The airplane is maneuverable yet forgiving and flies extremely true while maneuvering through the air. With the 3200 and 3600 mah packs, my timer is set for 5.5 minutes and I can easily fly longer as the airplane flies quite efficiently at partial throttle. The flaps are also quite effective and the airplane lands quite nicely as well. One thing that I did notice is that the airplane does like to pull left a slightly in the verticals. I added a touch more right thrust by adding some washers as shims behind the left motor mounts which did help straighten that out a little bit.
Here's my back from the ashes video which features a couple additional flights of the airplane in action. I thoroughly enjoy flying this airplane. And with the refinish, it really just transformed the model completely, I love it!
FINAL THOUGHTS
Well, there we have the E-flite P-39 Airacobra 1.2m at last. It was quite the journey getting here, but it was most certainly worth it! This is a great flying little airplane that looks good out of the box and even better with a refinish. The airplane really loves 4s and is extremely fun to fly with that power. I will say that I'm so glad that I went back to refinish the airplane after the crash as I absolutely love it! Hopefully you'll consider tackling a refinish for yourselves too. It's most certainly worth it! Until next time, I'll see you at the field!
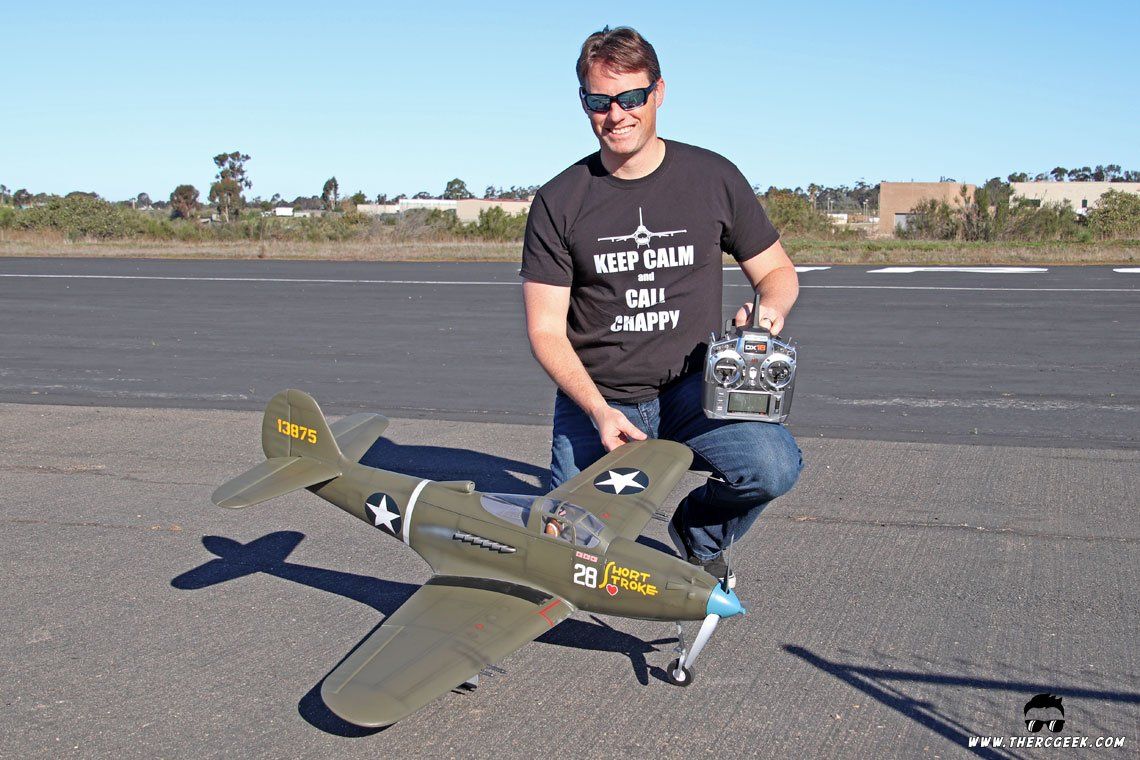
The RC Geek Blog is your place to learn about all aspects of the RC hobby. Learn to build, design, drive or fly that RC project you’ve always wanted to build, but have been intimidated to try. This blog is here to help you on your journey and provide tips and tricks as you go! My hope is to inspire builders both experienced and new! So, welcome, please look around, it’s an exciting beginning! I’m currently documenting my latest competition scale RC jet build, a Mark Frankel F4D Skyray, along with some other fun tips and videos. If you can’t find what you’re looking for on this front page, click on any of the categories to the right and it will show just posts related to those categories. Please feel free to add comments and/or contact me directly if you have questions, I’m here to help! And don’t forget to check out my YouTube Channel, I post new videos every week!
Subscribe To Our Blog Now
