The RC Geek Blog
By: Chris Wolfe
Mike Patey's Monster Wilga…DRACO! Fly it like you STOL it!
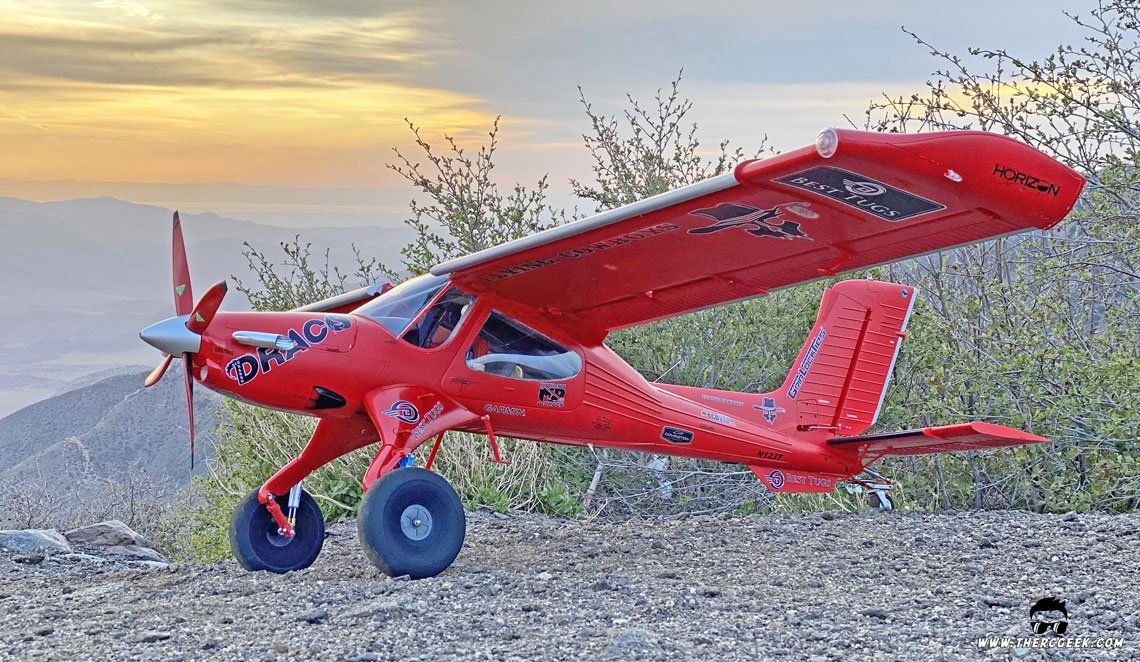
The E-flite DRACO 2.0m is probably one of the most anticipated models to come to market in recent time. Announced in 2019, there have been many a rumbling of its pending release since then. Well, E-flite's DRACO is here and it is one of the nicest executed models E-flite has made to date…it is incredible! Every detail is characterized, the shape is perfect (Horizon Hobby actually 3D scanned DRACO to make the model from), and this big red beast makes for some fun STOL operations, especially with a bit of head wind.
If you're unfamiliar with DRACO as an airplane, it literally was one of a kind. It was the master mind of Mikey Patey who took a Wilga 2000 and completely modified and rebuilt the airframe to the extent that very little of the original Wilga remained. He added wing area, modified the airfoil while also adding a fixed slat, installed a full glass cockpit, and at the front installed a PT6A 680Hp turbo-prop engine with full reverse thrust (I believe he also added chord to the control surfaces). In short, the airplane was a beast of a STOL aircraft and in fact, Mike Patey won the 2018 High Sierra STOL Drag competition with it. Unfortunately, the aircraft was totaled in Sept 2019 in a high crosswind takeoff incident. Be sure to check out Mike's YouTube channel as he documented the build there and is currently building a highly modified carbon cub called Scrappy!
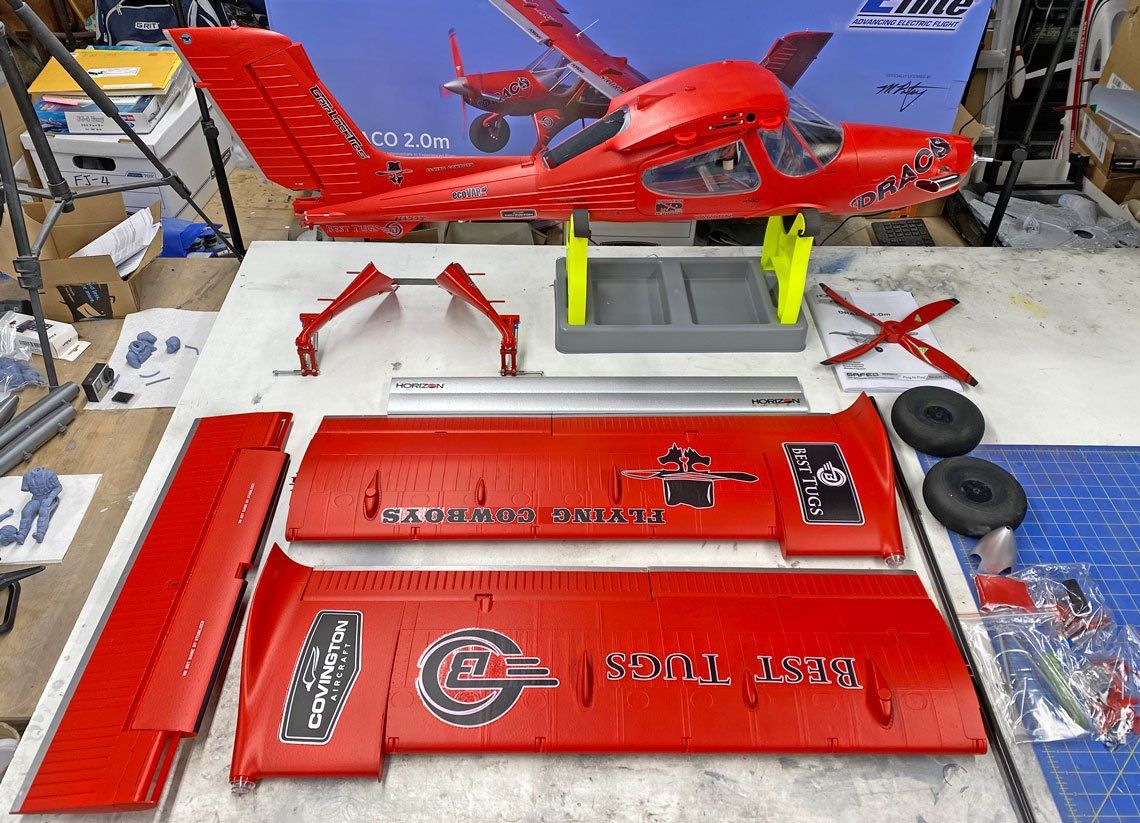
The E-flite DRACO 2.0m is an impressively large airplane that is been broken down into only just a few large components which means that despite the large size, assembly is quick and easy. Assembly starts with installation of the shock absorbing landing gear via 4 screws which have plastic fairings over a carbon strut and feature the dual shocks of the full size. From there, the tail wheel is fastened into place via 2 screws and 2 lock nuts and is shock absorbing as well. From there, the horizontal tail is slid into place. It's important here that the tail be pressed fully forward with a notable click in place to ensure it is fully locked in place. Once in, then the tail braces are clipped into place as well. Next, the slats were glued to the wing leading edges with medium CA and then placed onto the fuselage over the carbon spar. There are two plastic quick releases that hold the wing in place with make it an easy prospect to take the wings on and off. To finish it all up, all of the many scale details in the form of antennas and foot braces, etc. were glued and/or screwed into place.
Once the airplane is together, it really is quite the model to behold being truly the full scale airplane in miniature. The shape is spot on, every detail has been included and characterized and that's not to mention that it's a nice large airframe. It's also worth noting that the aileron and flap linkages are fully internal, there are programmable lights all throughout the airplane (including cockpit lights), and it includes full thrust reversing as well.
One final item to mention is that while the stock foam tires work great and will handle any bush operations you see fit, I did ultimately swap them out with 5.5" diameter DuBro inflatable balloon tires. They are quite a bit heavier than stock (add about 14 ounces total), but work great at softening the landings quite a bit and they also look pretty awesome too. No modifications were necessary to fit them other than drilling out the hub for the axle diameter. When installing, use two washers at the base of the axle and then tighten the lock nut sufficiently to keep the tire in place but not to where it causes significant friction. The width of the tire hub is just a touch wider than the axle length, so overtightening the nut will lock the tire in place. Note that Kavan from Sig makes a 5" inflatable tire that's quite a bit lighter than the DuBro's if weight is a concern.
AIRCRAFT SETUP & CG
The subject model was the bind and fly version which means that it takes full advantage of the Spektrum Smart technology s it comes with a Smart ESC and Receiver. Also, the airplane does feature SAFE as well. If you're using some of the newer NX radios, setting up SAFE can be simplified through assigning it in the forward programming menus. It requires selecting the desired channel to SAFE and then going into the channel assign menus and assigning that channel to your desired switch for SAFE. This really makes things easy and also allows you to turn on and off AS3X even should you choose.
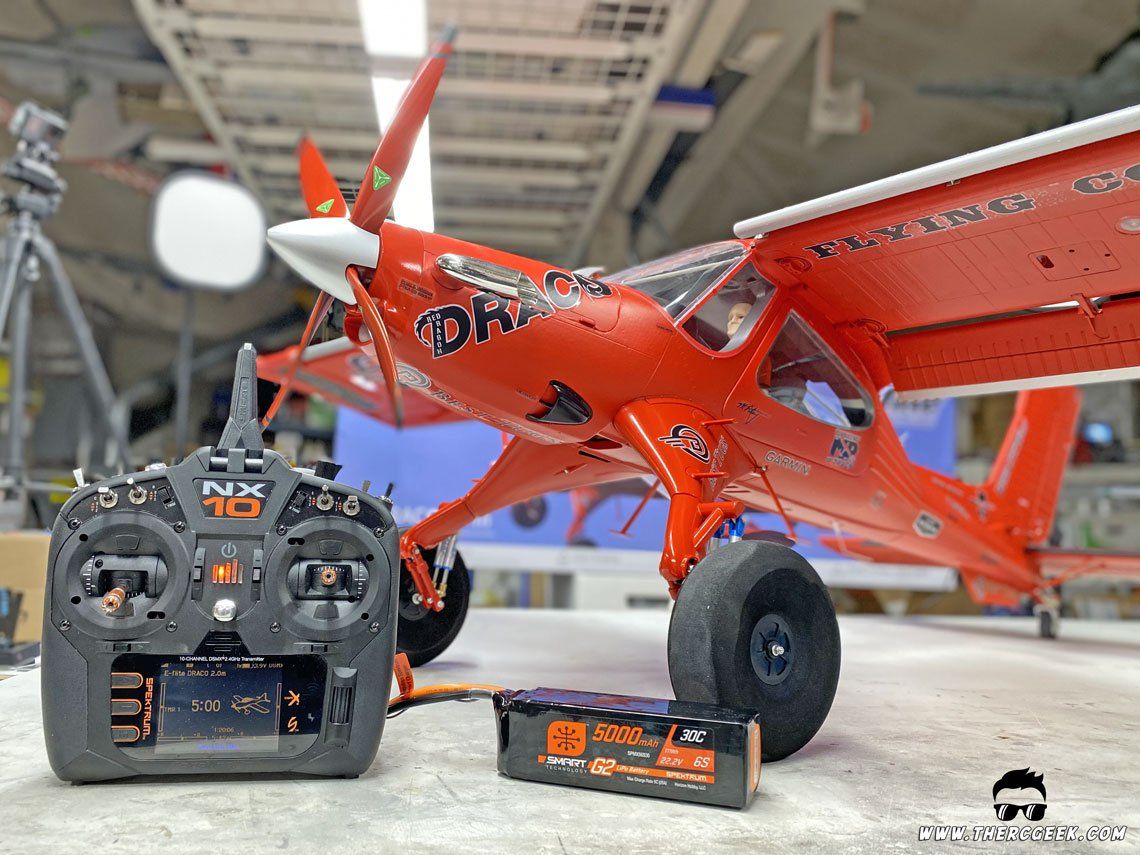
For the control surface setup through flying the airplane I found that I preferred my high rate settings (100%) all around. This equates to the following rates:
- Elevator - 32mm with 15% expo
- Aileron - 50mm up/22mm down with 15% Expo (The differential is how it is out of the box. Also, the model has a built in rudder/aileron mix to help with the adverse yaw)
- Rudder - 35mm with 20% expo
- Flaps - 20mm half and 40mm full with 3mm (13%) and 8mm (25%) down elevator mix respectively
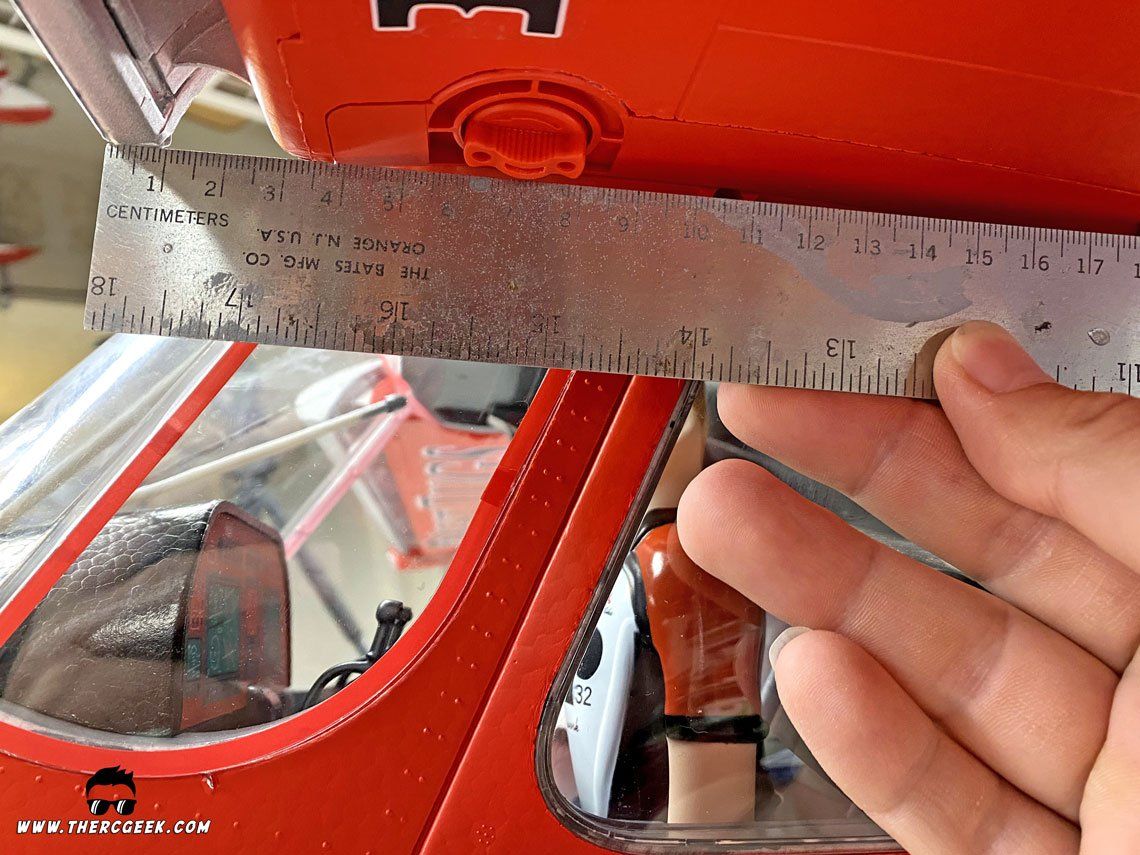
The CG location recommended in the manual is 95mm-105mm as measured from the slat leading edge at the root aft. I would say there is likely room to move the CG further aft, but as a whole the CG felt good for most flying at the 100mm mark.
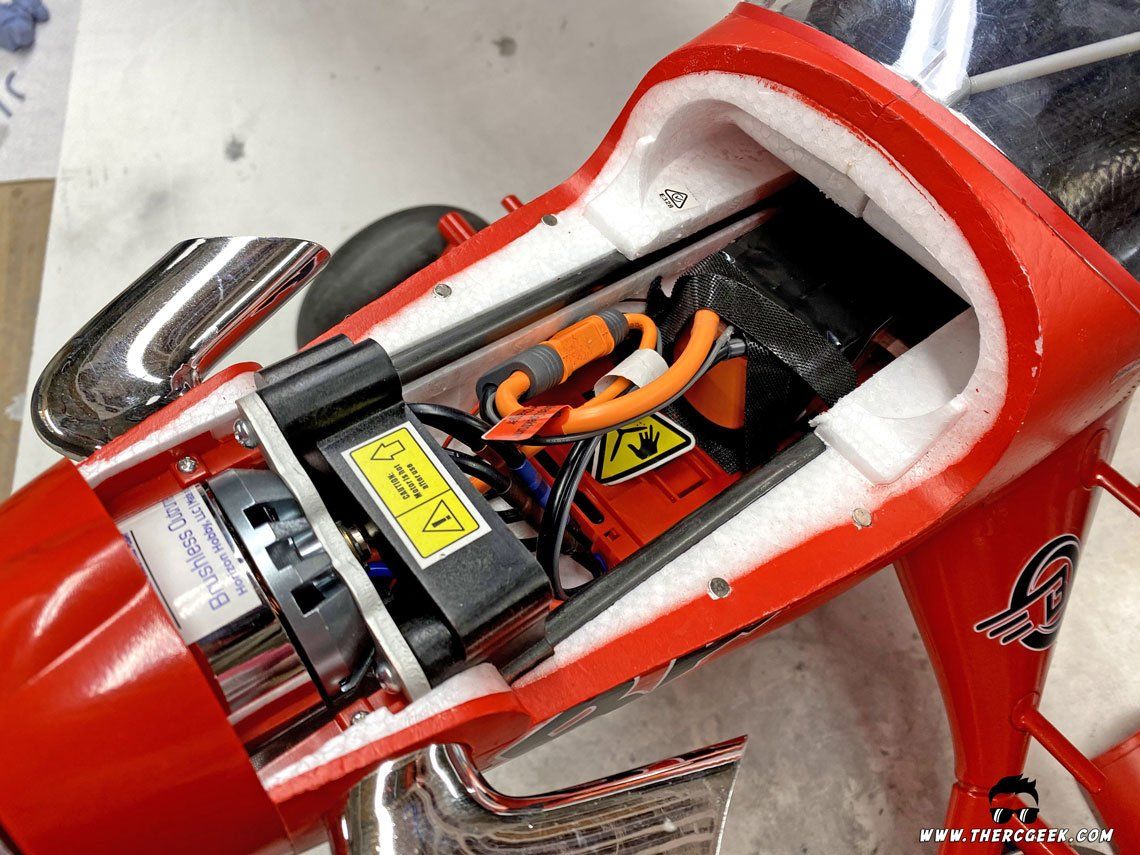
For the battery, I'm using a Spektrum Smart 6s 5000mah pack which provides excellent power and flight times. This also means that the battery talks directly with the Smart ESC and receiver so that full battery voltage, current, temperature, etc. is downlinked to the transmitter via telemetry. The whole upper front cowl lifts up allowing access to the battery area. In terms of placement, the battery was pushed all the way to the back of the battery tray which provided the perfect CG.
FLYING THE E-FLITE DRACO 2.0m WITH SMART TECHNOLOGY
The E-flite DRACO 2.0m is truly one of a kind and it looks pretty incredible in flight. The model has extreme power on 6 cells, will do basic aerobatics decently, but really is best suited for some casual STOL operations. The airplane easily takes off in a few feet being able to hammer to full throttle with no nose over tendencies at all. In turn, it really slows down nicely on landings and with the touch of reverse thrust, will easily land in the same few feet it took off from! That said, the model does a pretty incredible knife edge, snap rolls well and breezes through inverted flight as well. On 4 cells, the model will cruise around well and is fun to shoot touch and goes with, just don't look to do any extreme climbs or aerobatics.
One thing worth mentioning, the model has a nice long wing that generates a lot of lift. As a result, I found myself kicking around the rudder more than I typically would on other models. That's not bad, just different and worth noting. Also, when performing rolls, the use of rudder will help increase the roll rate quite a bit. Otherwise without it, the roll rate can be a bit sluggish when doing a full 360 degree roll. So my recommendation would be to plan ahead and give yourself plenty of altitude entering into the maneuver performing more on the order of a barrel roll than a straight axial roll. With practice, you can get the desired look and rate you want through different rudder inputs, etc. Oh, and one last note! In the process of making the below video, I might have put the airplane into a bush…doh! As a result, I found the perfect 2-blade prop option. So, if you're in the market there, the APC 16x10 2-blade prop is the perfect replacement.
FINAL THOUGHTS
Well, there we have the E-Flite DRACO 2.0m. This is one of the nicest made foam aircraft I have come across to date, the shape and the details are incredible! The flying experience is fun, but you may find different than on other more aerobatic STOL aircraft, so just something to be aware of. I have enjoyed flying it, especially challenging myself to see how short of a landing I could get with it! Until next time, I'll see you at the field!
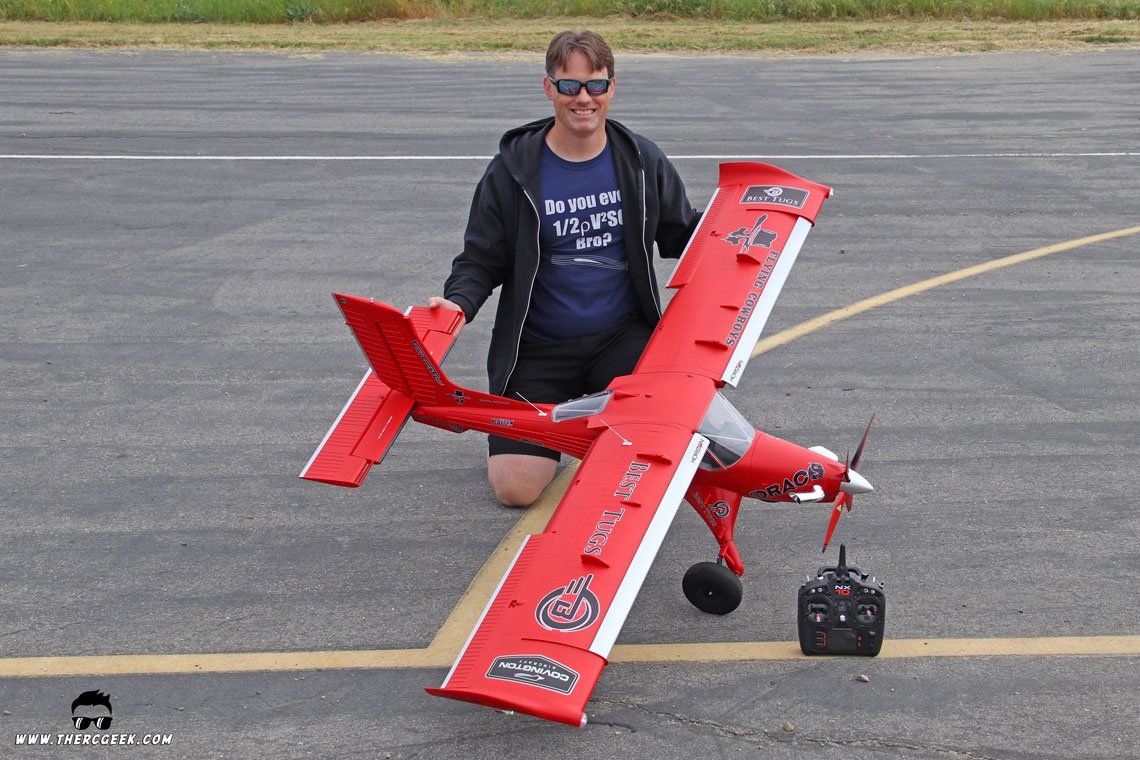
The RC Geek Blog is your place to learn about all aspects of the RC hobby. Learn to build, design, drive or fly that RC project you’ve always wanted to build, but have been intimidated to try. This blog is here to help you on your journey and provide tips and tricks as you go! My hope is to inspire builders both experienced and new! So, welcome, please look around, it’s an exciting beginning! I’m currently documenting my latest competition scale RC jet build, a Mark Frankel F4D Skyray, along with some other fun tips and videos. If you can’t find what you’re looking for on this front page, click on any of the categories to the right and it will show just posts related to those categories. Please feel free to add comments and/or contact me directly if you have questions, I’m here to help! And don’t forget to check out my YouTube Channel, I post new videos every week!
Subscribe To Our Blog Now
