The RC Geek Blog
By: Chris Wolfe
The 80mm Falcon Cometh!
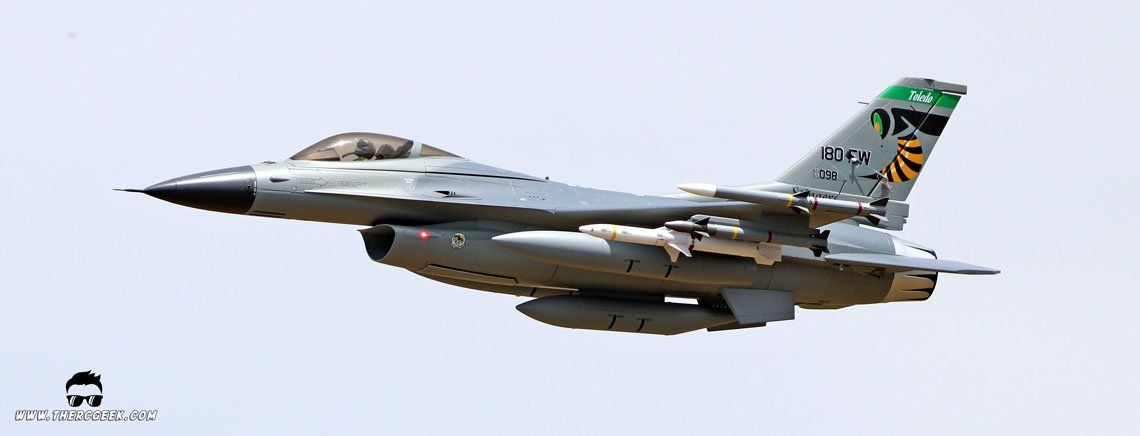
There’s something about F-16’s and how they fly that I really like. To me it blends the traditional flying on the wing type jet with the more flying on the thrust type delta wing configuration. To me, it means you get something that flies quickly, maneuvers really well yet has the slow speed characteristics of the delta being able to hit the high alpha.
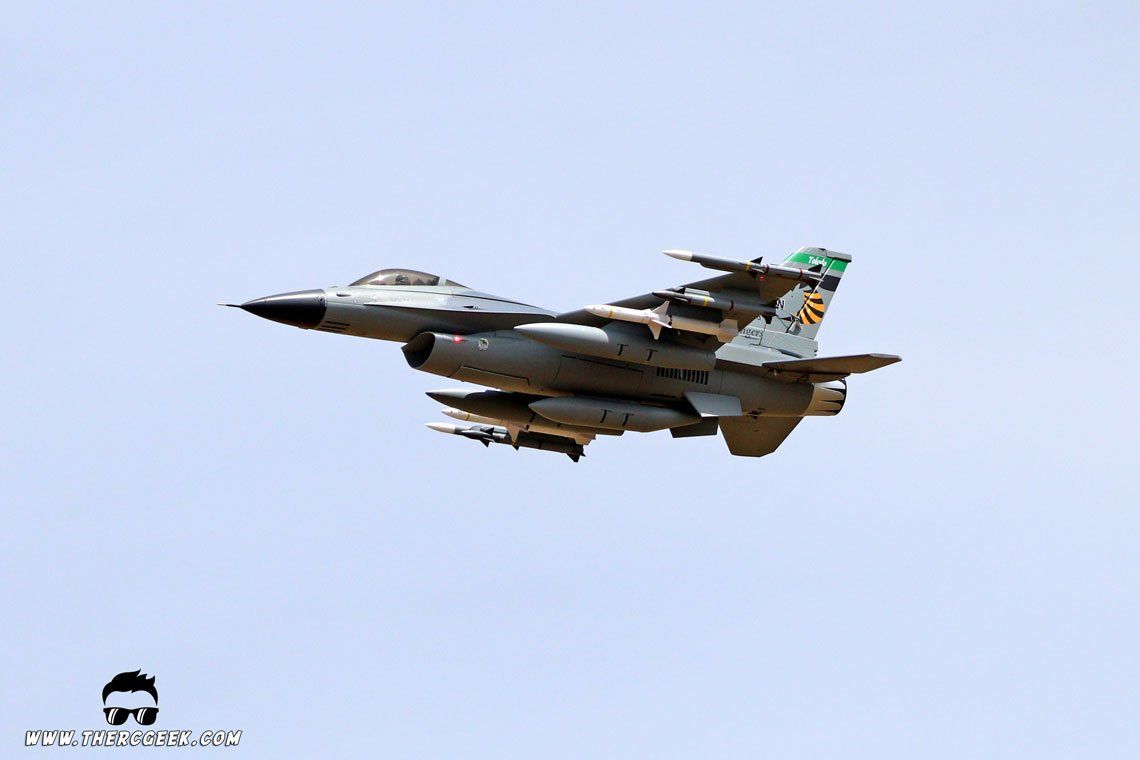
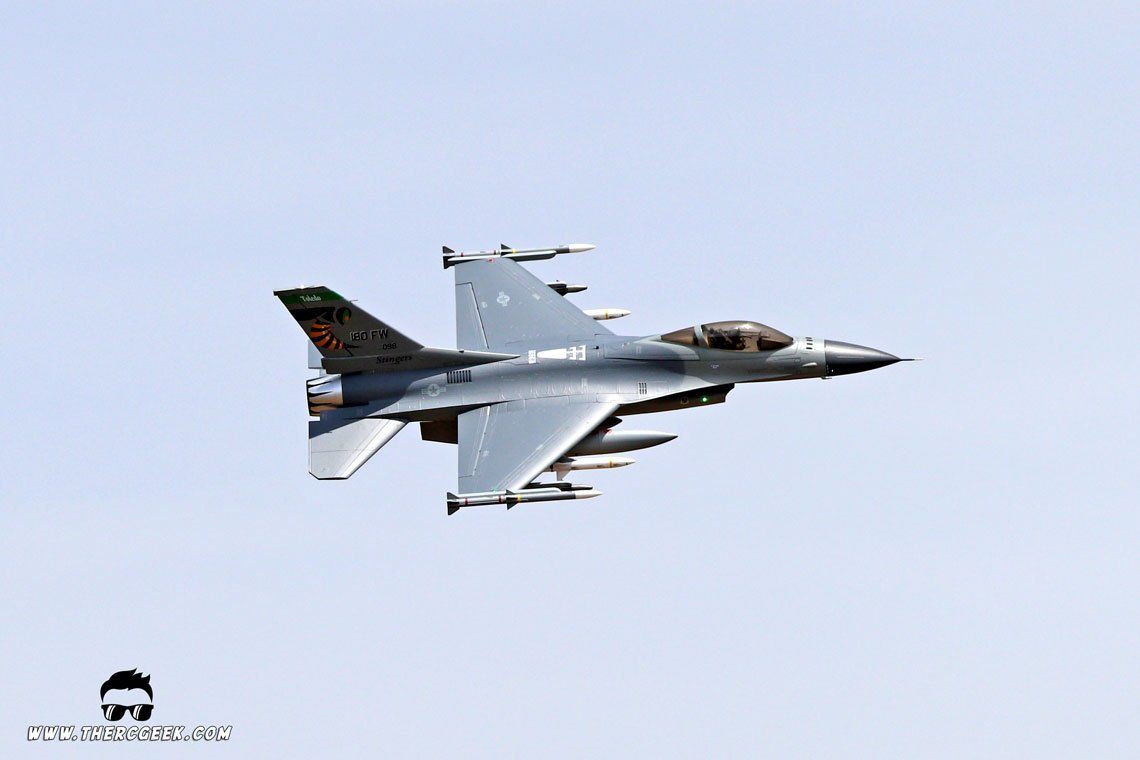
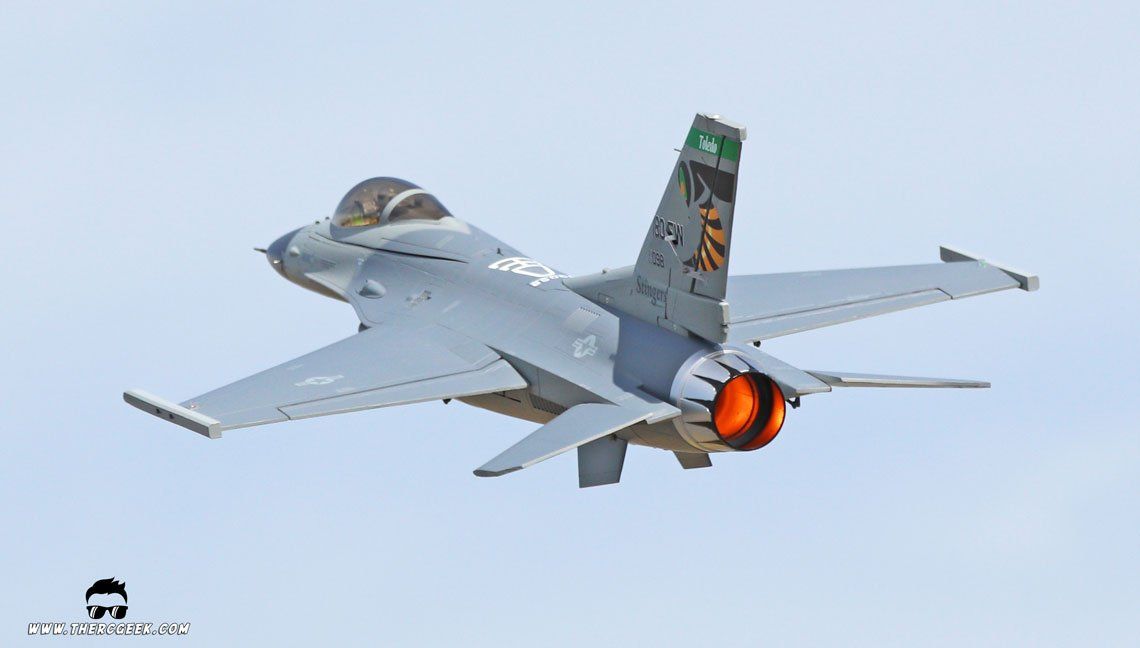
So, when I learned about the E-Flite F-16 Falcon 80mm EDF I was quite excited, especially seeing all of the added details in the design. I knew that if it flew anything like the E-flite 70mm Thunderbird, it would be a blast…and I think it's safe to say that it has exceeded my expectations!
AIRCRAFT ASSEMBLY NOTES
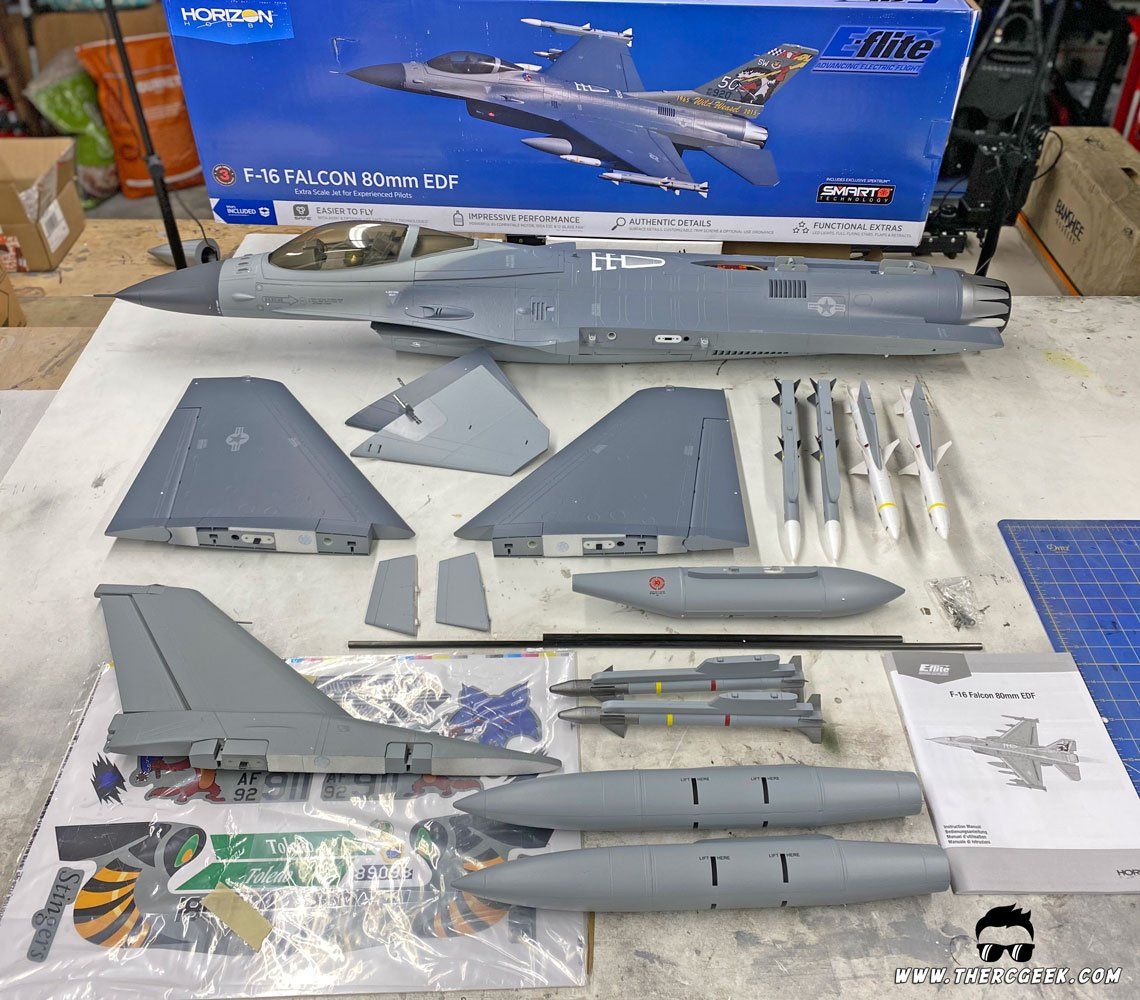
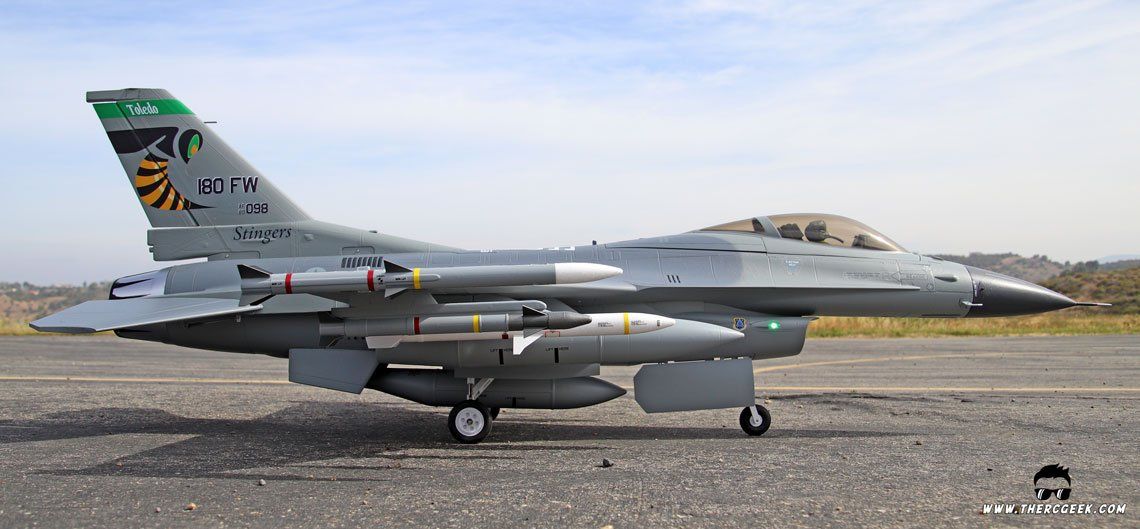
The E-Flite F-16 80mm is a very complete kit that includes all metal scale landing gear, full lights, and external weapons/stores and assembles very quickly. Also, all of the servo attachments have hard mounted connectors, so there's no loose wires to have to contend with either. The assembly process starts with installing the horizontal tails. They have a pre-installed shaft that slides into the fuselage and is then held in place by a screw on each side (servo attachment is a traditional pushrod with all attachment). From there, the wings slide into place over two carbon spars and are held with two screws each. Next, the vertical tail drops into place and is held by two screws at the base of the tail at the fuselage. To finish it off, the ventral fins clip into place underneath as well as the wing tip missile rails and weapons as desired. Note that the missile rails have hardened plastic on one side and the plastic is intended to be on the lower side for those inevitable wing scrapes.
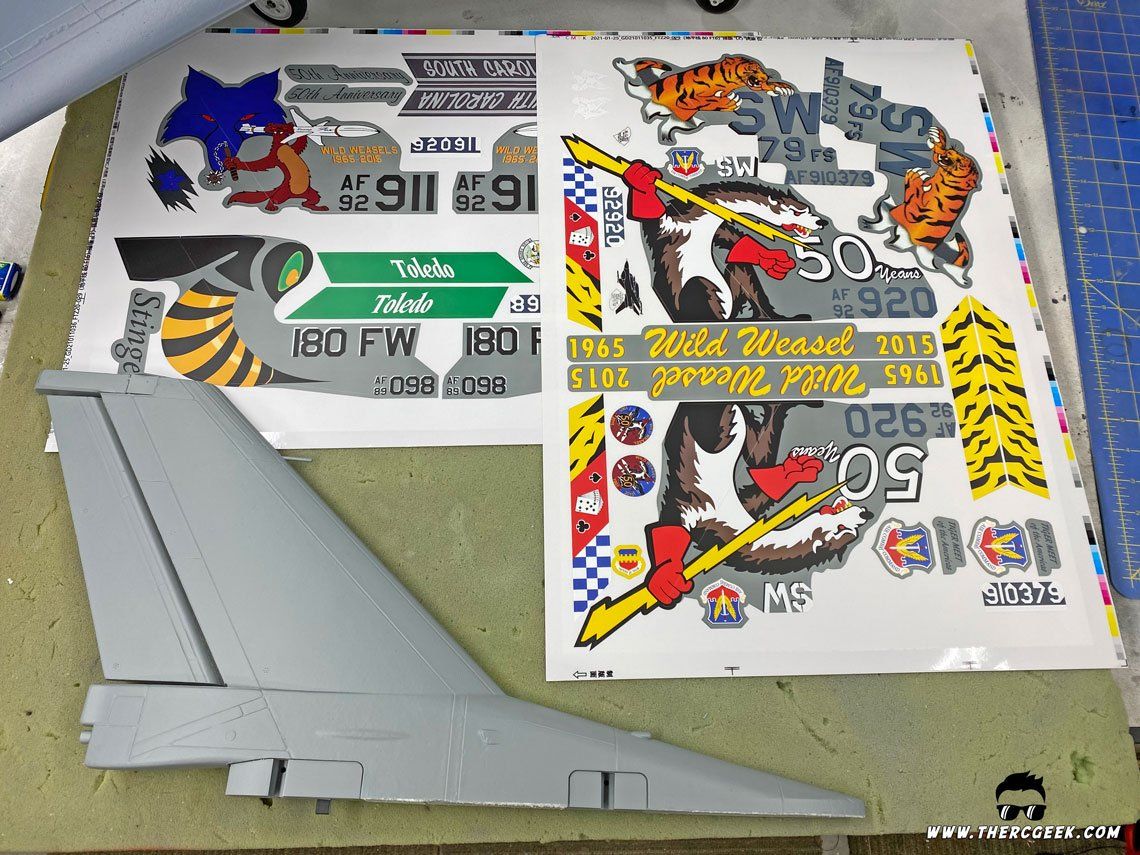
The model includes an assortment of 4 different markings which are placed by the modeler. The color match is quite good on the gray as it’s hard to tell there’s a sticker there once on. To place the stickers, I recommend spraying Windex onto the surface first then placing the sticker onto the surface. The Windex allows you to slide the sticker around giving you time placing the sticker where desired. Once in place, simply squeegee the excess Windex out (a used gift card works great for this) and clean up with a paper towel. As the Windex evaporates, the sticker will adhere to the surface.
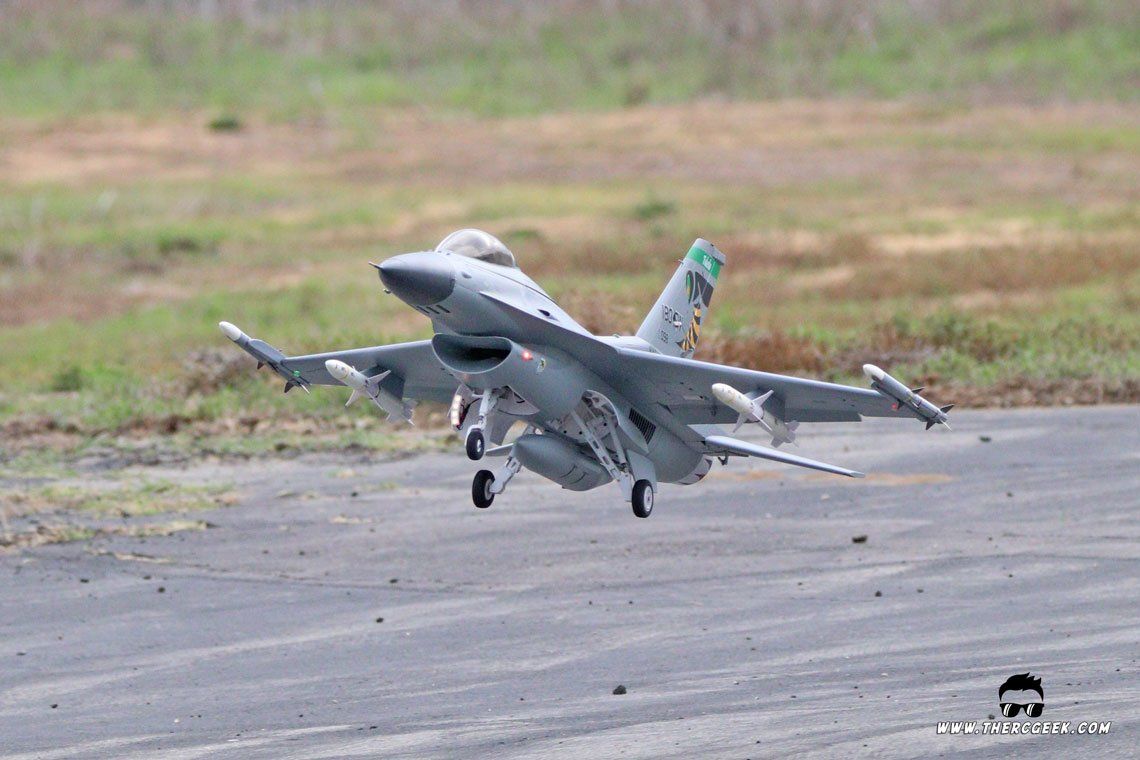
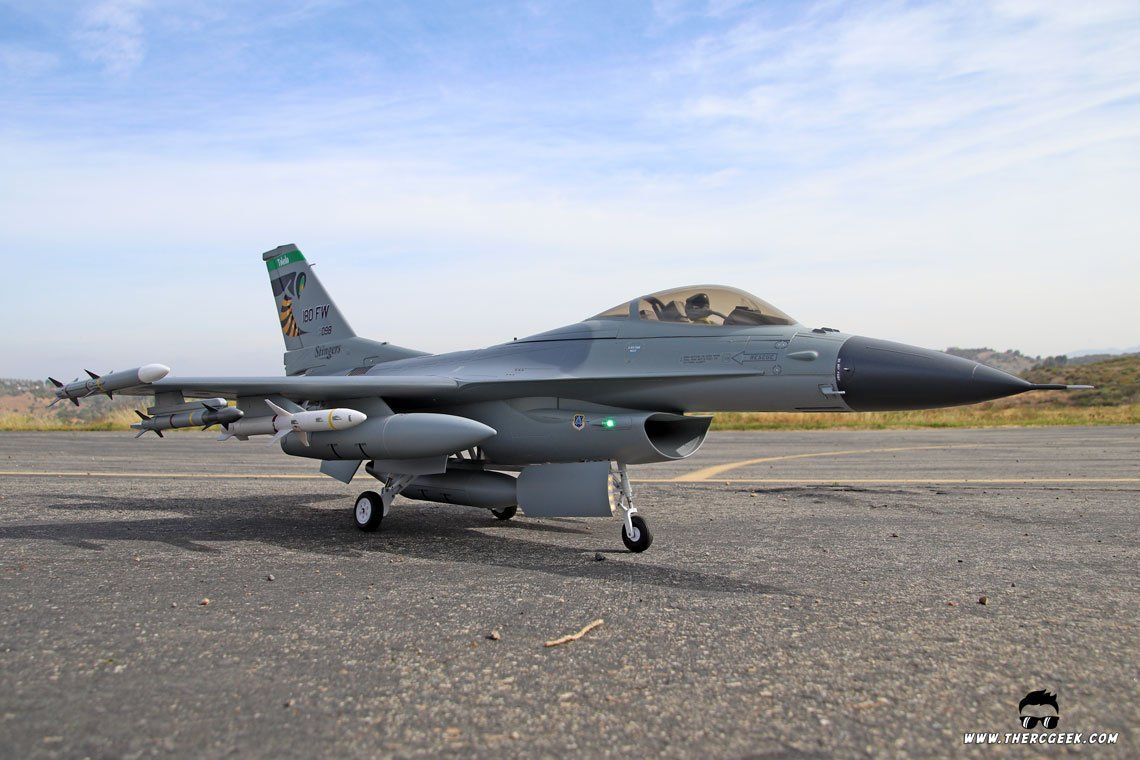
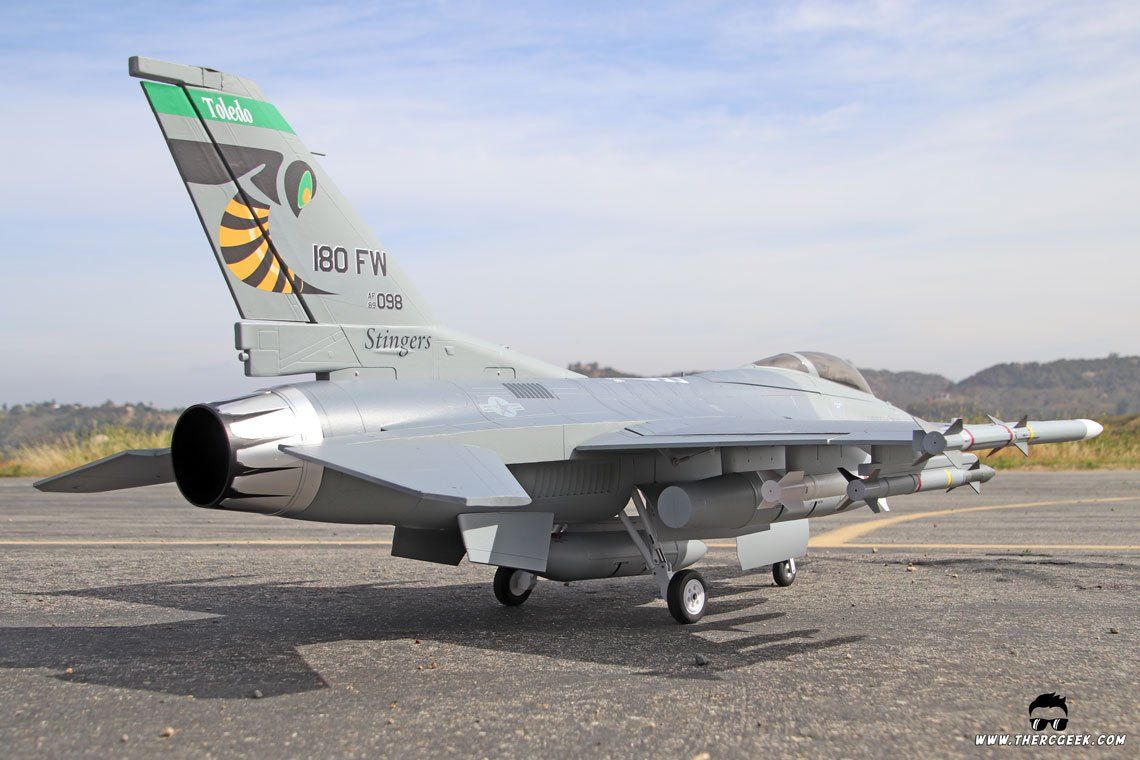
With the airplane together on the bench, it is a great looking representation of the F-16 Falcon and is a nicely sized 80mm airframe. The paint is well done and the colors look good and the finish is extremely smooth. The landing gear really set the model apart as they look fantastic and give the model the look of the full scale airplane on the ground. Additionally, having the weapons included is extremely nice and the model really looks awesome loaded for bear! It is worth noting that the nose landing gear design is a pretty high profile which restricts the air coming in from the inlet. As a result, there are a number of inlet vents on the aft fuselage which provide the primary air for the fan which are actually hidden decently well.
Now, the one necessary modification was adding a centerburner simulated afterburner into the airplane (a necessity for an F-16! ;) ). This is the 32mm inrunner design which fits directly onto the back of the motor and simply clamps into place via three set screws. The instructions show an optional afterburner ring that is coming and so as a result, there's a pre-installed servo extension wire which simplified the install (no routing wires!). The burner was setup via the spare channel 6 as the smart telemetry can interfere with the operation of the controller (a smart ESC with a smart receiver switches from a PWM signal to an SRXL2 signal which can interfere with the controller operation). Note that the channel 6 has the aux power from the ESC plugged into it. So, when setting this up, using a y-harness with the aux power plug will maintain the redundant power from the ESC.
AIRCRAFT SETUP & CG
For the aircraft setup, this is the bind and fly version of which means that it includes SAFE select as well as the full Smart telemetry. If you're using some of the newer NX radios, setting up SAFE can be simplified through assigning it in the forward programming menus. It requires selecting the desired channel to SAFE and then going into the channel assign menus and assigning that channel to your desired switch for SAFE. This really makes things easy and also allows you to turn on and off AS3X even should you choose.
For the control surface setup, the E-Flite control recommendations were a great start. Through flying the airplane I found that I preferred my high rate settings all around. This equates to the following rates:
- Elevator - 30mm up/25mm down (measured at the trailing edge) with 10% expo (note that the neutral position for the elevator is set at about 23mm as measured from the top of the fuselage to the tail leading edge)
- Aileron - 15mm up/down with 10% expo
- Rudder - 23mm left/right with 15% expo
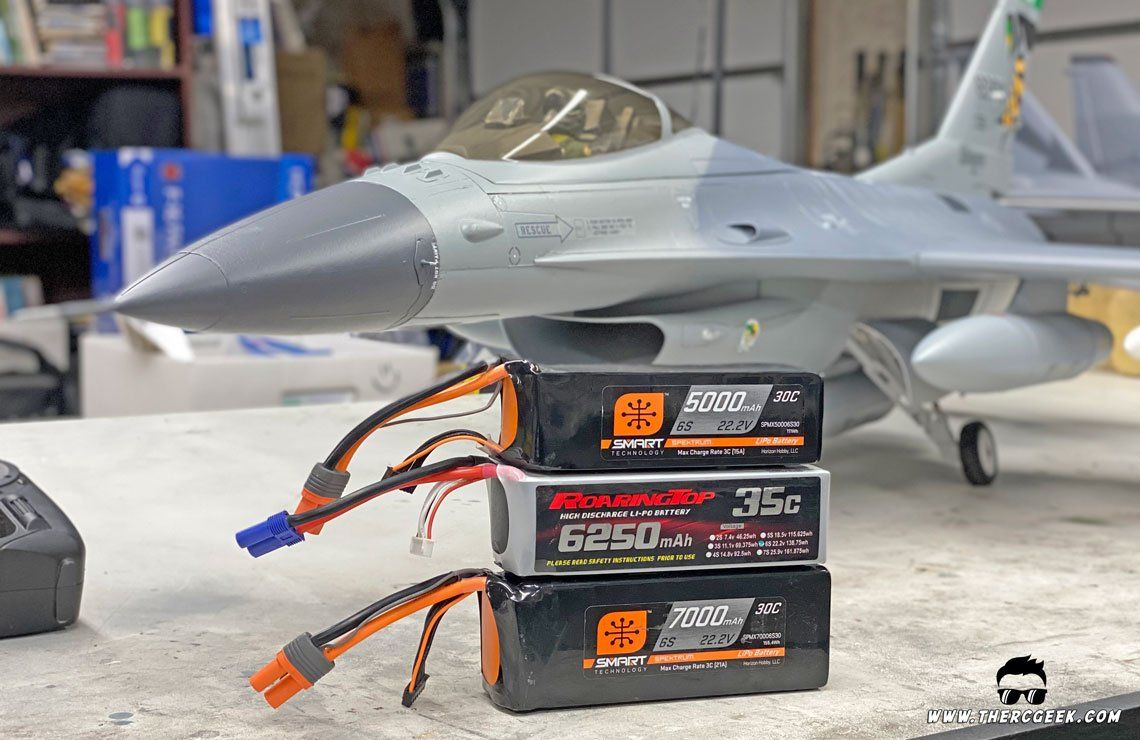
The nice thing with the E-flite F-16 is that it has quite a bit of battery space in the forward fuselage which opens up all sorts of options for battery capacities and as a result, flight times. I've flown the model with Spektrum Smart 6s 5000mah, Roaring Top 35c 6s 6250mah, and Spektrum Smart 6s 7000 mah batteries and they all work great. The 5000mah provides great vertical performance being able to got vertical from takeoff (similar to the 70mm Thunderbird) while the 7000 mah has the edge on straight line speed and of course, flight times. As you would expect, the 6250mah provides the best compromise between the two. With the 5000 mah pack, 3.5 minutes is about the max flight time to expect and with the 7000mah pack, 4-5 minute flights are about the norm. Of course this will vary depending on how the airplane is being flown (lots of full throttle = shorter flights).
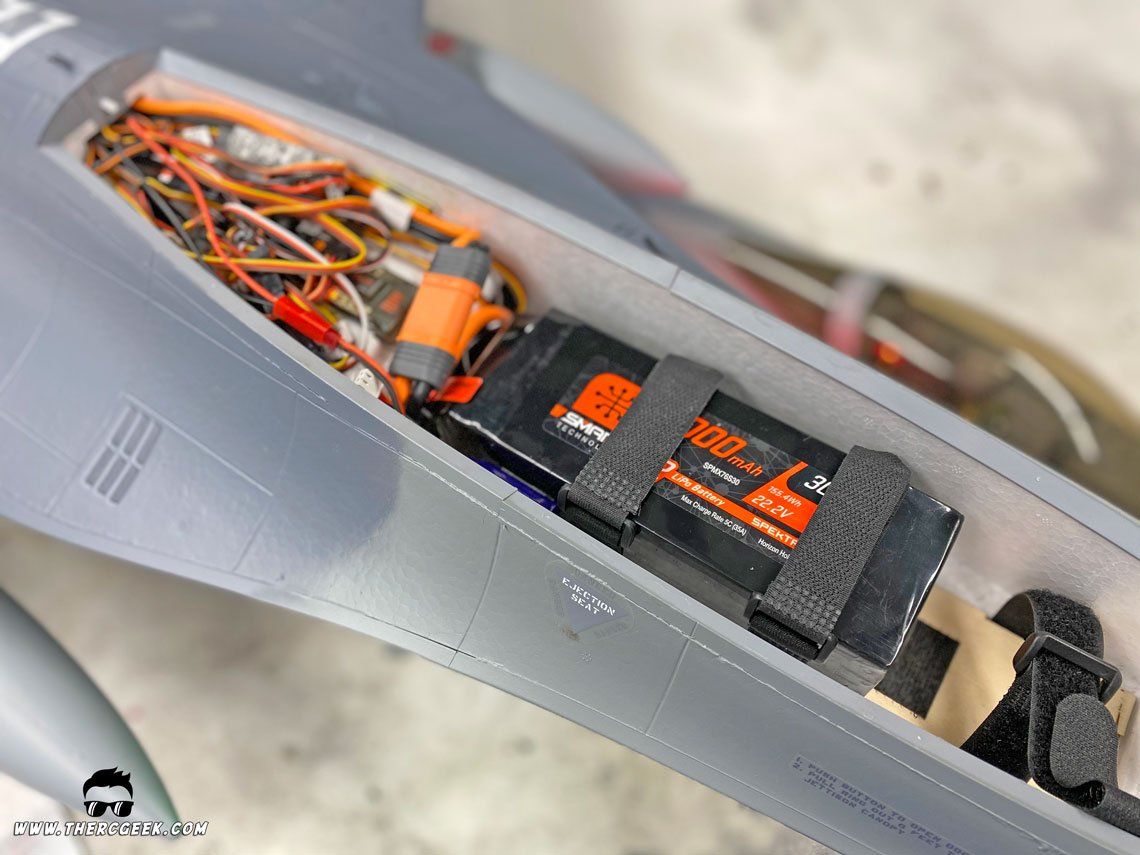
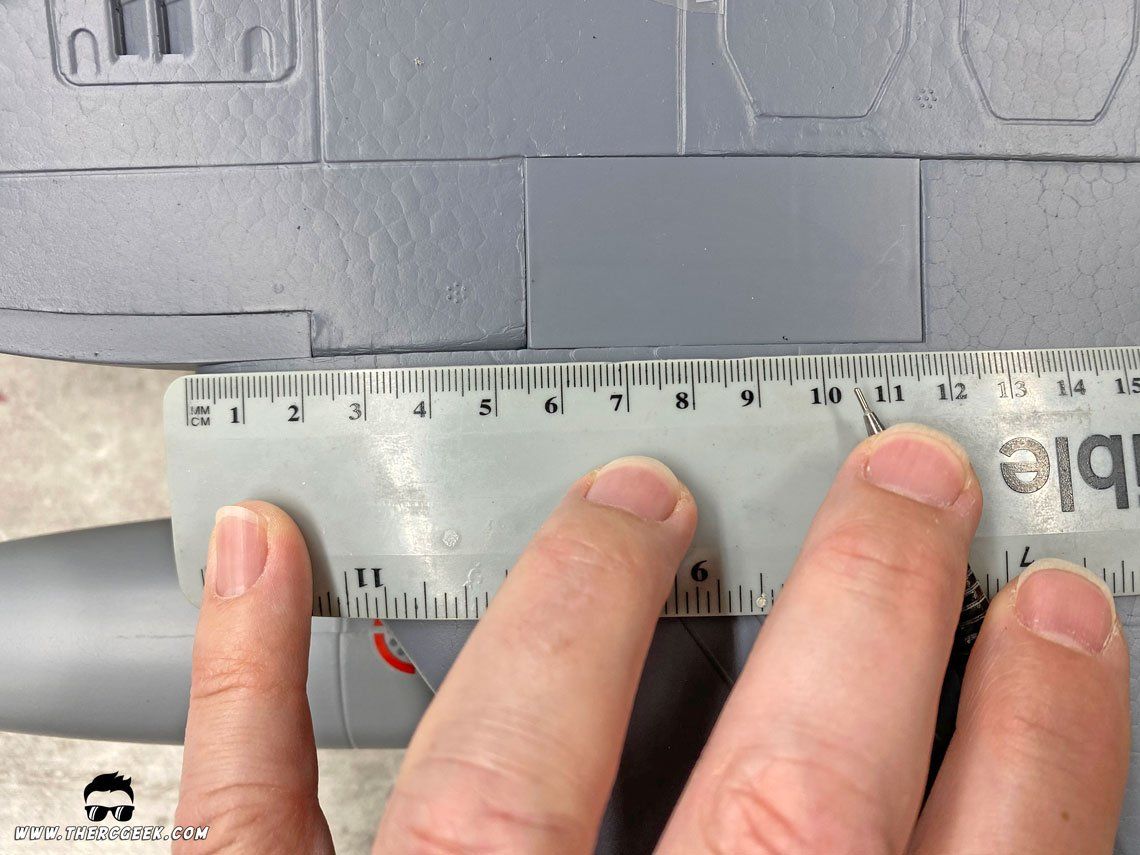
In terms of the CG, I started with the recommended location and found it a bit nose heavy. So, I ultimately moved the CG back to where I was more happy with the characteristics and the CG is placed at about 105mm as measured from the wing root leading edge aft. I'm just CGing the airplane with my fingertips upside down with the gear down and it works easily. Note that to get this CG with the 7000mah battery, I need to add 1ounce of weight into the exhaust tailcone and place the battery as far back as it could go in the battery area.
ADVENTURES IN FLAPERONS
One additional thing I tried on the model was flaperons. For the review, I was flying the airplane from about a 320ft runway and so I wanted to try it to see how the model would respond on the landings. One concern is that you can lose roll effectiveness on landings, but as a whole, I was quite happy with how they worked and I found the roll response sufficient for most conditions (except for when it was turbulent and windy). To set them up, simply unplug one of the aileron servos from the y-harness and plug it into the spare 6 channel. Then, set flaperons in the aircraft configuration and then setup your flap switch and that's about all there is to it. In addition, I setup 60% differential so that the surfaces would travel more trailing edge up than down. My final setup is as follows:
- Flaperons - 4mm mid, 9mm full (no elevator mix required) with 60% aileron differential
FLYING THE E-FLITE F-16 FALCON 80mm EDF
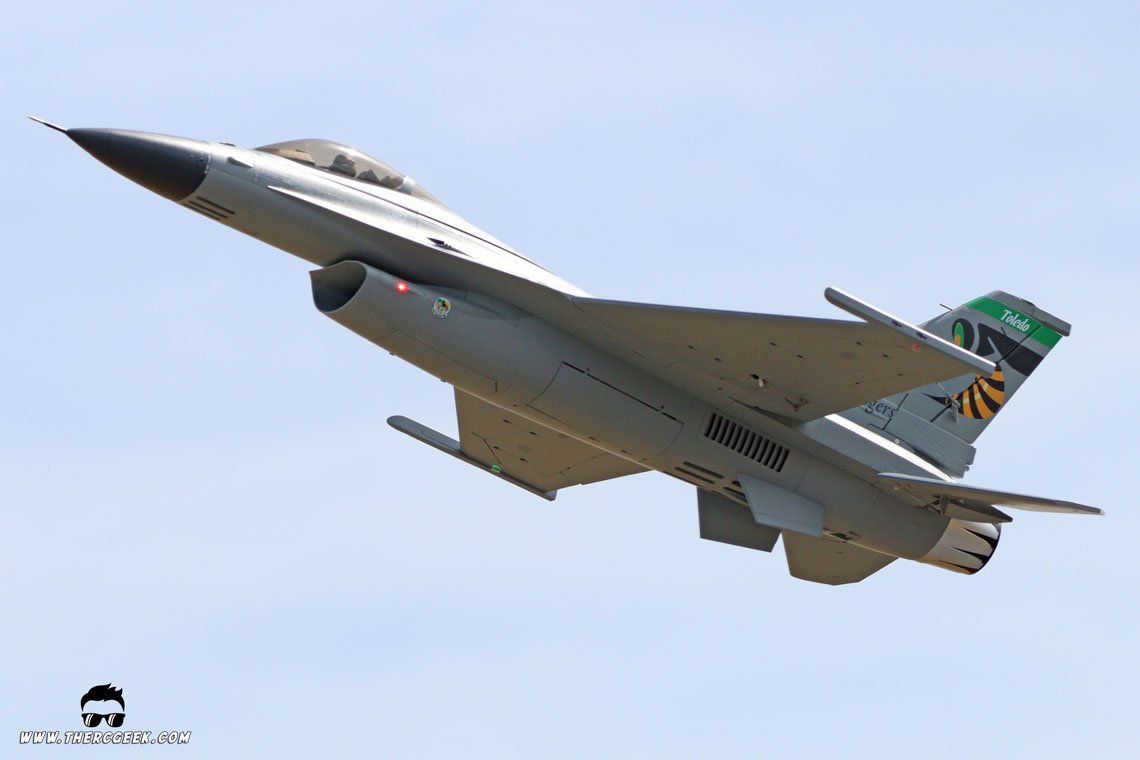
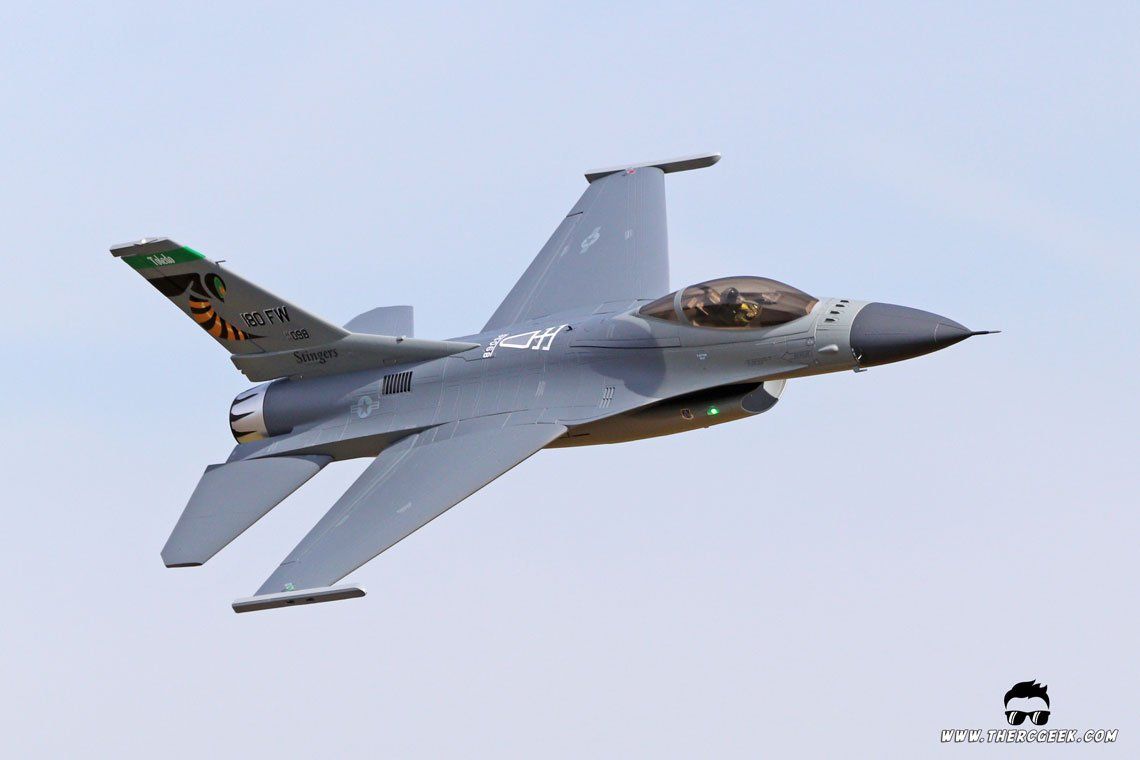
In terms of flying the F-16, it is a great flying jet that displays some excellent performance. It's impressively quick when you want it to be but slows down for those awesome slow, high alpha passes. The model maneuvers much like it's full scale counterpart providing nice large verticals and nimble rolls just like an F-16 should. It's nice and responsive and really quite fun to fly like the fighter jet it is while mimicking your favorite F-16 airshow routine. Landing the airplane, it's important to approach with a nose up attitude and use the power to control the rate of descent much like the full scale airplane. If you don't see the bottom of the airplane on the approach, you're going to be too hot. The flaperons do help a touch in slowing the airplane down a little more while also help push the nose down a little too. I did find however that when windy and turbulent, the model landed better without flaperons maintaining better roll authority. Oh, and with the stores on, it looks great, but it does lose some top end speed. The rest of the maneuvering seemed unaffected otherwise. Interestingly enough, I found that the model tended to land a little slower with the stores on vs clean.
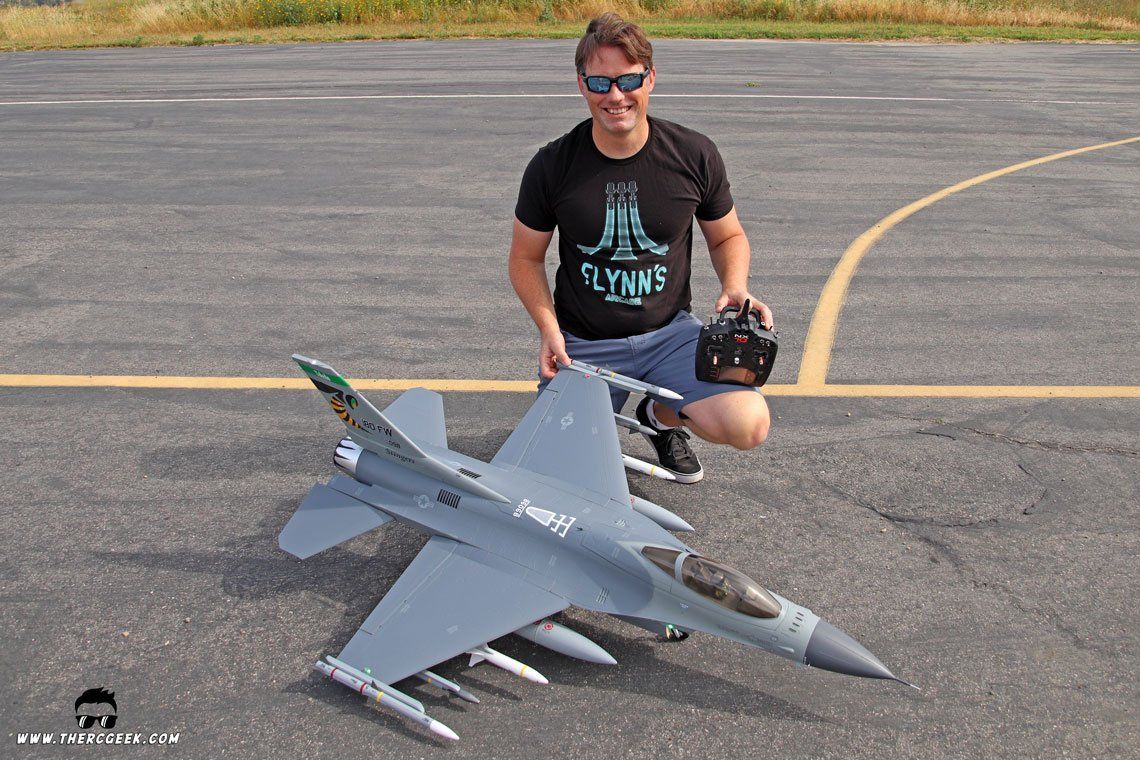
The E-flite F-16 Falcon 80mm EDF is just a shade under 1/10 scale and compared to the Freewing 90mm, it is very close to the same size being within 1-2 inches in length. Based on the Freewing F-16s I've seen fly with the original outrunner power system, the performance of the E-flite is night and day better having quite impressive performance. I can't say how it compares to the Freewing with any of the upgraded power systems however. Below is my first flights video of the E-flite F-16 in action with and without stores flying with a Spektrum Smart 6s 7000 mah battery.
FINAL THOUGHTS
There we have the E-flite F-16 Falcon 80mm EDF. This is a great flying EDF that looks and flies excellent, assembles easily and has some really nice features (mmmmm, scale landing gear). It is worth noting that the tires are pretty small, so grass operations could pose a challenge depending on how thick the grass field is. I can only speak to the pavement operations since that's all we have here in Cali, but if grass is the only option, I would think the jet would do better on shorter, more manicured grass fields. Also, based on what I've seen, the flaperons do seem help the model to takeoff on grass, so that is something to keep in ming. Now, where's my F-16XL plastic kit?? ;) Until next time, I'll see you at the field!
The RC Geek Blog is your place to learn about all aspects of the RC hobby. Learn to build, design, drive or fly that RC project you’ve always wanted to build, but have been intimidated to try. This blog is here to help you on your journey and provide tips and tricks as you go! My hope is to inspire builders both experienced and new! So, welcome, please look around, it’s an exciting beginning! I’m currently documenting my latest competition scale RC jet build, a Mark Frankel F4D Skyray, along with some other fun tips and videos. If you can’t find what you’re looking for on this front page, click on any of the categories to the right and it will show just posts related to those categories. Please feel free to add comments and/or contact me directly if you have questions, I’m here to help! And don’t forget to check out my YouTube Channel, I post new videos every week!
Subscribe To Our Blog Now
