The RC Geek Blog
By: Chris Wolfe
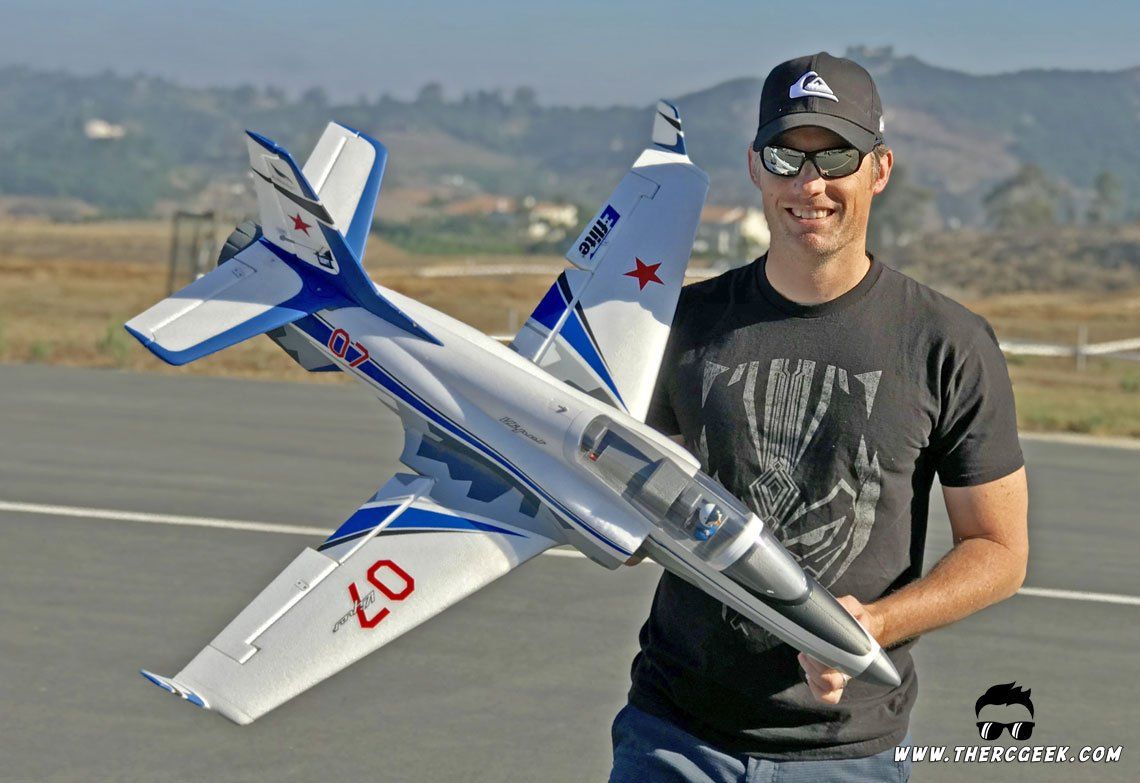
E-Flite's latest jet, the 70mm EDF ViperJet!
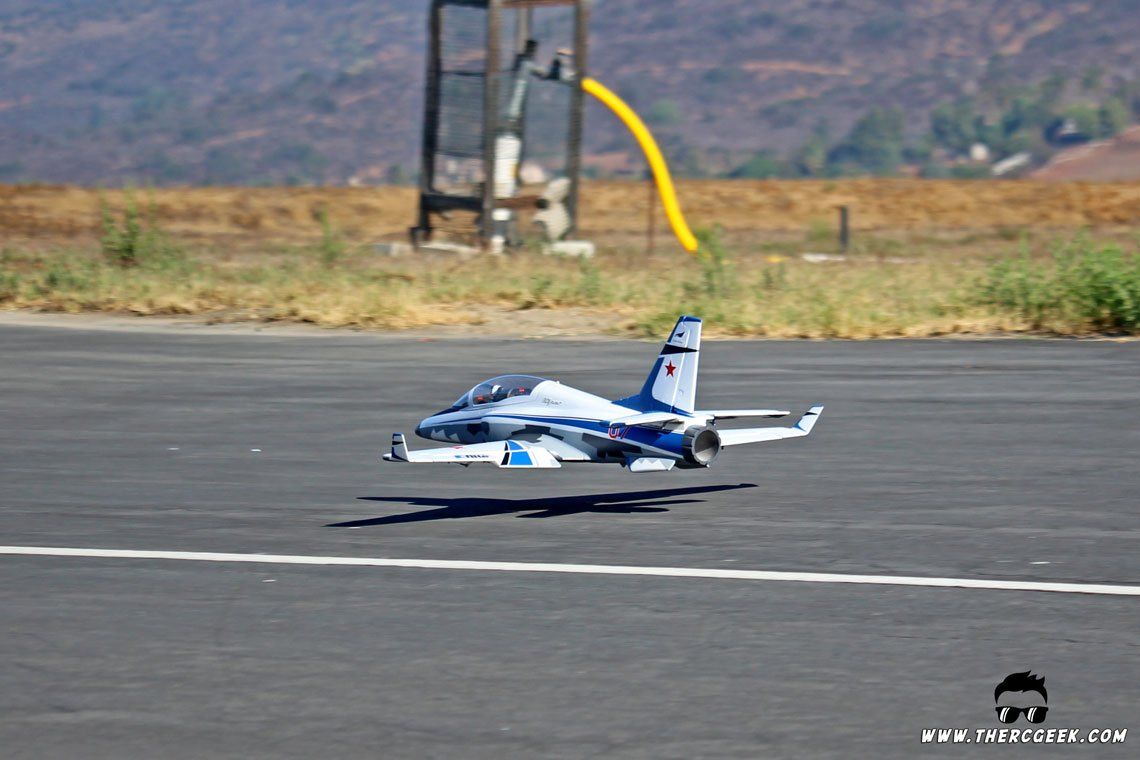
When the opportunity came up to review E-Flite's new 70mm EDF ViperJet, I could not pass it up! This airplane is a great looking little jet that flies just incredibly well. Also, the Bind n Fly version has SAFE Select available, so if you're newer to RC and looking to jump into jets, this is a nice option to have. The truth is, this airplane makes for a wonderful first jet with or without SAFE. Obviously, without SAFE, you'll want to have some proficiency on the sticks first before jumping into a high speed jet.
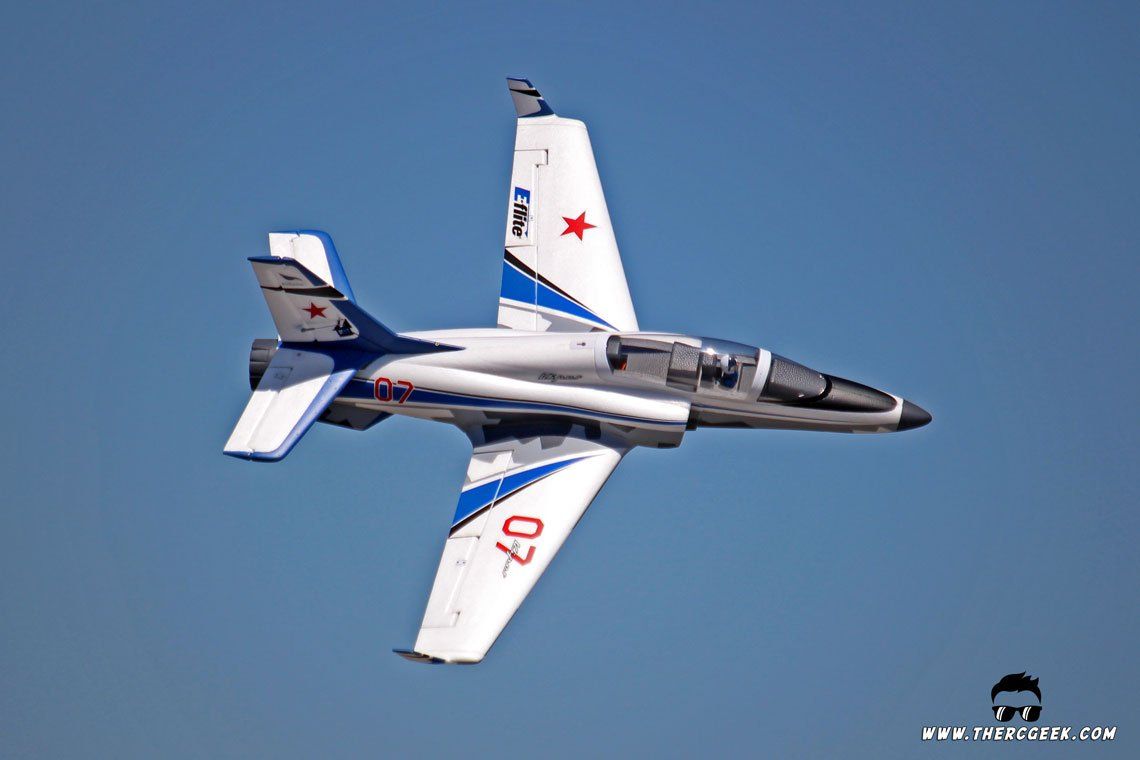
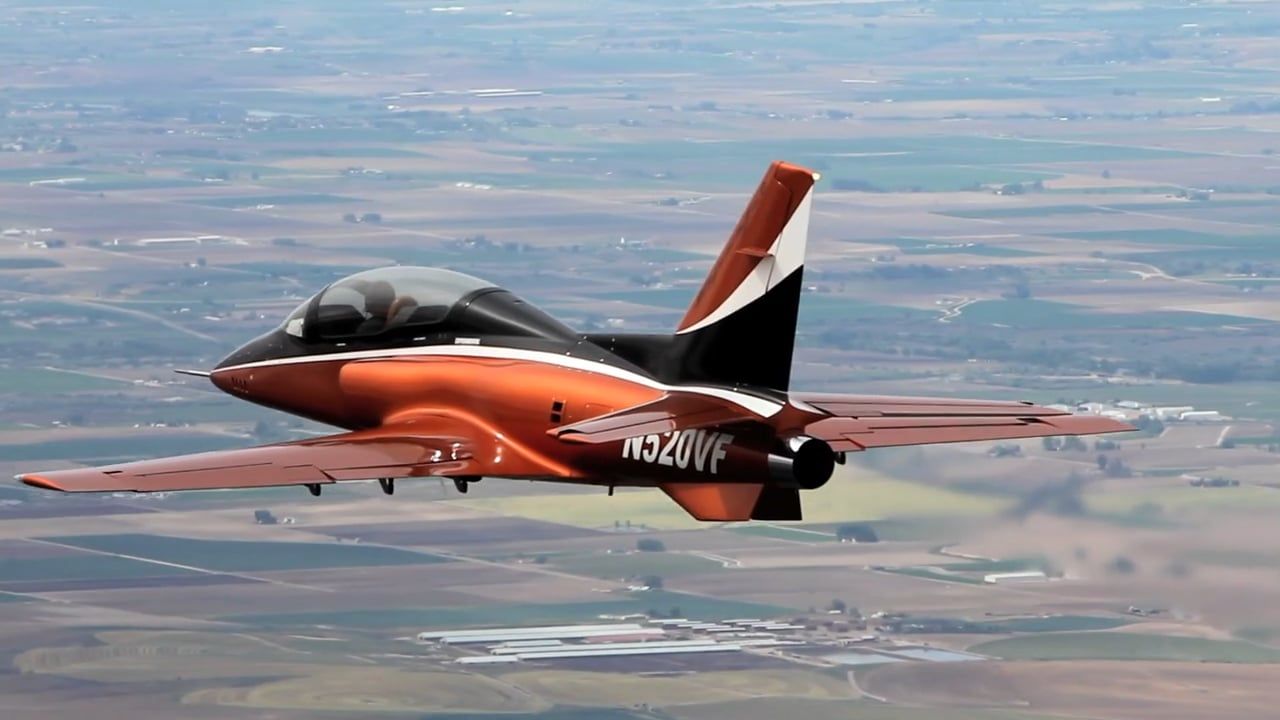
Now when we talk about the ViperJet it is indeed a real airplane, so we are technically talking about a scale jet here. The full sized airplane is actually a home built aircraft. So, for a cool $500,000 and 3500+ hours for assembly, you too could have one! I kid of course, but the thing is that the proportions of the full sized airplane make for a great flying model that handles much like a purpose designed RC sport jet. So based on that, what you get is some fun aerobatic flying in a scale looking package. It's been a pretty popular design within the jet community for that reason. Obviously, what's on the model is not a scale paint scheme, but I have to say I quite like it! This guy with two thumbs is a sucker for splinter camouflage.
AIRCRAFT ASSEMBLY NOTES
The ViperJet comes nicely packaged and assembles extremely quickly. The kit has a very small parts count, which primarily just requires bolting the on the tails, the dorsal and then the wing. The most difficult part was routing and connecting all of the wires as it takes a little time to find all of the appropriate connections. It's kind of a rats nest in there to be frank with everything hooked up, but it certainly works. I would estimate about 20 minutes worth of effort getting the airplane assembled and everything hooked up. Note that for the BnF version, the unlabeled wire coming out of the receiver is the bind wire.
In the process of assembly, I couldn't help but add a CenterBurner into the airplane which looks pretty awesome in the air. Even though I realize the real airplane is non-afterburning, I just couldn't help it! Especially considering that it is kind of a military paint scheme after all…

Having the airplane together on the bench, it really does look nice and I do like the paint scheme quite a bit. It has kind of that aggressor feel to it with the Russian stars and the splinter camouflage. I am a sucker for splinter camo, so I guess it shouldn't be any surprise! One thing that I noticed was that the foam on this airframe is extremely smooth. In fact, it is one of the smoother EPO airframes that has come across my bench to date. So that was really nice to see and I hope the start of a trend for some of the future E-Flite offerings. Unfortunately, while at the field, it only took about 5 minutes for the cockpit foam to swell up. So, I may touch that up at some point, but the rest of the airplane has held up great through without any hint of swelling, even on the black anti-glare.
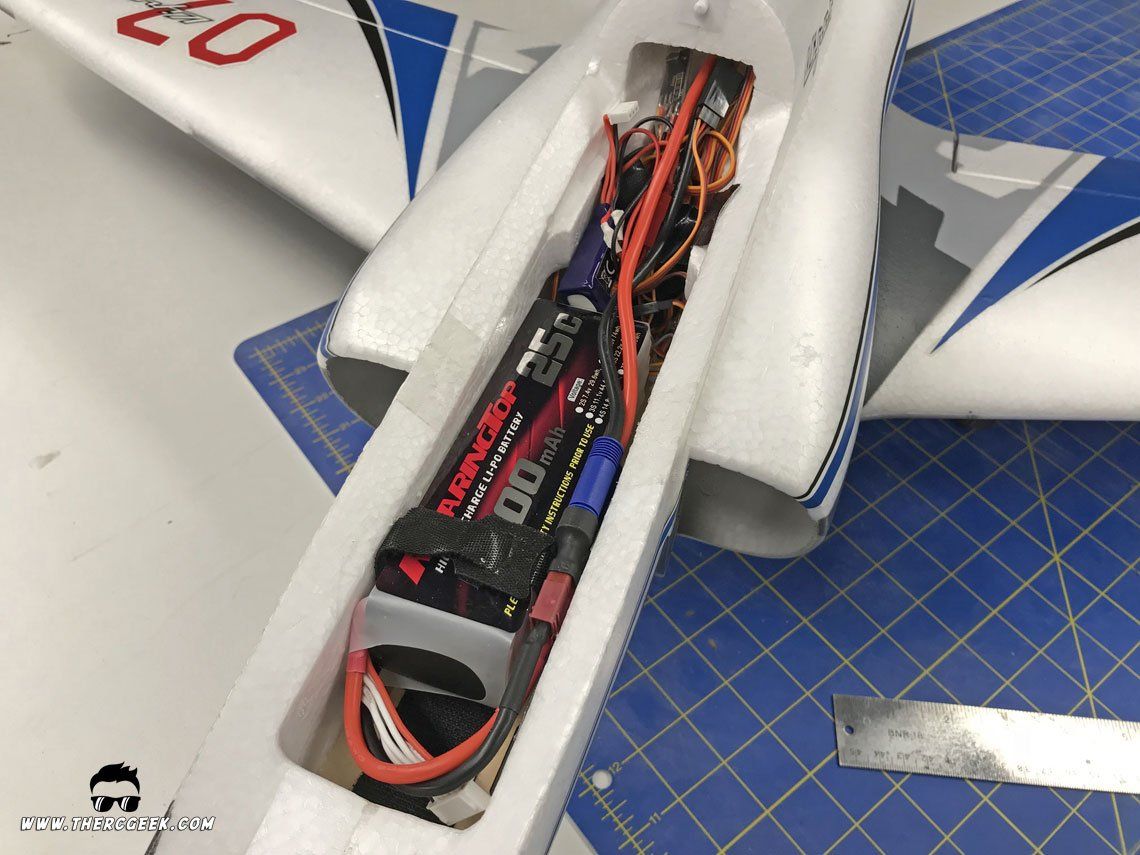
One important thing to note is battery selection for this model. I had hoped to use a 6s 5000 since I had a few of them, but to get those to fit would have required quite a bit of foam removal and just made the airplane nose heavy. So, I ended up picking up some 25c 4000 mah packs from Roaring Top which has worked out great! The fan is only pulling about 60 amps or so, so no issues with c rating and they're light weight and fit well in the nose too. The thing to keep in mind is that it is only a 70mm sized airframe, so space is a lot more limited compared to larger airframes. For reference, the recommended battery is about a 3200-3700 mah pack.
AIRCRAFT SETUP & CG
This was the bind and fly version which means it includes SAFE select. I won't cover that here as I have a whole separate discussion on that you can find here. The thing to keep in mind is that there are two distinct bind procedures. To bind the aircraft with SAFE Select off, simply bind the airplane normally keeping the bind plug in place the whole time. To bind with SAFE Select on, start the bind procedure normally, but prior to selecting bind on the transmitter, remove the bind plug from the receiver. The airplane will give an indication of the mode it's in during initialization by cycling the surfaces either once for SAFE Select off, or twice for SAFE Select on. If you can get away with flying this airplane without SAFE, it's recommended as the airplane is high performance and agile so you'll have a lot more fun with it. Where it may be the most helpful is in takeoff and landings to protect the airplane during the most critical phases of flight, but the airplane lands extremely easily as it is.
In setting up the controls, I actually started with the downloadable file they have on the Spektrum website for this airplane and then tweaked the settings a bit setting up triple rates and moving the flap switch around. The push rods are all set at lower holes on the servos which works for the most part. However, there wasn't enough steering or rudder throw for me, so I moved both of those to the outer most hole on the servo arm and then maxed out the end point travel. Even so, I could probably still use more rudder for better knife edge performance. Through flying the airplane here are the throws I'm using. Note that these equate to the maximum rates, so if you are looking for additional throw, it'll require moving the push rods further outboard on the servo arms.
- Elevator, 1/2" with 10% expo
- Aileron, 5/16" with 10% Expo
- Rudder, 1/2" (could honestly use a little more for the knife edge.)
- Flaps, 3/4"mid, 1-3/8" full with about a 10% down elevator mix which is only about 1/16" in physical elevator
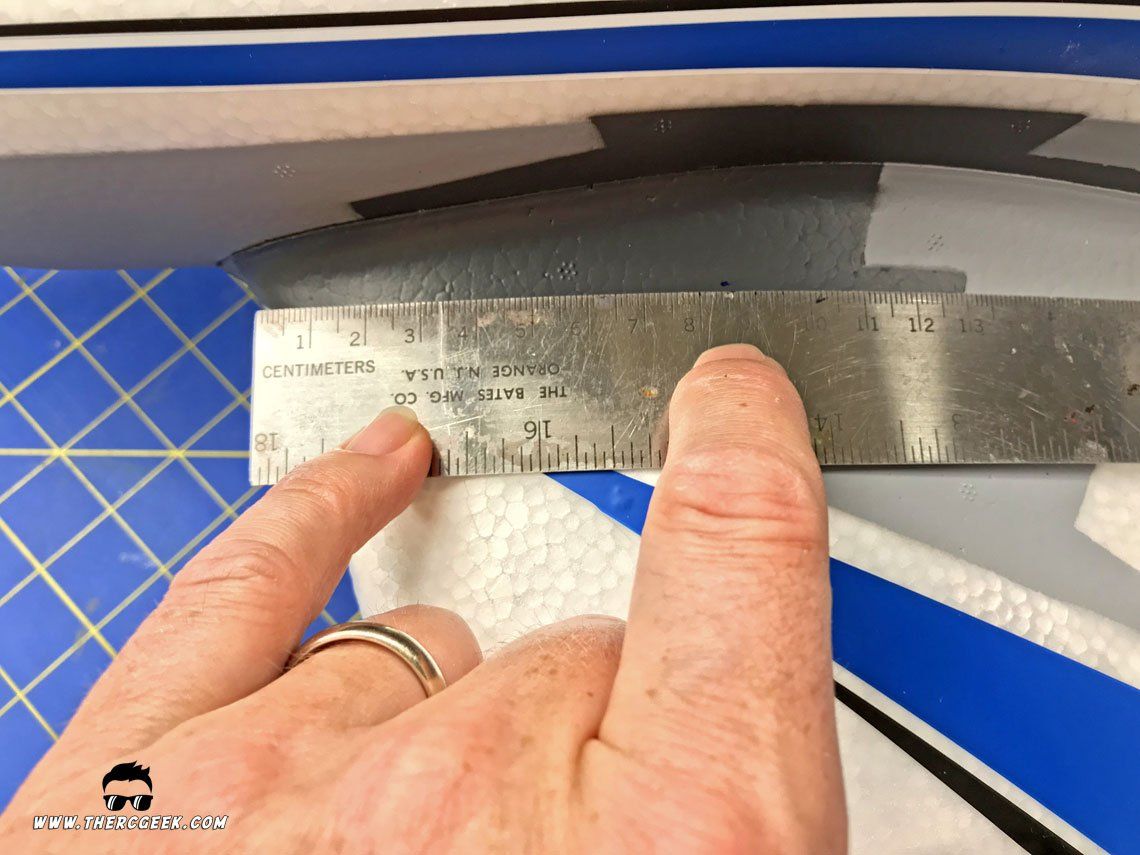
The CG location recommended in the manual is 75-85mm as measured from the wing leading edge root aft. The CG felt a little nose heavy to me here, especially when inverted. I'm currently flying the airplane closer to 85-90mm. This based on simply lifting the airplane, gear down, with my fingertips and then looking for the aircraft to be level or slightly nose down. For battery, as mentioned, I'm using a Roaring Top 25c 4000mah pack and it's placed right up to the front of the receiver and the airplane flies great there!
FLYING THE E-FLITE 70mm EDF VIPERJET
This little ViperJet flies absolutely fantastically and really looks good doing it. It's a very forgiving design and has a nice wide speed envelope. It does aerobatics well including snap rolls should you choose and has good vertical flying just like a jet should. Rolls are nice and axial, the inverted is easy requiring just a slight amount of down elevator as the airplane tracks very true. Knife edges are no problem with enough rudder throw, but what I really love are slow speed low passes with the flaps down.
If you're new to jets, this is a great first start that will get you going and even if you’re not, this is a fun little airplane to keep your skills fresh. The form factor is really nice in that you can throw the airplane in the car on top of some of your more prized birds and then fly it in between flights of your other airplanes easily. It's extremely transportable in that sense which is great.
Below is the full flight video of the airplane in action. This is the aircraft bone stock with the 25c 4000 mah pack and the CenterBurner installed. My timer is set for 5 minutes which means after flying the airplane hard for that time, I start my landing setup which means I'm getting well over 5 minutes in the air.
FINAL THOUGHTS
There we have the E-flite 70mm ViperJet. This is a great flying little EDF that looks good, assembles and sets up quickly, and flies great. If you're looking for SAFE select in a jet, then this is it, but I can tell you it is so much fun without it. Lastly, be sure to choose your batteries wisely, otherwise you'll be carving foam to get the batteries to fit and even then, they still may not fit and even worse, you could end up excessively nose heavy. Until next time, I'll see you at the field!
The RC Geek Blog is your place to learn about all aspects of the RC hobby. Learn to build, design, drive or fly that RC project you’ve always wanted to build, but have been intimidated to try. This blog is here to help you on your journey and provide tips and tricks as you go! My hope is to inspire builders both experienced and new! So, welcome, please look around, it’s an exciting beginning! I’m currently documenting my latest competition scale RC jet build, a Mark Frankel F4D Skyray, along with some other fun tips and videos. If you can’t find what you’re looking for on this front page, click on any of the categories to the right and it will show just posts related to those categories. Please feel free to add comments and/or contact me directly if you have questions, I’m here to help! And don’t forget to check out my YouTube Channel, I post new videos every week!
Subscribe To Our Blog Now
